Homemade Peanut Butter Cups Recipe
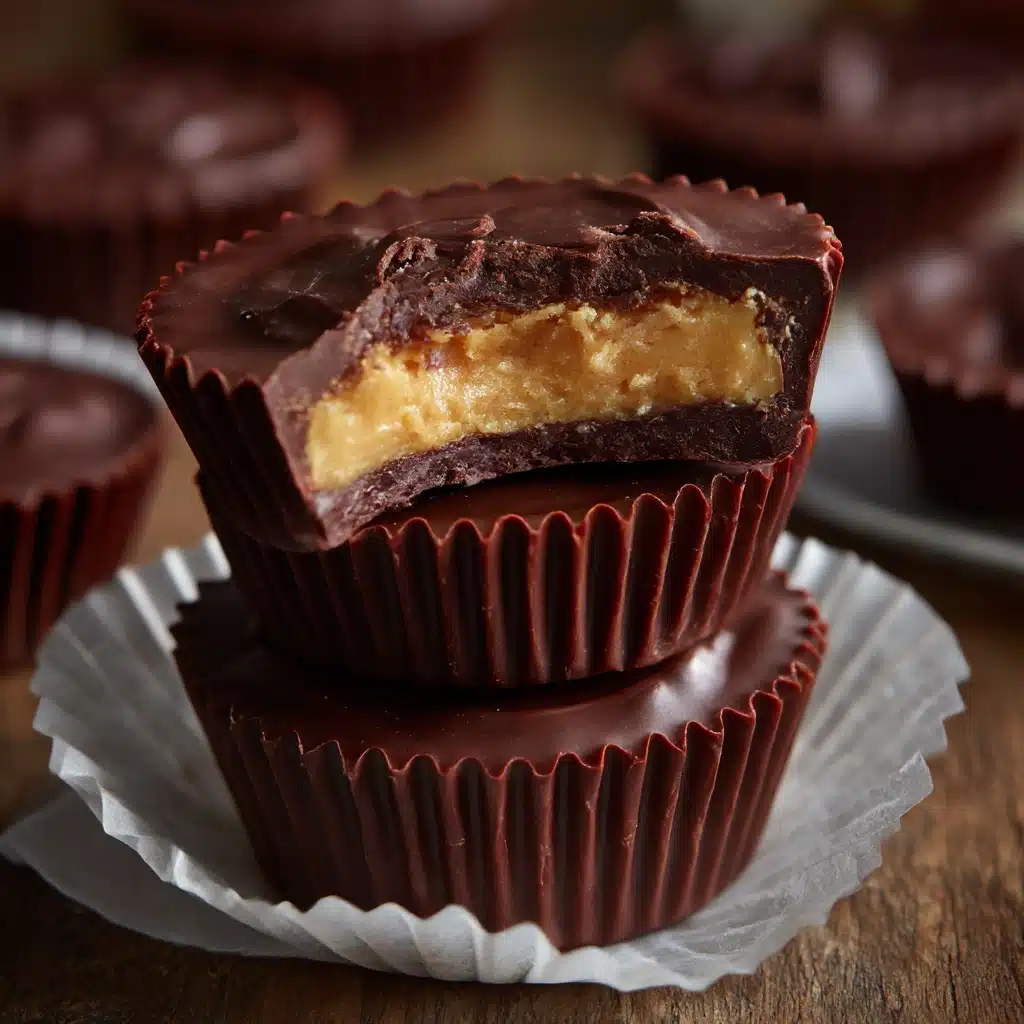
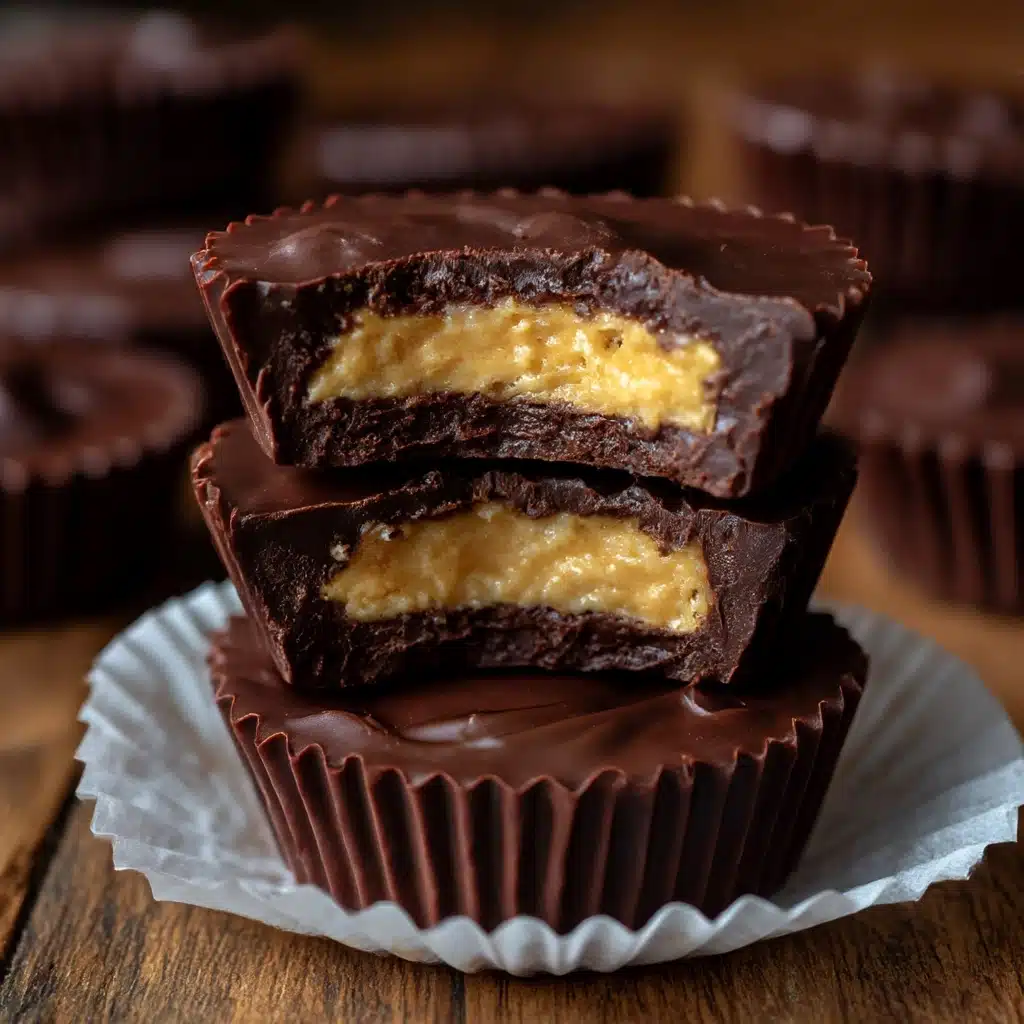
If there’s one sweet treat that instantly makes you feel like a kid again, it’s Homemade Peanut Butter Cups. This is the kind of dessert that sparks pure joy, with their indulgent layers of creamy peanut butter hugged in silky chocolate, speckled with a sprinkle of sea salt. They come together in a flash yet taste like something from a fancy chocolate shop. Homemade Peanut Butter Cups aren’t just a copycat — they’re a celebration of simple, satisfying flavors you can whip up anytime you need a little delight in your day.
Ingredients You’ll Need
The beauty of Homemade Peanut Butter Cups is all in their simplicity: just a handful of pantry staples come together to create a little bite of magic. Each ingredient here plays a starring role, making every cup rich, creamy, and utterly irresistible.
- Semi-sweet chocolate chips: The base and top layer, these bring just the right balance of sweetness and depth.
- Coconut oil: Adds shine and helps the chocolate set with an extra-smooth bite.
- Creamy peanut butter: The heart of every cup, offering melt-in-your-mouth nuttiness.
- Powdered sugar: Gives the peanut butter center a touch of sweetness and a soft texture.
- Unsalted butter (softened): Makes the filling ultra-creamy and helps everything hold together.
- Salt: Enhances all the flavors and keeps the sweetness in check.
- Flaky sea salt (optional): A sprinkle on top for a gourmet finish and an irresistible salty crunch.
How to Make Homemade Peanut Butter Cups
Step 1: Prepare Your Muffin Tin
To get started, line a 12-cup mini muffin tin with paper liners. This simple step keeps the cups perfectly shaped and makes popping them out a breeze when they’re done. If you don’t have mini liners, small squares of parchment paper work in a pinch too.
Step 2: Melt the Chocolate
Combine your chocolate chips and coconut oil in a microwave-safe bowl. Heat in 30-second bursts, stirring well after each, until it’s completely smooth. The coconut oil transforms the melted chocolate into something glossy and pourable — very important for getting those perfect layers!
Step 3: Create the Chocolate Base
Spoon about 1 teaspoon of the melted chocolate into each muffin liner. Use the back of your spoon to gently nudge the chocolate up the sides, creating a little “cup” to hold the peanut butter filling. Pop the whole thing in the freezer for 10 minutes until it’s set — this helps hold your delicious peanut butter mixture in place later.
Step 4: Mix the Peanut Butter Filling
In a bowl, stir together the creamy peanut butter, powdered sugar, softened butter, and salt until you have a silky-smooth, slightly thick filling. It should be soft but not runny, like a scoopable dough. Taste a little — you’ll know right away you’re heading in a fabulous direction!
Step 5: Add Peanut Butter Layer
Pull the muffin tin back from the freezer and place about 1 teaspoon of the peanut butter filling on top of each chocolate base. Use your fingers or a mini spatula to gently flatten and spread the filling — just enough to cover the chocolate without going all the way to the edges, which leaves room for the final chocolate layer.
Step 6: Finish with More Chocolate
Top each peanut butter mound with another teaspoon of the melted chocolate, making sure to cover the filling completely and smooth the tops. This is the layer everyone sees, so take your time for that glossy chocolate cap!
Step 7: Sprinkle and Set
If you’re a texture and flavor enthusiast, sprinkle a pinch of flaky sea salt on top of each cup while the chocolate is still soft. Return the pan to the freezer for 15–20 minutes until everything is set through. After that, your Homemade Peanut Butter Cups are ready to pop out and enjoy.
How to Serve Homemade Peanut Butter Cups
Garnishes
A little bit of flair goes a long way. While flaky sea salt is a classic choice, you could also top your Homemade Peanut Butter Cups with chopped roasted peanuts, a dusting of cocoa powder, or even a drizzle of melted white chocolate. Each garnish brings a unique twist and a little extra interest when serving.
Side Dishes
These treats are stars on their own, but if you want to turn snack time into a celebration, pair them with things that balance their richness. Fresh berries, a scoop of vanilla ice cream, or a frosty glass of cold milk create the ultimate flavor combo. For adults, try serving with a strong espresso or coffee for an elegant after-dinner treat.
Creative Ways to Present
Presenting Homemade Peanut Butter Cups is half the fun. Stack them on a decorative platter with colorful liners for a party, or package a few in a cellophane bag tied with ribbon for a sweet homemade gift. You can even tuck them into lunchboxes for a midday pick-me-up or set out a build-your-own cup bar with different nut butters and toppings for a hands-on dessert gathering.
Make Ahead and Storage
Storing Leftovers
Once set, keep your Homemade Peanut Butter Cups in an airtight container in the refrigerator. They’ll stay fresh for up to a week — though, in my experience, they rarely last that long! The chocolate stays snappy and the centers keep their perfect creamy texture when chilled.
Freezing
For longer storage, place the cups in a single layer in a freezer-safe bag or container. They freeze beautifully for up to two months. If layering, separate with parchment paper to keep them pretty. Just pull out a few and let them thaw a few minutes at room temp when a craving strikes.
Reheating
These cups are best enjoyed straight from the fridge or after a short rest at room temperature. If you want them a touch softer, let them sit out for 5 minutes. Avoid microwaving, as it will melt the chocolate and ruin the layered effect.
FAQs
Can I use crunchy peanut butter instead of creamy?
Absolutely! Crunchy peanut butter brings a delightful texture to Homemade Peanut Butter Cups, giving you bits of peanut crunch in every bite. Just make sure to blend the filling well so all the sugar and butter still mix in evenly.
What’s the best chocolate for Homemade Peanut Butter Cups?
Semi-sweet chocolate chips are classic and balance the sweetness of the filling perfectly. If you like things richer or less sweet, try dark chocolate chips or even a high-quality bittersweet baking bar chopped into pieces. Just avoid milk chocolate — it can make the cups a bit too sweet.
Are there substitutions for peanut butter for allergies?
Definitely! Almond butter and cashew butter both work well, and for a nut-free version, sunflower seed butter is an excellent choice. Just keep an eye on the salt and sweetness, as different brands and types of nut butters vary.
Can I make bigger or smaller peanut butter cups?
You sure can! Simply adjust the amount of filling and chocolate for each cup. For jumbo cups, use a standard muffin tin; for bite-size treats, try mini muffin or even silicone ice cube trays. Just remember: the chilling steps might take a little longer for bigger cups.
Why is my chocolate not smooth or shiny?
Adding the coconut oil is key to getting super-smooth, shiny chocolate for your Homemade Peanut Butter Cups. If you skip it or microwave the chocolate for too long at once, the chocolate can seize or burn. Always melt slowly and stir well for best results.
Final Thoughts
Homemade Peanut Butter Cups truly put the joy in homemade desserts — they’re easy, quick, and every bite is deeply satisfying. If you’ve never tried making your own, now’s the perfect time to treat yourself and your loved ones. Give this recipe a go, and watch these irresistible little cups disappear!
Print
Homemade Peanut Butter Cups Recipe
- Total Time: 40 minutes (including chilling)
- Yield: 12 mini cups 1x
- Diet: Vegetarian
Description
Indulge in these delicious Homemade Peanut Butter Cups that are easy to make and perfect for satisfying your sweet cravings. A layer of creamy peanut butter sandwiched between rich chocolate makes for a delightful treat.
Ingredients
For the chocolate layer:
- 1 1/2 cups semi-sweet chocolate chips
- 1 tablespoon coconut oil
For the peanut butter filling:
- 3/4 cup creamy peanut butter
- 1/4 cup powdered sugar
- 2 tablespoons unsalted butter (softened)
- 1/4 teaspoon salt
- Flaky sea salt for topping (optional)
Instructions
- Prepare the chocolate base: Line a 12-cup mini muffin tin with paper liners. Melt the chocolate chips with coconut oil in the microwave, then spoon a teaspoon into each liner, spreading it up the sides. Freeze to set.
- Make the peanut butter filling: Combine peanut butter, powdered sugar, softened butter, and salt until smooth. Place a teaspoon on top of each chocolate base.
- Add the top chocolate layer: Cover the peanut butter with more melted chocolate, smooth the tops, and sprinkle with sea salt. Freeze until set.
- Enjoy: Store in the refrigerator and indulge in these homemade treats!
Notes
- You can substitute almond butter or sunflower seed butter for a nut-free version.
- Dark chocolate can be used for a richer flavor.
- Prep Time: 20 minutes
- Cook Time: 0 minutes
- Category: Dessert
- Method: No-Bake
- Cuisine: American
Nutrition
- Serving Size: 1 mini cup
- Calories: 180
- Sugar: 12g
- Sodium: 90mg
- Fat: 13g
- Saturated Fat: 6g
- Unsaturated Fat: 6g
- Trans Fat: 0g
- Carbohydrates: 14g
- Fiber: 2g
- Protein: 3g
- Cholesterol: 5mg