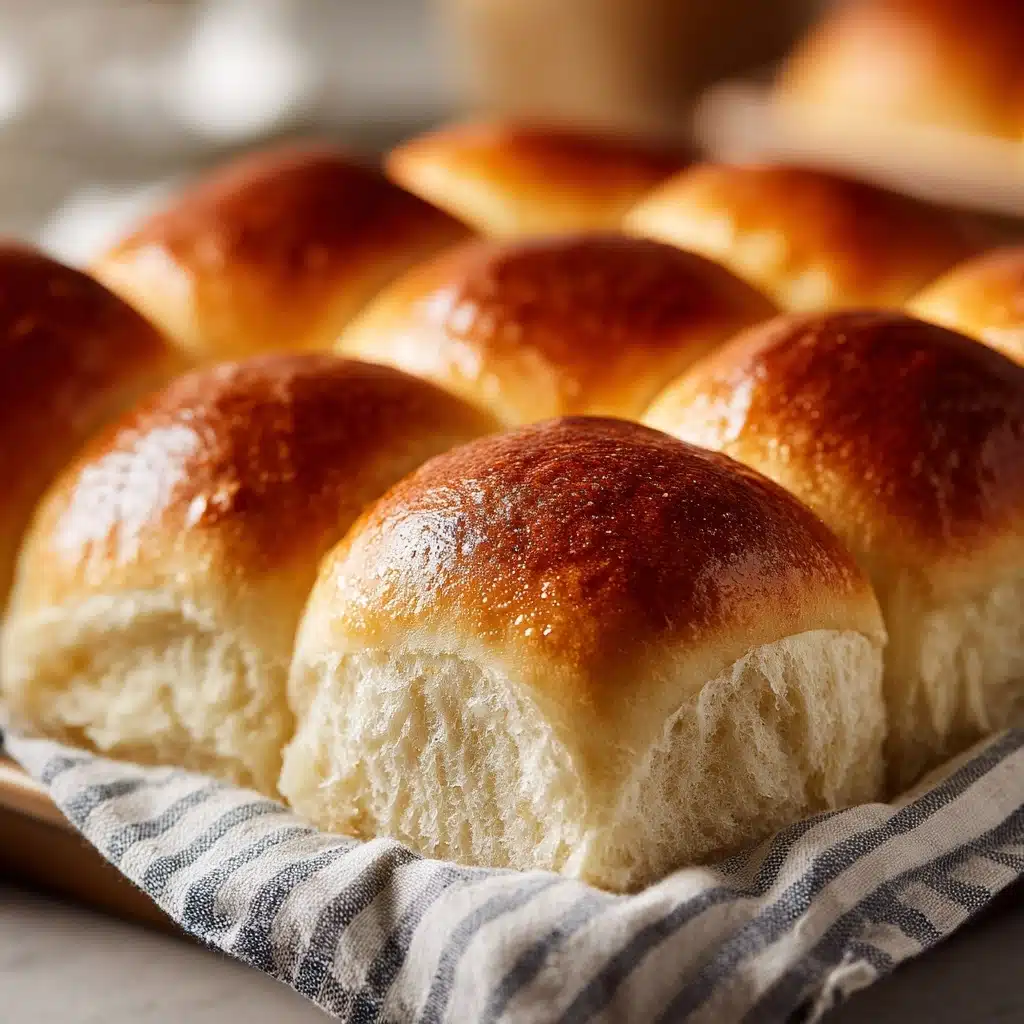
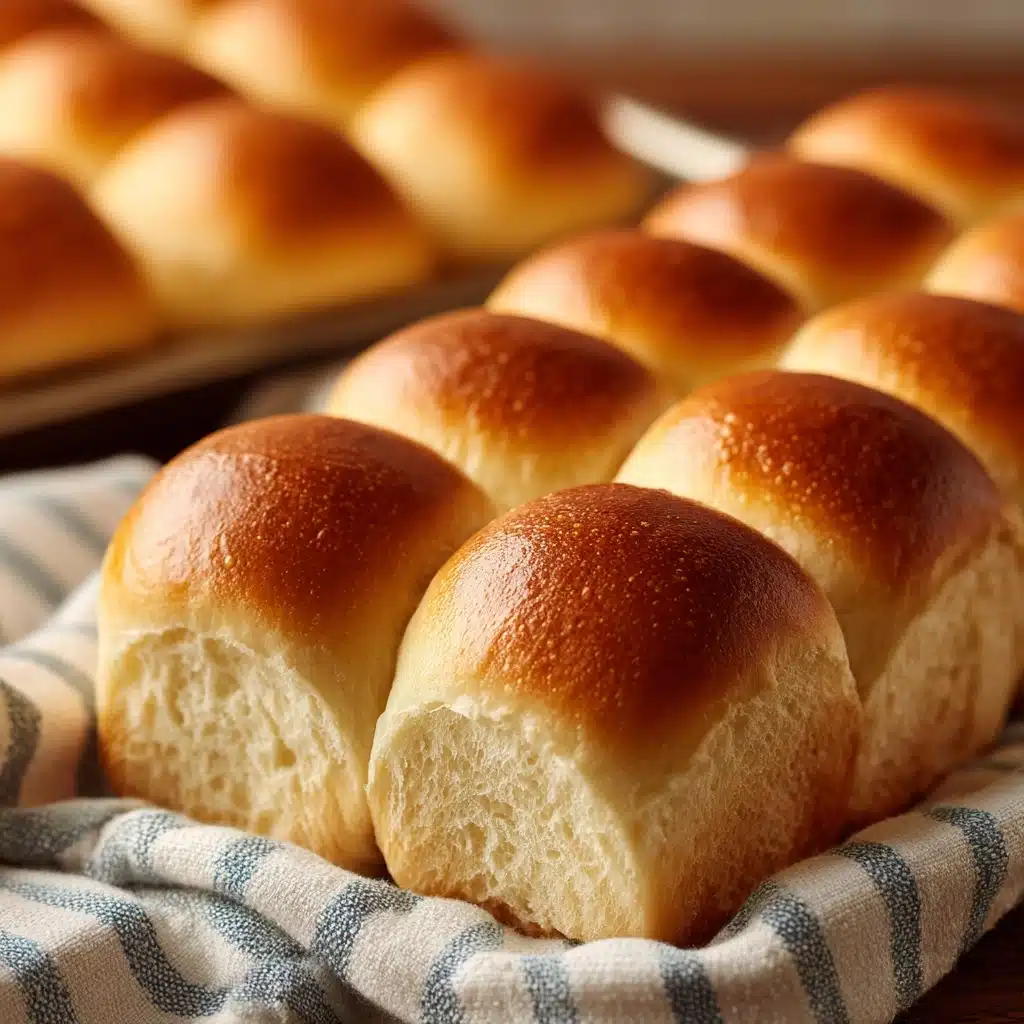
Old Fashioned Yeast Rolls Recipe
If dreams had a scent, they might just smell like freshly baked Old Fashioned Yeast Rolls—pillowy, golden, and irresistibly buttery. There’s something incredibly comforting about tearing into a soft roll that’s been lovingly made from scratch, just like Grandma used to. Whether you’re prepping a holiday feast or simply craving the taste of homemade bread, these Old Fashioned Yeast Rolls promise to fill your home with warmth and your table with smiles, making every occasion a little more special.
Ingredients You’ll Need
The magic of these Old Fashioned Yeast Rolls comes from a handful of simple pantry staples. Each ingredient plays a role in creating that signature flavor, tender crumb, and gorgeous color. Here’s what you’ll need and why it matters:
- Whole milk, warmed to 110°F: Warm milk helps activate the yeast and makes the rolls richer and softer.
- Granulated sugar: A touch of sweetness feeds the yeast and gives the rolls a slight caramelized taste.
- Active dry yeast: The heart and soul of the rolls, yeast makes them rise beautifully and gives that classic airy texture.
- Unsalted butter, melted: Butter adds flavor, tenderness, and that rich, moist crumb we all love.
- Large egg, room temperature: Eggs provide structure, color, and a soft, fluffy interior.
- Salt: Essential for bringing out the flavor and balancing the sweetness.
- All-purpose flour (plus more for dusting): The backbone of the dough—use just enough to keep the rolls light and fluffy.
- Melted butter (for brushing): Brushing the tops after baking gives a beautiful golden finish and melt-in-your-mouth texture.
How to Make Old Fashioned Yeast Rolls
Step 1: Activate the Yeast
In a large mixing bowl, pour in your warm milk and stir in the sugar to help the yeast activate. Sprinkle the active dry yeast evenly over the top and let it sit for 5 to 10 minutes. You’ll know it’s ready when a bubbly, foamy layer forms—proof that the yeast is alive and working its magic!
Step 2: Mix in Wet Ingredients
Once your yeast is bubbly, whisk in the melted butter, egg, and salt. Stir well until everything is thoroughly combined. This mixture is the foundation of those luscious Old Fashioned Yeast Rolls, ensuring every bite is rich and flavorful.
Step 3: Add the Flour and Form the Dough
Gently mix in the all-purpose flour, one cup at a time, stirring until a soft, slightly sticky dough comes together. Be careful not to add too much flour—stop when the dough holds its shape yet feels softly tacky to the touch. This is your cue that the rolls will be tender instead of dense.
Step 4: Knead the Dough
Dust your countertop lightly with flour and tip the dough out. Knead for 8 to 10 minutes until the dough is smooth and elastic. Your hands will do the trick here—stretching and folding builds the gluten, giving Old Fashioned Yeast Rolls their beautiful structure.
Step 5: First Rise
Place the dough in a lightly greased bowl and cover it with a towel or plastic wrap. Set it someplace cozy and warm (not hot!) for 1 to 1 1/2 hours, or until it has doubled in size. This is when the rolls develop their lovely lightness and flavor.
Step 6: Shape and Second Rise
Punch down your dough to release excess air. Divide into 12–15 equal pieces and shape each into a smooth ball. Arrange them in a greased 9×13-inch baking dish, giving a bit of space in between. Cover again and let rise for 30–45 minutes, just until they get puffed and ready for the oven.
Step 7: Bake and Finish
Preheat your oven to 375°F (190°C). Bake the rolls for 18–22 minutes, checking that they turn a gorgeous golden brown. As soon as they come out of the oven, brush them generously with melted butter—this is the signature shine and flavor of Old Fashioned Yeast Rolls. Serve warm for maximum joy.
How to Serve Old Fashioned Yeast Rolls
Garnishes
You can keep it classic by brushing the rolls with a bit of extra melted butter just before serving. For a holiday touch, a sprinkle of flaky sea salt or a drift of finely chopped fresh herbs like rosemary or parsley looks beautiful and adds a delightful pop of flavor.
Side Dishes
Old Fashioned Yeast Rolls truly shine alongside hearty mains like roast chicken, pot roast, or a holiday ham. They’re also the perfect companion to soups and stews, ready to soak up every drop. Honestly, a pat of good butter and some homemade jam may be all they need for breakfast or a snack!
Creative Ways to Present
Arrange your rolls in a basket lined with a cheerful napkin for a rustic look, or stack them artfully on a wooden board with sprigs of herbs tucked between. For brunch, split and fill them with scrambled eggs and cheese, or offer honey butter and fruit preserves on the side for a DIY roll bar.
Make Ahead and Storage
Storing Leftovers
Let any leftover Old Fashioned Yeast Rolls cool completely before storing them. Pop them in an airtight container or zip-top bag and keep at room temperature for up to two days, or in the fridge for up to five days. They stay wonderfully soft with just a quick refresh in the microwave or oven.
Freezing
For longer storage, freeze baked or unbaked rolls. If unbaked, shape the rolls and freeze them right after forming balls—thaw and let rise before baking. If baked, cool completely, wrap tightly in foil, and freeze for up to three months. Always label with the date to keep track!
Reheating
To bring back that warm-from-the-oven goodness, place rolls in a 300°F oven covered loosely with foil for 8–10 minutes, or microwave individual rolls for 15–20 seconds. Brush with more melted butter for extra freshness, and you’ll never know they weren’t just made.
FAQs
Can I use instant yeast instead of active dry yeast?
Yes! Instant yeast can be swapped 1:1 for active dry yeast. You can skip the activation step—just add your yeast directly to the dry ingredients and proceed with the recipe. Keep an eye on your rise times; they can be a bit faster.
Why did my rolls turn out dense instead of fluffy?
Density is often caused by adding too much flour or not kneading the dough enough. Use just enough flour to keep the dough tacky and knead until very elastic. Letting the dough fully rise both times will give you that perfect lightness.
Can these rolls be made dairy free?
Absolutely! Substitute the whole milk with any unsweetened plant-based milk and use vegan butter. Keep in mind, the flavor and color may vary slightly, but you’ll still get a delightful, pillowy result.
How do I make Old Fashioned Yeast Rolls ahead for a holiday meal?
Shape the rolls and arrange them in your baking dish, then cover tightly and refrigerate overnight. The next day, bring them to room temperature and let them rise for about an hour before baking as normal. This makes meal prep a breeze!
What’s the best way to get perfectly even rolls?
Use a kitchen scale to divide the dough evenly for uniform size and baking. If you don’t have a scale, divide the dough in half, then into quarters, and continue splitting pieces until you reach 12–15. Rounding and tucking the seam underneath will help keep each roll beautifully shaped.
Final Thoughts
Old Fashioned Yeast Rolls are a joyful tradition you’ll want to share with everyone at your table. Whether you bake them for a holiday or just because, the aroma and taste are guaranteed to bring comfort and connection. I hope you’ll give this recipe a try—nothing beats the magic of homemade rolls still warm from the oven!
Print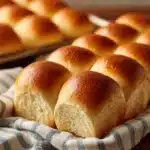
Old Fashioned Yeast Rolls Recipe
- Total Time: 2 hours 15 minutes
- Yield: 12–15 rolls 1x
- Diet: Vegetarian
Description
These Old Fashioned Yeast Rolls are a classic recipe that yields soft and fluffy dinner rolls perfect for any occasion. With simple ingredients and easy steps, you can enjoy homemade rolls that will impress your family and guests.
Ingredients
Dough:
- 1 cup whole milk, warmed to 110°F
- 1/4 cup granulated sugar
- 1 packet (2 1/4 tsp) active dry yeast
- 1/4 cup unsalted butter, melted
- 1 large egg, room temperature
- 1 teaspoon salt
- 3 1/2 to 4 cups all-purpose flour, plus more for dusting
For Brushing:
- 2 tablespoons melted butter
Instructions
- Prepare the Dough: Combine warm milk and sugar, sprinkle yeast on top, let sit until foamy. Add melted butter, egg, salt. Gradually add flour, mix until soft dough forms.
- Knead and Rise: Turn out dough, knead until smooth. Let rise until doubled.
- Shape and Rise: Divide, shape into balls, place in baking dish. Let rise until puffy.
- Bake: Preheat oven, bake rolls until golden. Brush with melted butter. Serve warm.
Notes
- Rolls can be made ahead and refrigerated before baking.
- For sweeter rolls, increase sugar and brush with honey butter.
- Prep Time: 25 minutes
- Cook Time: 20 minutes
- Category: Bread
- Method: Baking
- Cuisine: American
Nutrition
- Serving Size: 1 roll
- Calories: 180
- Sugar: 4g
- Sodium: 170mg
- Fat: 6g
- Saturated Fat: 3g
- Unsaturated Fat: 2g
- Trans Fat: 0g
- Carbohydrates: 27g
- Fiber: 1g
- Protein: 4g
- Cholesterol: 25mg