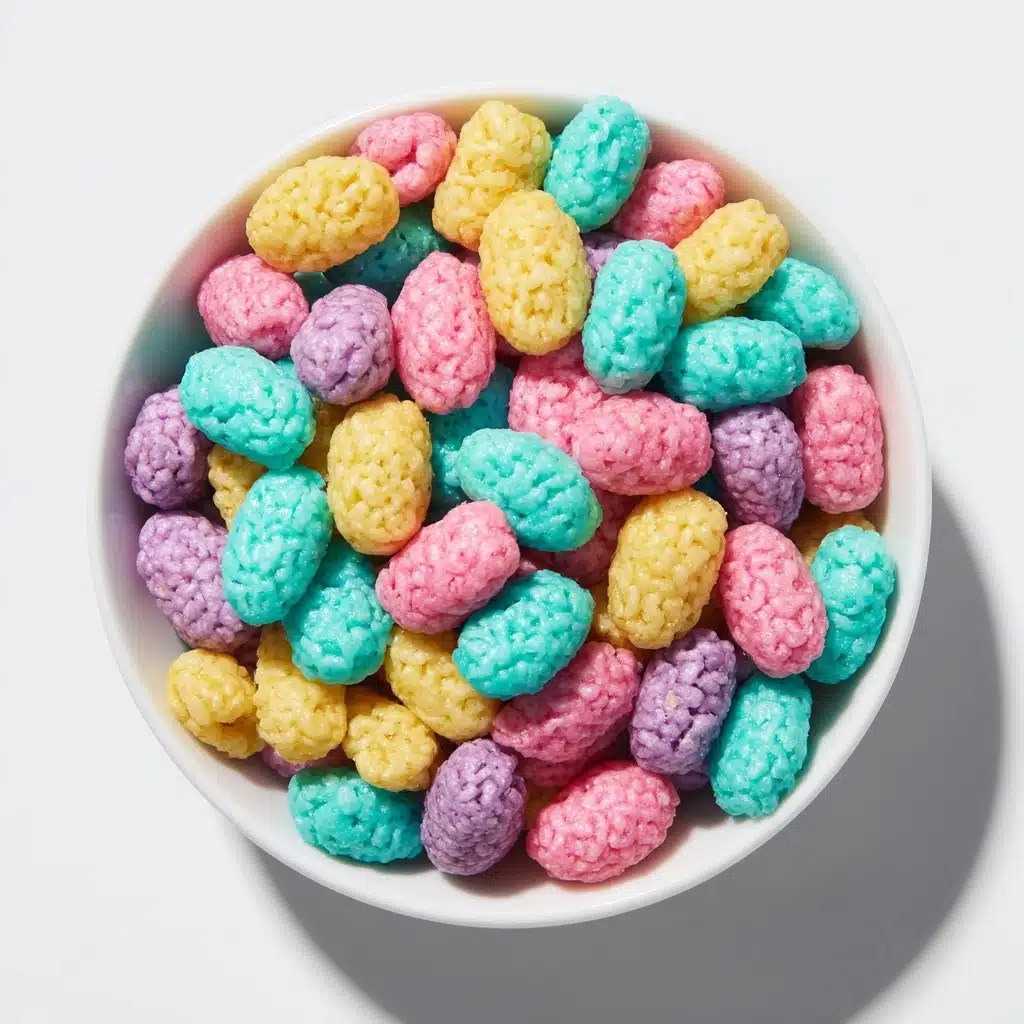
Easter Egg Rice Krispie Treats Recipe
If playful springtime desserts make your heart skip a beat, this Easter Egg Rice Krispie Treats Recipe is about to become your new holiday obsession. These no-bake, marshmallowy eggs are not just adorable—they’re a perfectly handheld treat that dazzles on dessert tables, brunch buffets, or tucked into Easter baskets. With their crunchy cereal texture, gooey sweetness, bursts of pastel candies, and endless decorating options, you get maximum fun for minimal effort. Whether you whip them up with kids or craft a stunning grown-up centerpiece, don’t be surprised when everyone asks for the recipe.

Ingredients You’ll Need
The beauty of this Easter Egg Rice Krispie Treats Recipe is how its few ingredients pack so much flavor, color, and whimsy into every bite. Each component serves a purpose, from the sticky marshmallows that bind everything together to the festive candies and sprinkles that make each “egg” utterly unique.
- Unsalted butter (3 tablespoons): Richness and shine for a perfectly smooth marshmallow melt.
- Mini marshmallows (1 10-ounce bag): The sticky-sweet backbone that gives these treats their irresistible chew.
- Rice Krispies cereal (6 cups): Toasty crunch and classic nostalgia—don’t swap for off-brands if you want maximum crispness!
- Vanilla extract, optional (1/2 teaspoon): Adds a subtle warmth and homemade depth—use pure vanilla if possible.
- Nonstick cooking spray or butter (for hands and mold): Prevents even the stickiest situations while shaping your eggs.
- Pastel-colored candy-coated chocolates (1/2 cup): Pops of color and chocolatey surprises inside every bite—mini M&Ms are perfect here.
- Pastel sprinkles, optional: For extra sparkle and personality on the finished eggs—let your creativity shine!
How to Make Easter Egg Rice Krispie Treats Recipe
Step 1: Melt the Butter and Marshmallows
Set a large pot over low heat and add your butter, letting it melt gently so it doesn’t brown. Once completely melted, tumble in the mini marshmallows, stirring constantly with a sturdy spatula. The marshmallows should melt into a glossy, smooth pool—this is your promise of ultra-chewy, gooey treats!
Step 2: Blend in Vanilla
Take the pot off the heat and quickly stir in your vanilla extract (if you’re using it). This step isn’t strictly necessary, but a hint of vanilla gives your Easter Egg Rice Krispie Treats Recipe that bakery-level aroma and warmth. Don’t wait too long, or the marshmallow mix will set before you add the rice cereal!
Step 3: Mix in the Cereal
Pour all your Rice Krispies cereal into the marshmallow mixture and fold until every grain is glossy and coated. This part happens fast, so work quickly and evenly—trust your instinct and keep things moving to avoid dry patches or soggy spots!
Step 4: Cool Until Moldable
Let the mixture cool for a few minutes so it’s easy to handle, but not so long that it stiffens. Just barely warm is perfect—it should feel squishy but not scalding. If you’re working with little helpers, be extra careful with this step!
Step 5: Shape the Eggs and Add Candies
Spritz your hands or a plastic Easter egg mold with nonstick spray or butter to prevent sticking. For molded eggs, press a scoop of the mixture into each side of the mold, nestling a few pastel candy-coated chocolates into the center, then snap the halves together to form a perfect egg shape. If working by hand, shape the mixture into little egg ovals, and press candies right in the middle—no perfection required!
Step 6: Decorate with Sprinkles
Set your eggs on a tray lined with wax paper. While they’re still warm (but not hot!) channel your inner artist and shower them with pastel sprinkles. This step is where the magic truly happens—each egg is a blank canvas for your wildest springtime creations!
Step 7: Let Them Set
Allow your finished eggs to cool and firm up at room temperature for 30 to 45 minutes. This patience pays off: the treats hold their adorable shape and are ready to be devoured (or displayed to wow your guests).
How to Serve Easter Egg Rice Krispie Treats Recipe
Garnishes
To make your Easter Egg Rice Krispie Treats Recipe extra charming, try finishing them with drizzle of melted white chocolate, an extra handful of pastel sprinkles, or even edible glitter. Press in a few decorative sugar pearls or small candies for texture and pops of color. Let everyone get creative by setting up a little “decorate your own egg” station!
Side Dishes
Serve these treats with a bright, fresh fruit salad or some lemony iced tea for a spring-perfect snack spread. They also sit beautifully beside deviled eggs at brunch, or as a cute dessert after a savory Easter lunch. Kids especially love pairing them with a glass of milk or pink lemonade.
Creative Ways to Present
Display the eggs in a pretty basket lined with shredded paper grass for a classic Easter look, or nestle them along a dessert board with macarons, chocolate carrots, and marshmallow chicks. For party favors, wrap each treat in clear cellophane tied with pastel ribbon and tuck them into Easter baskets—instant crowd-pleasers!
Make Ahead and Storage
Storing Leftovers
Keep your Easter Egg Rice Krispie Treats Recipe fresh by storing leftover eggs in an airtight container at room temperature. They’ll stay delightfully chewy and crunchy for up to three days—though, let’s be honest, they rarely last that long!
Freezing
Yes, you can freeze these treats! Arrange the eggs in a single layer on a baking sheet and freeze for about 30 minutes. Then, transfer them to a zip-top bag with parchment between layers. They’ll keep for a month—just thaw at room temperature when you’re ready to serve.
Reheating
If your rice krispie eggs feel a bit too firm after storage, just pop them in the microwave for about 5 to 10 seconds. This little warm-up brings back the soft, gooey texture everyone loves. Take care not to overheat, or they’ll become sticky.
FAQs
Can I color the marshmallow mixture for even brighter eggs?
Absolutely! Add a few drops of food coloring to the marshmallow mixture after it’s melted and before you add the cereal. Swirl in your favorite pastel shades for a rainbow of Easter eggs—just remember, a little color goes a long way.
Do I need to use an Easter egg mold to shape these treats?
Not at all! While a mold makes picture-perfect eggs, you can easily shape the mixture by hand into ovals. A little nonstick spray on your hands helps, and some unevenness only adds character.
How do I keep the mixture from sticking to my hands and tools?
Liberally spray your hands, molds, and utensils with nonstick cooking spray, or rub them with butter. This makes the process much smoother and helps your eggs come out clean and neat.
Can I use large marshmallows instead of mini marshmallows?
Yes, you can substitute large marshmallows—just measure out about 40 large marshmallows for one 10-ounce bag of minis. Cut them in half if you want them to melt a bit faster and more evenly.
Are these treats gluten-free?
Rice Krispies cereal contains malt flavoring, which is derived from barley and not gluten free. However, you can make this Easter Egg Rice Krispie Treats Recipe gluten-free by seeking out specialty gluten-free crispy rice cereal varieties at many grocery stores.
Final Thoughts
If you love a sweet, whimsical holiday treat, there’s nothing quite like gathering friends and family to make (and eat!) a batch of this Easter Egg Rice Krispie Treats Recipe. It’s as easy as it is festive, and every colorful bite brings the kind of cheer that makes spring extra special. Go ahead—let your inner kid run wild and try these this Easter!