No-Bake Chocolate Mousse Bars Recipe
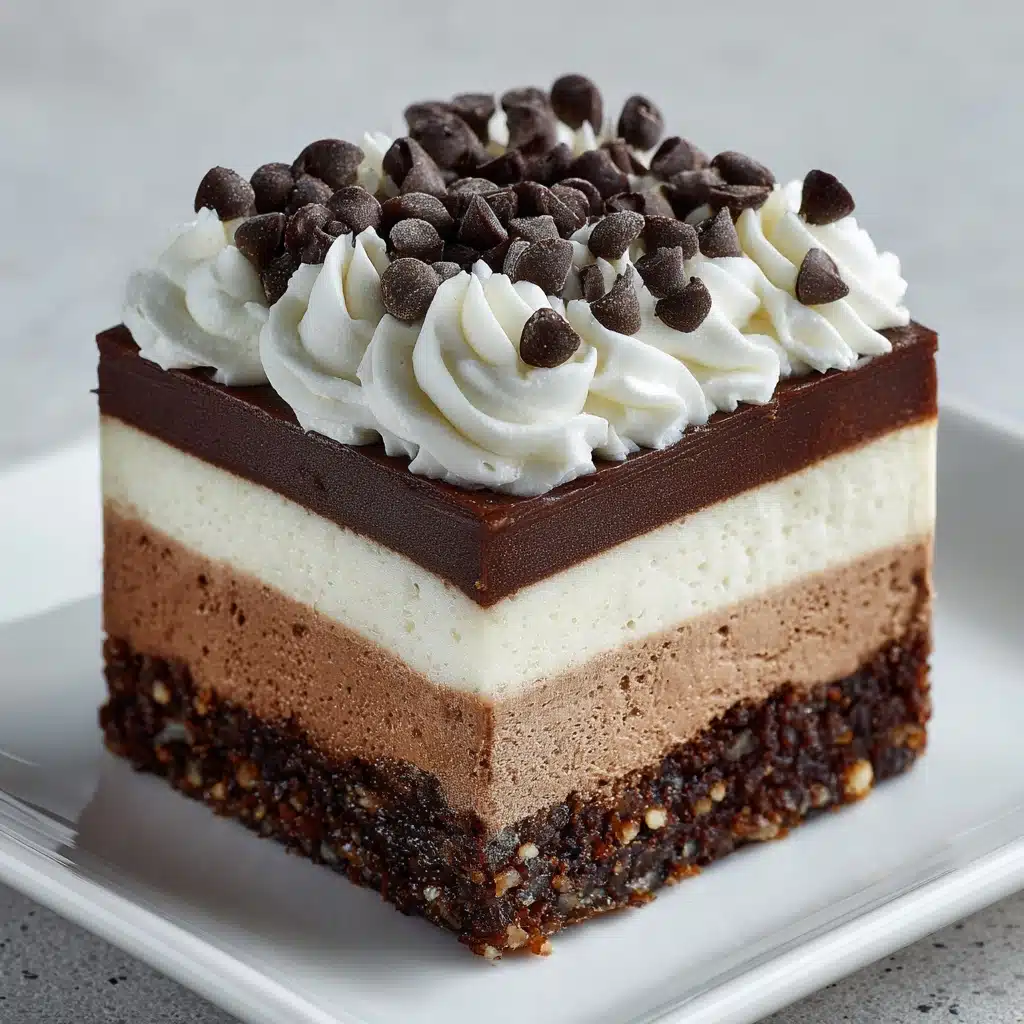
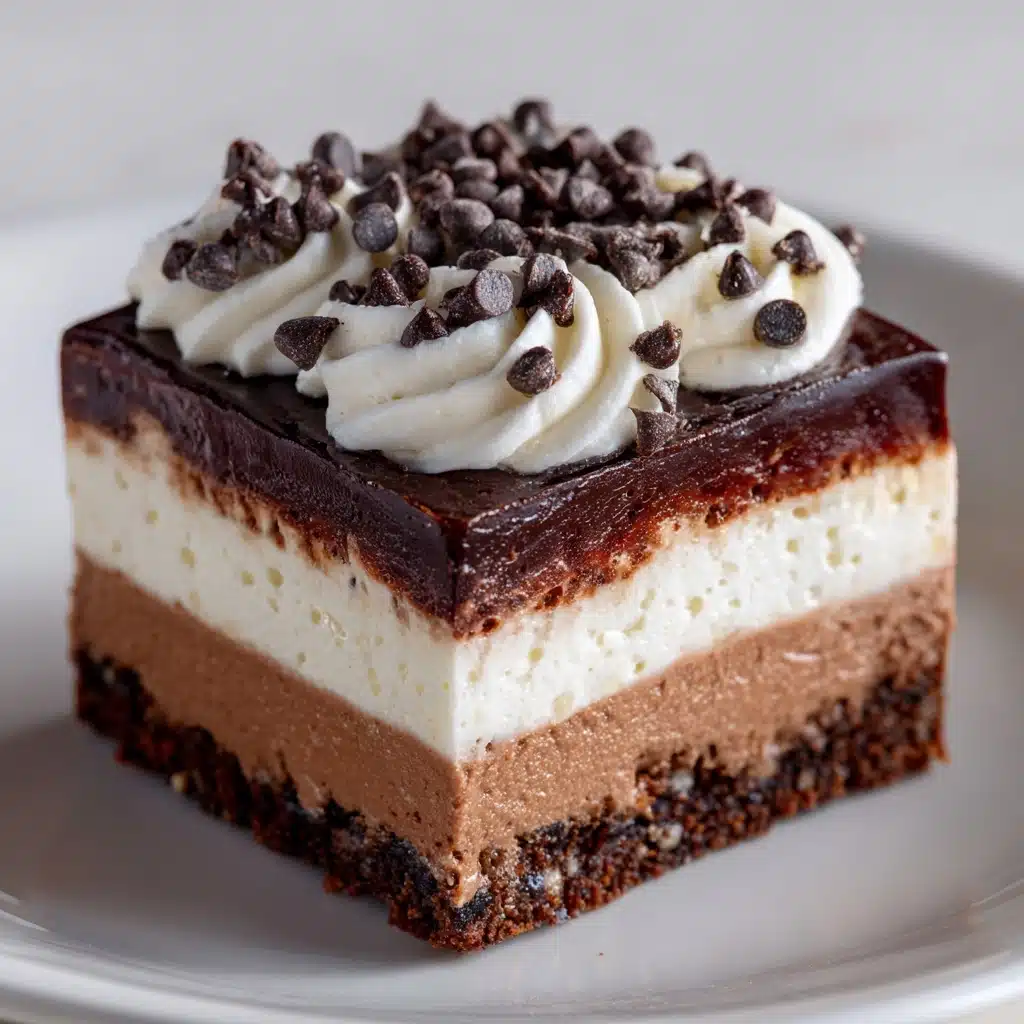
If you’re looking for a show-stopping, crowd-pleasing dessert that’s blissfully easy to make, your search ends here with these No-Bake Chocolate Mousse Bars. Imagine a cookie crumb crust layered with creamy, fluffy chocolate mousse, all topped with a dusting of cocoa or chocolate curls for extra flair. These dreamy bars deliver pure chocolate indulgence with hardly any hands-on time, no oven required, and a make-ahead bonus that makes them the MVP of any gathering.
Ingredients You’ll Need
You’ll be amazed by how a handful of simple, classic ingredients work magic in these bars. Each one brings something special to the table—whether it’s smooth creaminess, deep chocolate flavor, or that buttery crunch in every bite.
- Chocolate cookie crumbs: These give the base its rich chocolate flavor and a delightful crunch—use Oreos (without the filling) or your favorite chocolate cookies.
- Unsalted butter, melted: Acts as the magic glue that holds the crumbly crust together and adds buttery richness.
- Semisweet chocolate chips: The soulful heart of the mousse, providing that classic, bittersweet chocolate depth.
- Heavy cream, divided: Whipped into soft peaks for an airy, silky mousse and also used to melt the chocolate for a luscious filling.
- Powdered sugar: Sweetens the mousse just enough and dissolves like a dream for that signature velvety texture.
- Vanilla extract: Just a splash lifts up the chocolate, turning the bars aromatic and irresistible.
- Pinch of salt: A tiny pinch sharpens all the flavors and balances the sweetness.
- Chocolate shavings or cocoa powder for garnish (optional): These finishing touches make the bars look as stunning as they taste.
How to Make No-Bake Chocolate Mousse Bars
Step 1: Prepare the Crust
Let’s start building the delicious foundation! In a mixing bowl, combine those crushed chocolate cookie crumbs and melted butter. Use a fork or your hands to mix until every crumb is coated and the mixture feels like moist sand. Now, press this mixture firmly and evenly into the bottom of an 8×8-inch baking dish lined with parchment paper. Take a moment to really pack it down—this ensures a sturdy, satisfying base. Pop the dish in the fridge to chill while you move on to the mousse.
Step 2: Melt the Chocolate
Grab a microwave-safe bowl and pour in your semisweet chocolate chips along with 1/2 cup of heavy cream. Microwave in 20-second bursts, stirring every time, until the chocolate is smooth and completely melted. This gentle method keeps the chocolate from seizing and guarantees a silky, glossy base. Let it cool slightly—just enough so it’s not hot to the touch before you add the whipped cream.
Step 3: Whip the Cream
In a separate bowl, combine the remaining 1 cup heavy cream, powdered sugar, vanilla extract, and a tiny pinch of salt. Using a hand mixer or a stand mixer, whip the mixture until soft peaks form. The whipped cream should hold gentle mounds but still look pillowy—this is what gives the mousse its unmistakable lightness!
Step 4: Make the Mousse
This is where the magic happens for your No-Bake Chocolate Mousse Bars! Gently fold the whipped cream into the cooled chocolate mixture, working in batches to keep it wonderfully airy. The goal is to combine it without deflating the cream, so take your time and use broad, even strokes. When you’re done, you’ll have a lush, fluffy mousse that feels like chocolate clouds.
Step 5: Assemble and Chill
Spread the mousse evenly over your chilled crust, smoothing the top with a spatula. Cover the pan and refrigerate for at least 4 hours, or even overnight if you can wait! The chilling time lets the mousse bars set perfectly, making them easy to slice into clean squares.
Step 6: Garnish and Serve
Before serving, add your signature touch: sprinkle with chocolate shavings or a dusting of cocoa powder. Slice your No-Bake Chocolate Mousse Bars with a hot, clean knife for those picture-perfect layers. Now sit back and watch these beauties steal the spotlight!
How to Serve No-Bake Chocolate Mousse Bars
Garnishes
Dress up your No-Bake Chocolate Mousse Bars with a flourish of chocolate shavings, a light rain of cocoa powder, or even a swirl of whipped cream. For a pop of color, a few fresh berries or a sprig of mint brings out their elegance and tastes wonderful too.
Side Dishes
While these bars are absolutely decadent on their own, they pair beautifully with light, fresh accompaniments. Try serving them alongside tangy raspberries, a bowl of sliced strawberries, or a scoop of vanilla ice cream for a balanced dessert plate.
Creative Ways to Present
Make these No-Bake Chocolate Mousse Bars the star of your dessert table by arranging them on a pretty serving platter. For a twist, serve individual portions in mini mason jars or wine glasses layered with extra cookie crumbs for a fun, spoonable treat. They also make perfect little gifts—slice, nestle in parchment, and tuck into a gift box for friends.
Make Ahead and Storage
Storing Leftovers
Your No-Bake Chocolate Mousse Bars will stay fresh and luscious for up to 5 days when stored in an airtight container in the refrigerator. Make sure to keep them covered so they don’t pick up any fridge odors, and always serve them chilled for the best texture.
Freezing
If you’d like to keep some for later, these bars freeze like a dream. Wrap individual bars tightly with plastic wrap and pop them into a freezer-safe container. They’ll keep well for up to one month. Thaw overnight in the fridge before serving for the creamiest results.
Reheating
No reheating required here! Just bring your No-Bake Chocolate Mousse Bars straight from the fridge or freezer—let frozen bars sit at room temperature for a few minutes to soften slightly before enjoying. They’re at their absolute best when chilled but not icy.
FAQs
Can I use milk chocolate or dark chocolate instead of semisweet?
Absolutely! Swap in milk chocolate for a sweeter, milder flavor, or go for dark chocolate if you crave extra intensity. Just make sure to taste as you go, since different chocolates vary in sweetness. Dark chocolate also creates a more dramatic, sophisticated mousse.
What’s the best way to get clean, neat slices?
For those perfectly crisp layers, use a knife dipped in hot water and wiped dry between each cut. This helps glide through the mousse without dragging or making a mess—especially important if you’re serving these bars at a party!
How do I make the crust gluten-free?
Simply use your favorite gluten-free chocolate cookies in place of regular ones. Many store-bought options mimic the taste and crunch of classic cookies, so no one will notice the switch!
Are there any flavor add-ins I can try?
Yes! Stir a splash of espresso or brewed coffee into the chocolate as it melts for a mocha twist, or sprinkle in a hint of orange zest for bright, citrusy notes. You can even add a dash of cinnamon or chili powder for subtle warmth.
Can I double the recipe for a larger pan?
Definitely. Double the ingredients and use a 9×13-inch baking dish. The steps stay exactly the same, but be sure to chill the larger batch a little longer to help it set completely. More bars, more to share!
Final Thoughts
Honestly, if you love chocolate as much as I do, these No-Bake Chocolate Mousse Bars will quickly become your go-to treat. They’re simple enough for weekday cravings yet impressive enough for any celebration. Go ahead, give them a try—your taste buds (and your friends) will thank you later!
Print
No-Bake Chocolate Mousse Bars Recipe
- Total Time: 4 hours 20 minutes (including chilling)
- Yield: 9 bars 1x
- Diet: Vegetarian
Description
Indulge in these decadent No-Bake Chocolate Mousse Bars that boast a rich, creamy chocolate filling atop a buttery cookie crust. Perfect for satisfying your sweet cravings!
Ingredients
For the Crust:
- 1 1/2 cups chocolate cookie crumbs (like Oreos, without filling)
- 1/4 cup unsalted butter, melted
For the Filling:
- 1 1/2 cups semisweet chocolate chips
- 1 1/2 cups heavy cream, divided
- 1/4 cup powdered sugar
- 1 teaspoon vanilla extract
- Pinch of salt
- Chocolate shavings or cocoa powder for garnish (optional)
Instructions
- Prepare the Crust: In a mixing bowl, combine the chocolate cookie crumbs and melted butter. Press the mixture into the bottom of an 8×8-inch baking dish lined with parchment paper.
- Make the Filling: Melt chocolate chips with 1/2 cup of heavy cream. Whip the remaining heavy cream with sugar, vanilla, and salt. Fold whipped cream into the cooled chocolate mixture. Spread the mousse over the crust.
- Chill and Serve: Refrigerate for at least 4 hours. Garnish with chocolate shavings or cocoa powder before slicing into bars. Enjoy chilled!
Notes
- Use a hot knife for clean slices.
- Substitute dark chocolate for a richer flavor or add espresso for depth.
- Bars stay fresh in the refrigerator for up to 5 days.
- Prep Time: 20 minutes
- Cook Time: 0 minutes
- Category: Dessert
- Method: No-Bake
- Cuisine: American
Nutrition
- Serving Size: 1 bar
- Calories: 310
- Sugar: 18 g
- Sodium: 95 mg
- Fat: 22 g
- Saturated Fat: 13 g
- Unsaturated Fat: 8 g
- Trans Fat: 0 g
- Carbohydrates: 24 g
- Fiber: 2 g
- Protein: 3 g
- Cholesterol: 55 mg