Mini Cheesecakes III Recipe
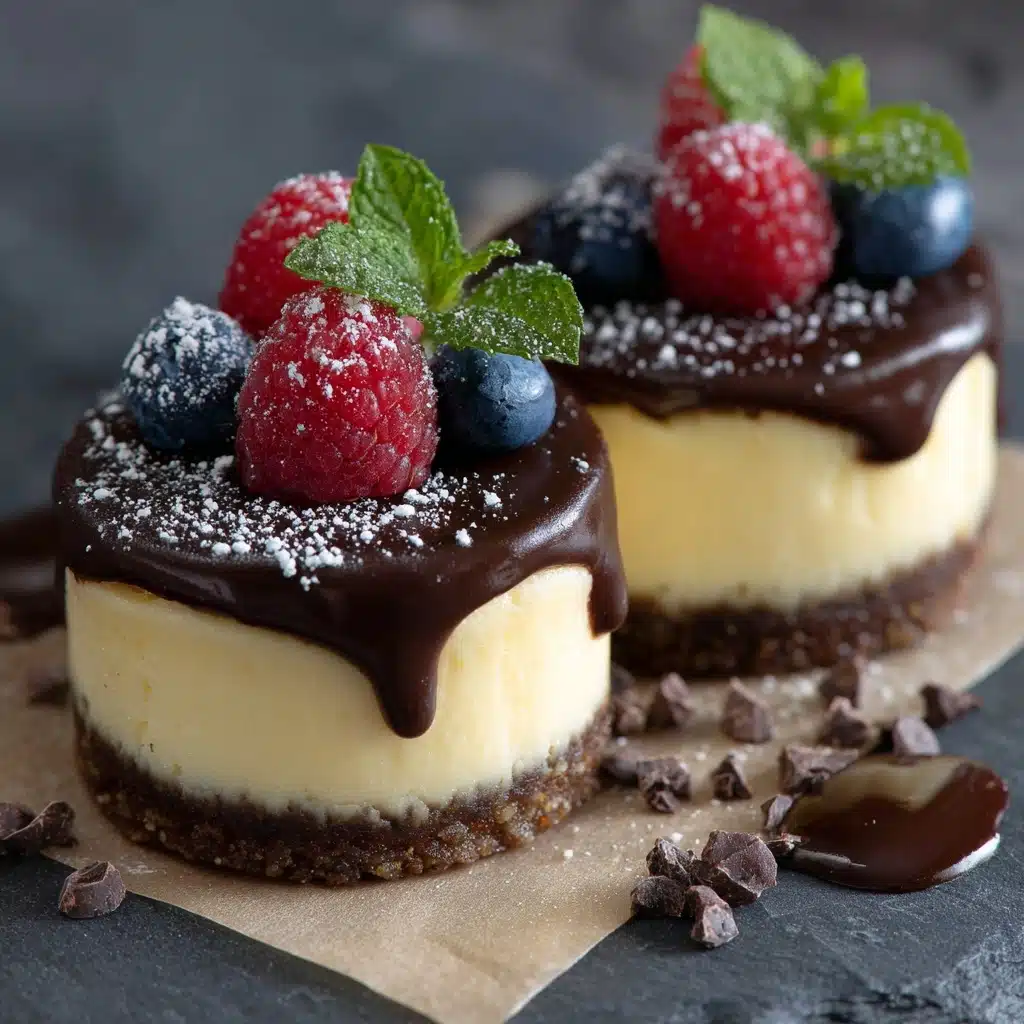
If you’re searching for a dessert that’s as delightful to make as it is to eat, let me introduce you to Mini Cheesecakes III. These adorable bite-sized treats feature a buttery graham cracker crust and creamy cheesecake filling, all crowned with your favorite fresh fruit or toppings. Mini Cheesecakes III are perfect for parties, family gatherings, or whenever you want a little something sweet without fussing over a full-sized cake. They’re a true crowd-pleaser and, trust me, they’ll disappear fast!
Ingredients You’ll Need
The magic behind Mini Cheesecakes III is in how a handful of simple ingredients come together to create something truly special. Each component plays a role in the irresistible flavor, smooth texture, or picture-perfect appearance of these cheesecakes.
- Graham cracker crumbs: These create the classic, crunchy base that perfectly contrasts the creamy filling.
- Granulated sugar: Adds sweetness to both the crust and the cheesecake, balancing flavors beautifully.
- Unsalted butter (melted): Holds the crust together and gives it a rich, buttery taste.
- Cream cheese (softened): The star of the show, delivering that signature smooth and tangy cheesecake texture.
- Large eggs: Bind everything together and add richness to the filling.
- Vanilla extract: Enhances the overall flavor and rounds out the sweetness.
- Sour cream: Gives the cheesecake a subtle tang and extra creaminess.
- Fresh berries or fruit topping (optional): Adds a pop of color and freshness—feel free to get creative!
How to Make Mini Cheesecakes III
Step 1: Prep Your Oven and Pan
Start by preheating your oven to 325°F (163°C). Line a 12-cup muffin tin with paper liners—this makes removing the Mini Cheesecakes III a breeze and keeps everything tidy.
Step 2: Make the Graham Cracker Crust
In a small bowl, combine the graham cracker crumbs, 2 tablespoons of granulated sugar, and the melted butter. Stir until the mixture is evenly moistened and looks like wet sand. Spoon about 1 tablespoon of the crumb mixture into each muffin liner and press firmly with the back of a spoon or your fingers. This forms the perfect little base for your cheesecakes. Pop the pan into the oven and bake for 5 minutes—just enough to set the crusts—then remove and set aside.
Step 3: Prepare the Cheesecake Filling
In a large mixing bowl, beat the softened cream cheese until it’s completely smooth—no lumps here! Add the remaining 1/2 cup of granulated sugar and beat again until creamy and well blended. Next, add the eggs one at a time, mixing well after each addition. Pour in the vanilla extract and sour cream, giving everything a final mix until the batter is silky and uniform.
Step 4: Fill and Bake
Divide the cheesecake batter evenly among the prepared muffin cups, filling each almost to the top. This ensures every Mini Cheesecakes III is as rich and satisfying as the next. Bake for 18 to 20 minutes, or until the centers are just set but still have a slight jiggle. Don’t overbake—the magic of these minis is in their creamy texture!
Step 5: Cool and Chill
Once the cheesecakes are out of the oven, let them cool in the pan for about 10 minutes. Then carefully transfer them to a wire rack to cool completely. For that classic, dense cheesecake texture, refrigerate the Mini Cheesecakes III for at least 2 hours before serving. This step is worth the patience!
Step 6: Add Toppings and Serve
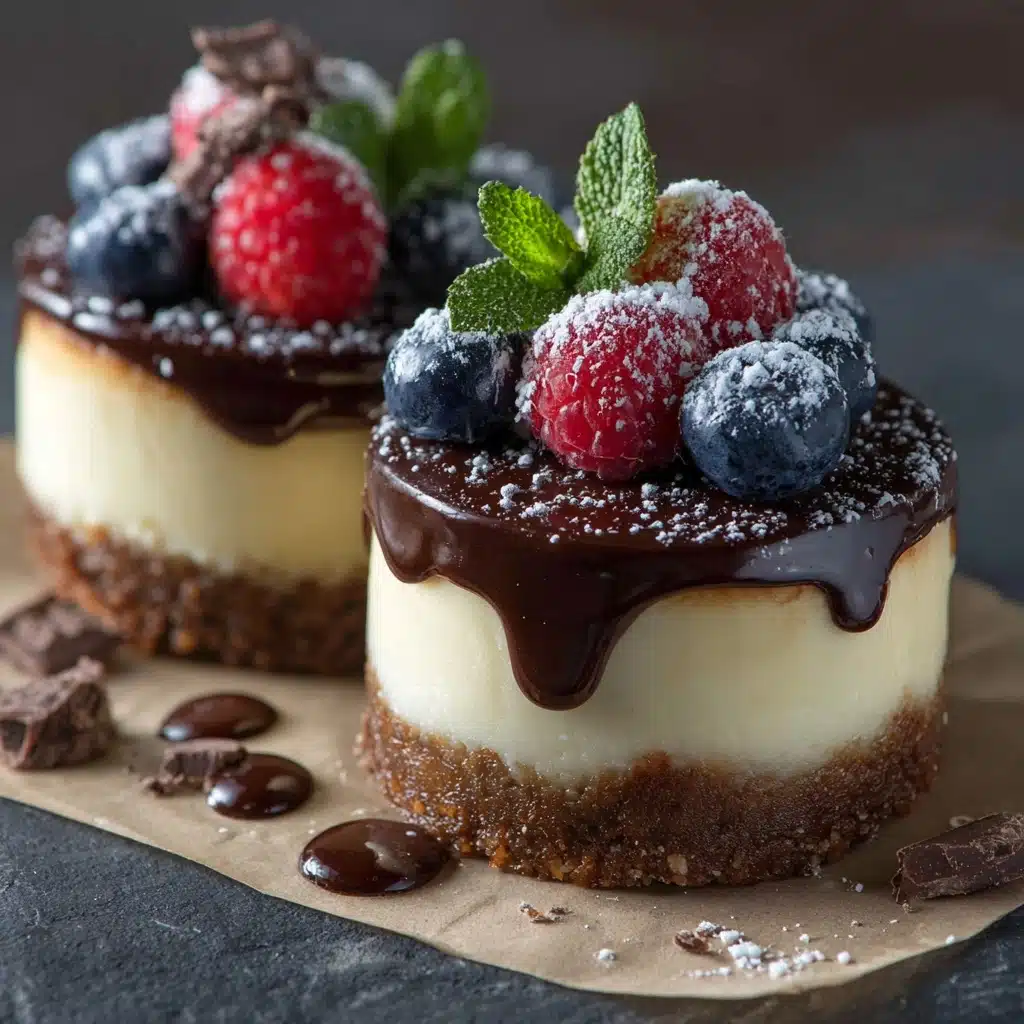
Just before serving, add fresh berries, fruit topping, or whatever your heart desires. Each little cheesecake becomes a beautiful canvas for your favorite flavors and colors.
How to Serve Mini Cheesecakes III
Garnishes
The joy of Mini Cheesecakes III is how easily you can personalize them with garnishes. Top them with fresh strawberries, raspberries, or blueberries for a burst of color and freshness. For a decadent twist, drizzle with caramel, chocolate sauce, or a spoonful of lemon curd. A sprinkle of mini chocolate chips or a light dusting of powdered sugar can also elevate their look and taste.
Side Dishes
While these cheesecakes are absolutely delicious on their own, they pair beautifully with light accompaniments. Consider serving them alongside a fresh fruit salad, a platter of crisp cookies, or even a scoop of homemade whipped cream. Their creamy texture and subtle tang are a wonderful contrast to bright, fruity flavors or the crunch of biscotti.
Creative Ways to Present
If you’re entertaining, try arranging your Mini Cheesecakes III on a tiered dessert stand for a stunning display. For parties, set up a DIY topping bar so guests can customize their own cheesecakes with an array of sauces, nuts, and fruits. You can even pop them into decorative cupcake wrappers or tie them with a ribbon for a festive touch.
Make Ahead and Storage
Storing Leftovers
Leftover Mini Cheesecakes III will keep beautifully in the refrigerator for up to two days. Store them in an airtight container to prevent them from drying out or absorbing other flavors. They’re just as luscious on day two, making them a dream for busy hosts.
Freezing
You can freeze Mini Cheesecakes III for longer storage! Once fully cooled, wrap each cheesecake individually in plastic wrap and place them in a freezer-safe container. They’ll keep well for up to a month. Thaw overnight in the refrigerator before serving, and add fresh toppings just before enjoying.
Reheating
There’s no need to reheat Mini Cheesecakes III—they’re best enjoyed chilled! If you prefer a slightly softer texture, simply let them sit at room temperature for about 10–15 minutes before serving.
FAQs
Can I use low-fat cream cheese for Mini Cheesecakes III?
You can, but the texture will be less creamy and rich than with full-fat cream cheese. For the dreamiest results, stick with regular cream cheese, but if you’re watching calories, low-fat will still work in a pinch.
Why did my cheesecakes sink in the middle?
A slight dip is normal as the cheesecakes cool, but if they sink dramatically, it may be due to overbeating the batter or overbaking. Be sure to mix just until combined and pull them from the oven when the centers are just set.
Can I make Mini Cheesecakes III without paper liners?
Paper liners make removal easy and keep the cheesecakes looking pretty, but you can use a well-greased muffin tin if needed. Just be extra gentle when loosening them after baking.
What other toppings work well with these mini cheesecakes?
The sky’s the limit! Try cherry pie filling, lemon curd, chopped nuts, caramel sauce, or even a dollop of whipped cream. Mini Cheesecakes III are the perfect blank slate for your favorite flavors.
Can I double the recipe for a larger crowd?
Absolutely! Simply double all the ingredients and use two muffin pans. The bake time should remain about the same, but keep an eye on them toward the end just in case your oven runs hot or cold.
Final Thoughts
There’s nothing quite like sharing a tray of homemade Mini Cheesecakes III with friends and family. They’re the kind of treat that makes any occasion feel a little more special, and they’re so simple to make that you don’t need to wait for a holiday to whip up a batch. Give them a try, top them however you like, and watch them become a sweet staple in your kitchen!
Print
Mini Cheesecakes III Recipe
- Total Time: 35 minutes (plus 2 hours chilling)
- Yield: 12 mini cheesecakes 1x
- Diet: Non-Vegetarian
Description
These Mini Cheesecakes III are delightful individual-sized cheesecakes that offer a creamy, rich texture with a crunchy graham cracker crust. Perfect for a crowd or portion-controlled dessert, they’re easy to prepare and can be topped with fresh berries or your favorite fruit toppings for added flavor and elegance.
Ingredients
Crust
- 1 cup graham cracker crumbs
- 2 tablespoons granulated sugar
- 3 tablespoons unsalted butter, melted
Filling
- 2 packages (8 oz each) cream cheese, softened
- 1/2 cup granulated sugar
- 2 large eggs
- 1 teaspoon vanilla extract
- 1/2 cup sour cream
Topping (Optional)
- Fresh berries or fruit topping
Instructions
- Preheat and Prepare Muffin Tin: Preheat the oven to 325°F (163°C). Line a 12-cup muffin tin with paper liners to prevent sticking and make removal easy.
- Make the Crust: In a small bowl, combine graham cracker crumbs, 2 tablespoons of granulated sugar, and melted butter. Mix until the crumbs are evenly coated. Press about 1 tablespoon of this mixture firmly into the bottom of each muffin liner to form the crust base. Bake the crusts for 5 minutes, then remove from the oven and set aside.
- Prepare the Filling: In a large mixing bowl, beat the softened cream cheese until smooth and creamy using a hand mixer or stand mixer. Gradually add 1/2 cup sugar and beat until well combined and fluffy.
- Add Eggs and Flavoring: Add the eggs one at a time, beating thoroughly after each addition to ensure a smooth batter. Stir in the vanilla extract and sour cream until the mixture is fully blended and smooth.
- Fill the Muffin Cups: Evenly divide the cheesecake batter among the muffin cups, filling each almost to the top but leaving a small gap for expansion during baking.
- Bake the Mini Cheesecakes: Place the muffin tin in the preheated oven and bake for 18 to 20 minutes, or until the cheesecake centers are just set and no longer jiggly.
- Cool and Chill: Remove the cheesecakes from the oven and allow them to cool in the pan for 10 minutes. Then transfer the mini cheesecakes to a wire rack to cool completely to room temperature.
- Refrigerate: Chill the mini cheesecakes in the refrigerator for at least 2 hours before serving to allow them to firm up properly.
- Add Toppings and Serve: Just before serving, top each mini cheesecake with fresh berries or your choice of fruit toppings such as lemon curd, caramel, or mini chocolate chips for added flavor and decoration.
Notes
- These mini cheesecakes can be made up to 2 days in advance. Store them covered in the refrigerator to maintain freshness.
- For variety, experiment with different toppings like lemon curd, caramel sauce, or mini chocolate chips to customize your dessert.
- Allow cheesecakes to fully chill in the refrigerator for the best texture and taste.
- Be careful not to overbake; the centers should be just set and will firm up during cooling.
- Prep Time: 15 minutes
- Cook Time: 20 minutes
- Category: Dessert
- Method: Baking
- Cuisine: American
Nutrition
- Serving Size: 1 mini cheesecake
- Calories: 210
- Sugar: 13g
- Sodium: 160mg
- Fat: 15g
- Saturated Fat: 9g
- Unsaturated Fat: 5g
- Trans Fat: 0g
- Carbohydrates: 16g
- Fiber: 0g
- Protein: 4g
- Cholesterol: 55mg