Olive Garden Breadsticks Recipe
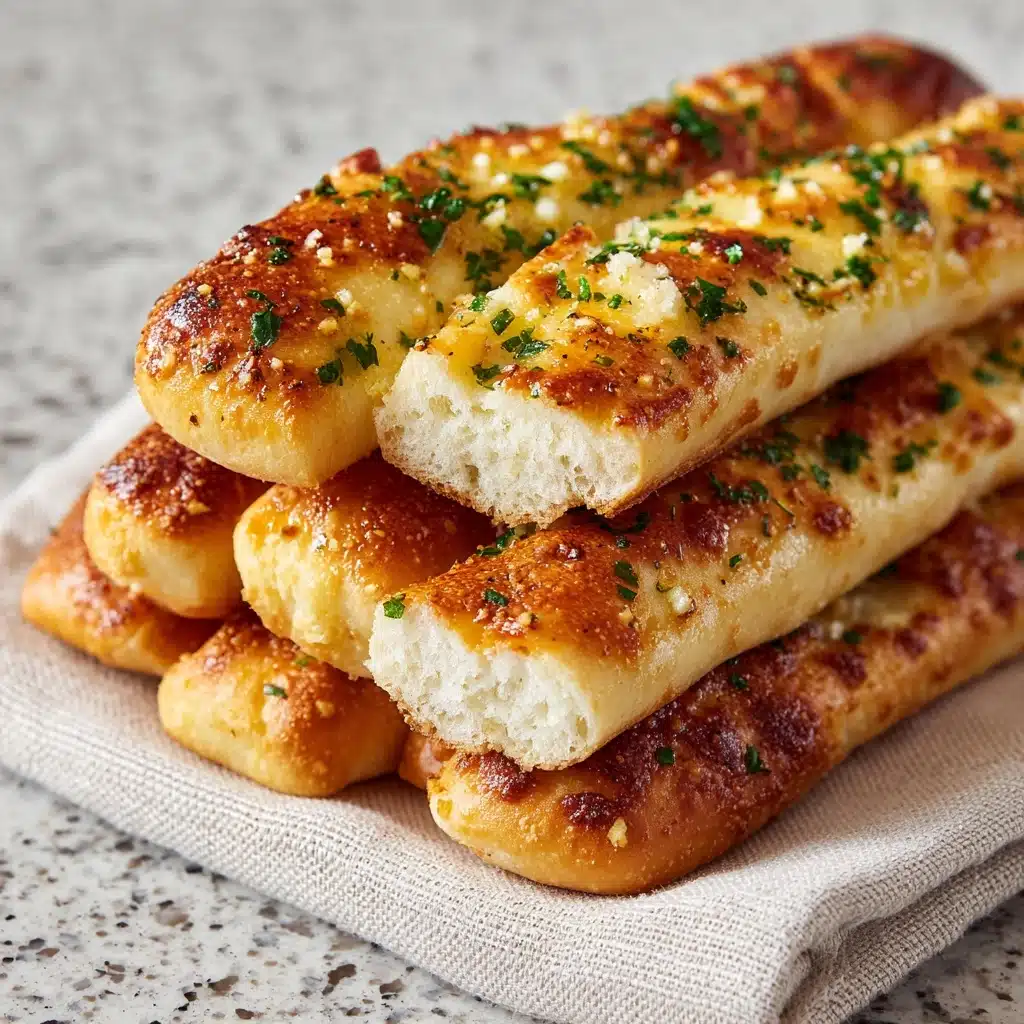
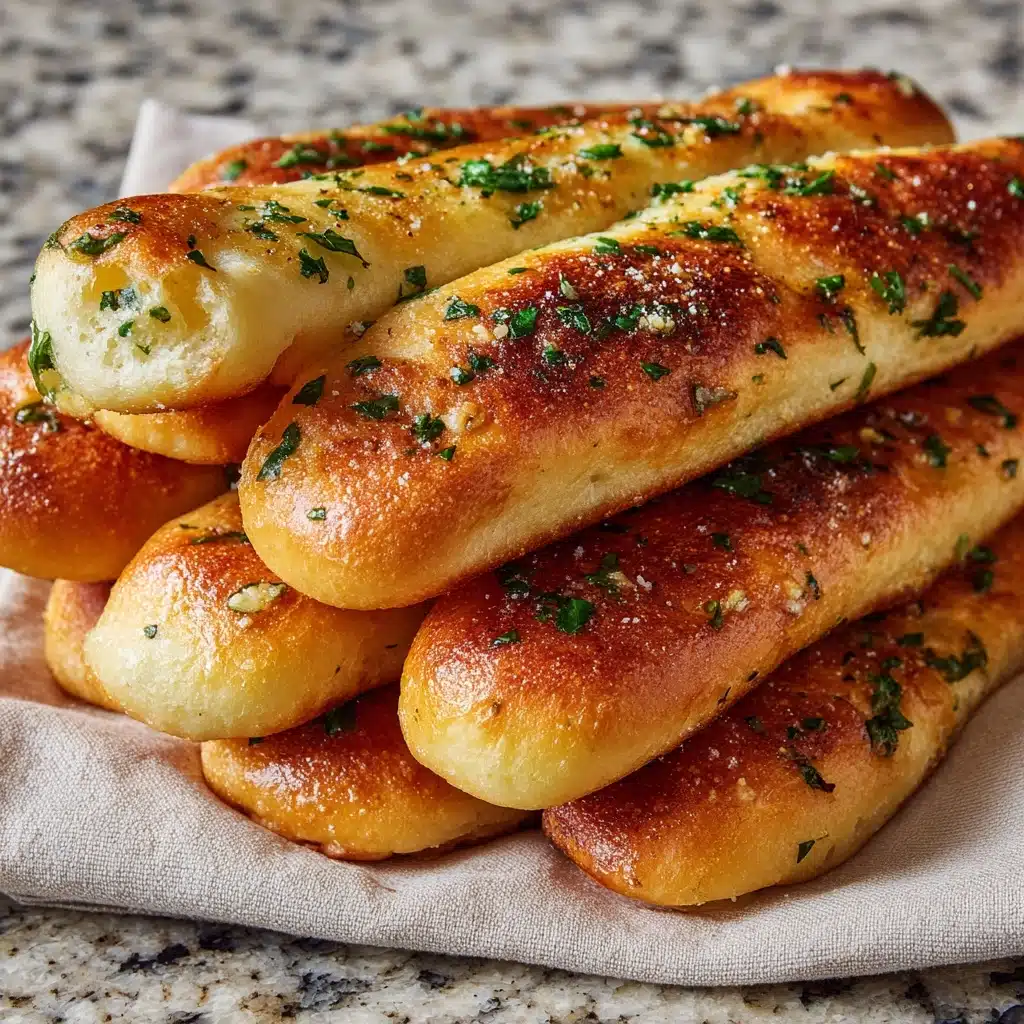
If you’ve ever found yourself reaching for “just one more” Olive Garden Breadstick at the restaurant, you’re in good company! These soft, buttery, and perfectly seasoned breadsticks have a way of turning any meal into a special occasion. This copycat recipe brings the magic home, giving you fresh-from-the-oven flavor and aroma that’s every bit as crave-worthy as the original. Whether you’re serving them alongside a pasta feast or simply enjoying them as a snack, these Olive Garden Breadsticks are sure to steal the show.
Ingredients You’ll Need
The beauty of Olive Garden Breadsticks lies in their simplicity—each ingredient is chosen for the way it enhances texture, flavor, or appearance. Don’t skip or swap these staples; together, they create that irresistible, signature breadstick experience.
- Warm water (1 cup, about 110°F): Kick-starts the yeast and helps develop a pillowy crumb.
- Active dry yeast (2 1/4 teaspoons, 1 packet): Essential for that light, airy rise.
- Granulated sugar (2 tablespoons): Feeds the yeast and adds a subtle sweetness.
- Unsalted butter, melted and divided (3 tablespoons): The secret to rich, tender breadsticks and that classic buttery topping.
- Salt (1 1/2 teaspoons): Balances flavors and enhances every bite.
- All-purpose flour (3 cups, plus more as needed): The foundation of a soft yet chewy breadstick.
- Garlic powder (1/2 teaspoon): Delivers that iconic garlicky aroma and taste.
- Dried oregano (1/2 teaspoon, optional): Adds a hint of Italian herb flavor for extra authenticity.
- Salt for topping (1/4 teaspoon): A final sprinkle that wakes up all the flavors.
How to Make Olive Garden Breadsticks
Step 1: Activate the Yeast
Start by combining the warm water, yeast, and sugar in a large mixing bowl or the bowl of your stand mixer. Let this mixture sit undisturbed for about 5 to 10 minutes, until it turns foamy—this is the yeast telling you it’s alive and ready to work its magic.
Step 2: Mix and Knead the Dough
Add 2 tablespoons of the melted butter, 1 1/2 teaspoons of salt, and all the flour to the yeast mixture. Mix until a soft dough forms. If you’re kneading by hand, turn the dough onto a lightly floured surface and knead for 7 to 10 minutes until it’s smooth and elastic. If it feels sticky, sprinkle in a little extra flour, a tablespoon at a time, until it’s manageable but still soft.
Step 3: First Rise
Transfer the dough into a lightly greased bowl, cover it with a clean kitchen towel or plastic wrap, and let it rise in a warm spot for about an hour. You’ll know it’s ready when it’s doubled in size and looks puffy and airy.
Step 4: Shape the Breadsticks
Gently punch down the dough to release excess air. Divide it into 12 equal pieces (a kitchen scale makes this extra easy). Roll each piece into a 7-inch rope—don’t worry if they aren’t perfect, rustic is beautiful! Arrange them on a parchment-lined baking sheet with a bit of space between each.
Step 5: Second Rise
Cover the shaped breadsticks with a towel and let them rise again for 20 to 30 minutes, just until they look a bit more plump and puffy. This second rise gives Olive Garden Breadsticks their signature, cloud-like texture.
Step 6: Bake to Perfection
Preheat your oven to 400°F. Bake the breadsticks for 12 to 14 minutes, or until the tops are just turning golden. Keep a close eye near the end—they can go from golden to overdone quickly!
Step 7: Brush with Buttery Garlic Topping
While the breadsticks are baking, mix the remaining 1 tablespoon of melted butter with the garlic powder, oregano (if using), and a pinch of salt. As soon as the hot breadsticks come out of the oven, brush them generously with this seasoned butter. This step gives Olive Garden Breadsticks their mouthwatering aroma and irresistible sheen.
How to Serve Olive Garden Breadsticks
Garnishes
For that restaurant-worthy finish, a light sprinkle of coarse salt or a dash of extra dried oregano can add just the right touch. If you love a little cheesy flair, try a dusting of freshly grated Parmesan over the top while the breadsticks are still warm—it melts right in and tastes heavenly.
Side Dishes
Olive Garden Breadsticks shine as a side to almost any Italian-inspired meal. Serve them with your favorite pasta dishes, classic minestrone soup, or a crisp Caesar salad. They’re also perfect for dipping into marinara sauce or creamy Alfredo, soaking up every last bit of flavor.
Creative Ways to Present
If you want to make an impression, arrange the breadsticks in a lined bread basket or stand them upright in a tall glass for a fun party centerpiece. For a family-style dinner, pile them high on a serving platter and let everyone dig in. You can even cut them into bite-sized pieces for a playful appetizer platter with assorted dips.
Make Ahead and Storage
Storing Leftovers
If you find yourself with any leftover Olive Garden Breadsticks (a rare occurrence!), wrap them tightly in foil or store them in an airtight container at room temperature. They’ll stay soft and tasty for about 2 days, ready for a quick reheat or a late-night snack.
Freezing
These breadsticks freeze beautifully! Once they’ve cooled completely, transfer them to a freezer-safe bag or container. They’ll keep for up to 2 months. When you’re craving that fresh-baked flavor, just pull out what you need and reheat as directed below.
Reheating
To revive leftover or frozen Olive Garden Breadsticks, wrap them in foil and warm in a 300°F oven for 5 to 7 minutes. For extra flavor, brush with a little melted butter and a pinch of garlic powder before serving—they’ll taste just like fresh from the oven!
FAQs
Can I use bread flour instead of all-purpose flour?
Absolutely! Bread flour will give your Olive Garden Breadsticks an even chewier, springier texture. It’s a great swap if you want to get as close to the restaurant version as possible.
Why didn’t my dough rise?
Yeast loves warmth and a bit of sugar, but it can be temperamental. Make sure your water isn’t too hot or too cold (about 110°F is perfect), and always check that your yeast is fresh. If the room is chilly, let the dough rise in a slightly warm oven (turned off) for better results.
Can I make the dough ahead of time?
Yes! You can mix and knead the dough, then cover and refrigerate it overnight after the first rise. Just let it come to room temperature before shaping into breadsticks and allowing the second rise.
Is it possible to make these vegan?
Definitely! Swap the butter for a plant-based alternative (like vegan buttery spread or olive oil) and check that your sugar is vegan-friendly. The results will still be soft, fluffy, and delicious.
What if I want extra garlicky breadsticks?
Feel free to boost the garlic powder in the topping, or even rub a cut clove of garlic over the hot breadsticks for an extra punch of garlic flavor. You can also sprinkle a little garlic salt before serving for a zesty finish.
Final Thoughts
There’s something truly special about pulling a tray of Olive Garden Breadsticks from your own oven—soft, golden, and irresistible. I hope you’ll give this recipe a try and let these breadsticks become a favorite at your table, just like they are at mine. Happy baking!
Print
Olive Garden Breadsticks Recipe
- Total Time: 1 hour 45 minutes
- Yield: 12 breadsticks 1x
- Diet: Vegetarian
Description
Recreate the classic Olive Garden Breadsticks with this easy homemade recipe. Soft, buttery, and perfectly seasoned, these Italian-American breadsticks are ideal as a side dish for pasta nights or as a tasty snack.
Ingredients
Dough Ingredients
- 1 cup warm water (about 110°F)
- 2 1/4 teaspoons active dry yeast (1 packet)
- 2 tablespoons granulated sugar
- 3 tablespoons unsalted butter, melted and divided
- 1 1/2 teaspoons salt
- 3 cups all-purpose flour (plus more as needed)
Topping Ingredients
- 1/2 teaspoon garlic powder
- 1/2 teaspoon dried oregano (optional)
- 1/4 teaspoon salt
Instructions
- Activate Yeast: In a large bowl or stand mixer, combine warm water, yeast, and sugar. Let sit for 5 to 10 minutes until the mixture is foamy, indicating the yeast is active.
- Make Dough: Add 2 tablespoons of melted butter, salt, and 3 cups of all-purpose flour to the yeast mixture. Mix until a soft dough forms, then knead on a floured surface or with a stand mixer dough hook for about 7 to 10 minutes until smooth and elastic. If the dough is too sticky, add flour a tablespoon at a time until manageable.
- First Rise: Transfer the dough to a lightly greased bowl, cover with a clean kitchen towel or plastic wrap, and let it rise in a warm spot for about 1 hour or until doubled in size.
- Shape Breadsticks: Punch down the risen dough and divide it into 12 equal pieces. Roll each piece into a 7-inch rope and place them on a parchment-lined baking sheet, spaced slightly apart.
- Second Rise: Cover the shaped breadsticks loosely and let them rise again for 20 to 30 minutes until slightly puffy.
- Preheat Oven: While the breadsticks rise, preheat your oven to 400°F (200°C).
- Bake: Bake the breadsticks in the preheated oven for 12 to 14 minutes or until golden brown on top.
- Prepare Topping: While the breadsticks bake, mix the remaining 1 tablespoon of melted butter with garlic powder, dried oregano (if using), and a pinch of salt.
- Brush and Serve: When breadsticks are done, remove them from the oven and immediately brush generously with the seasoned butter. Serve warm for optimal flavor and texture.
Notes
- For a more authentic texture and chewier breadsticks, substitute bread flour for all-purpose flour.
- Leftover breadsticks can be wrapped in foil and reheated at 300°F (150°C) for 5–7 minutes.
- Breadsticks freeze well after baking and cooling; reheat from frozen wrapped in foil at 300°F for about 10–12 minutes.
- Prep Time: 20 minutes
- Cook Time: 14 minutes
- Category: Side Dish
- Method: Baking
- Cuisine: Italian-American
Nutrition
- Serving Size: 1 breadstick
- Calories: 160
- Sugar: 2g
- Sodium: 250mg
- Fat: 4g
- Saturated Fat: 2g
- Unsaturated Fat: 1g
- Trans Fat: 0g
- Carbohydrates: 26g
- Fiber: 1g
- Protein: 3g
- Cholesterol: 10mg