Homemade Cotton Candy Fudge Recipe
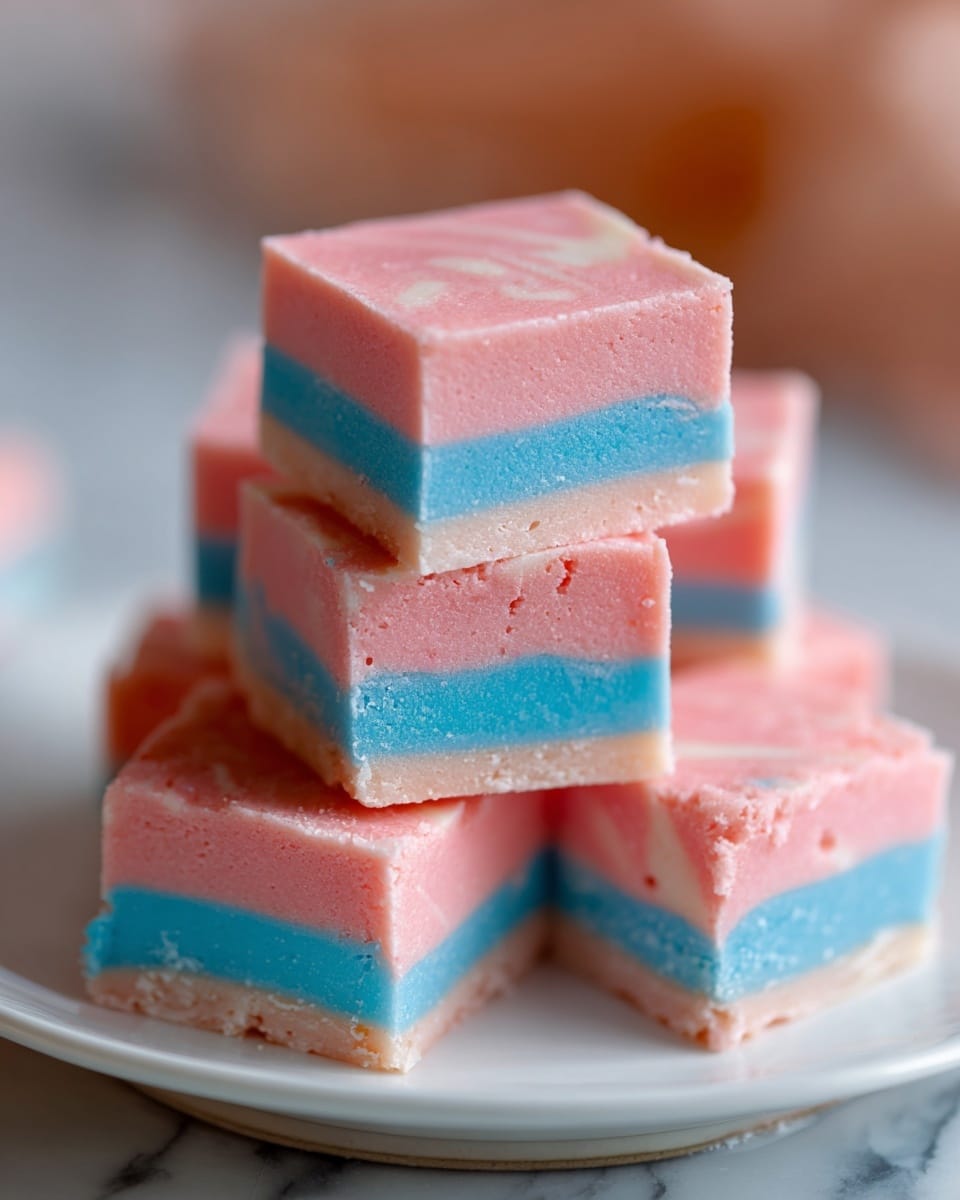
If you have a sweet tooth and a love for whimsical treats, you are going to adore this Homemade Cotton Candy Fudge Recipe. It captures the airy, nostalgic flavor of cotton candy in a rich, creamy fudge form that practically melts in your mouth. With just a handful of easy ingredients, this fudge offers a delightful pop of pastel color and a taste that brings childhood carnival memories right to your kitchen. Whether you’re craving a fun dessert or looking to impress at your next gathering, this fudge blends simplicity and magic in every bite.
Ingredients You’ll Need
These simple ingredients come together beautifully to create the perfect balance of flavor, texture, and vibrant color in your fudge. Each plays an essential role, from the creamy base to the fun cotton candy essence and colorful finishing touches.
- Sweetened condensed milk: This provides the creamy, luscious base that gives fudge its classic smooth texture.
- White chocolate chips: Melting into a silky canvas, they add a sweet richness that complements the cotton candy flavor perfectly.
- Cotton candy flavoring: The star ingredient that mimics the fun, sugary taste of your favorite carnival treat.
- Gel-based food coloring (pink and blue): These vibrant shades make the fudge visually irresistible and playful without altering texture.
- Pink sea salt (optional): A pinch sprinkled on top adds a delightful contrast, amplifying sweetness with a subtle, savory note.
How to Make Homemade Cotton Candy Fudge Recipe
Step 1: Prep Your Ingredients
Start by gathering all your ingredients within easy reach on your countertop. Having everything ready before melting chocolate ensures a smooth, stress-free cooking process.
Step 2: Melt the White Chocolate
Place the white chocolate chips in a microwave-safe bowl and heat in 30-second intervals, stirring well between each to avoid burning. Once the chocolate is silky and fully melted, you’re ready for the next step.
Step 3: Combine with Sweetened Condensed Milk
Pour the sweetened condensed milk into the melted chocolate, stirring until the mixture becomes silky and uniform. This combination creates that signature fudge creaminess you’re aiming for.
Step 4: Add Cotton Candy Flavor and Colors
Mix in the cotton candy flavoring thoroughly, then add gel-based food coloring drops of pink and blue. Swirl them gently for a fun, marbled effect or mix fully for even color throughout. This step transforms your fudge into a playful treat.
Step 5: Pour and Smooth
Line an 8×8-inch baking pan with parchment paper or foil for easy removal. Pour the fudge mixture into the pan and smooth the top with a spatula, setting the stage for perfect squares once it firms up.
Step 6: Chill to Set
Refrigerate the fudge for at least two hours until it feels firm when touched. Once set, cut into evenly sized squares ready to delight anyone craving a whimsical, sweet bite.
How to Serve Homemade Cotton Candy Fudge Recipe
Garnishes
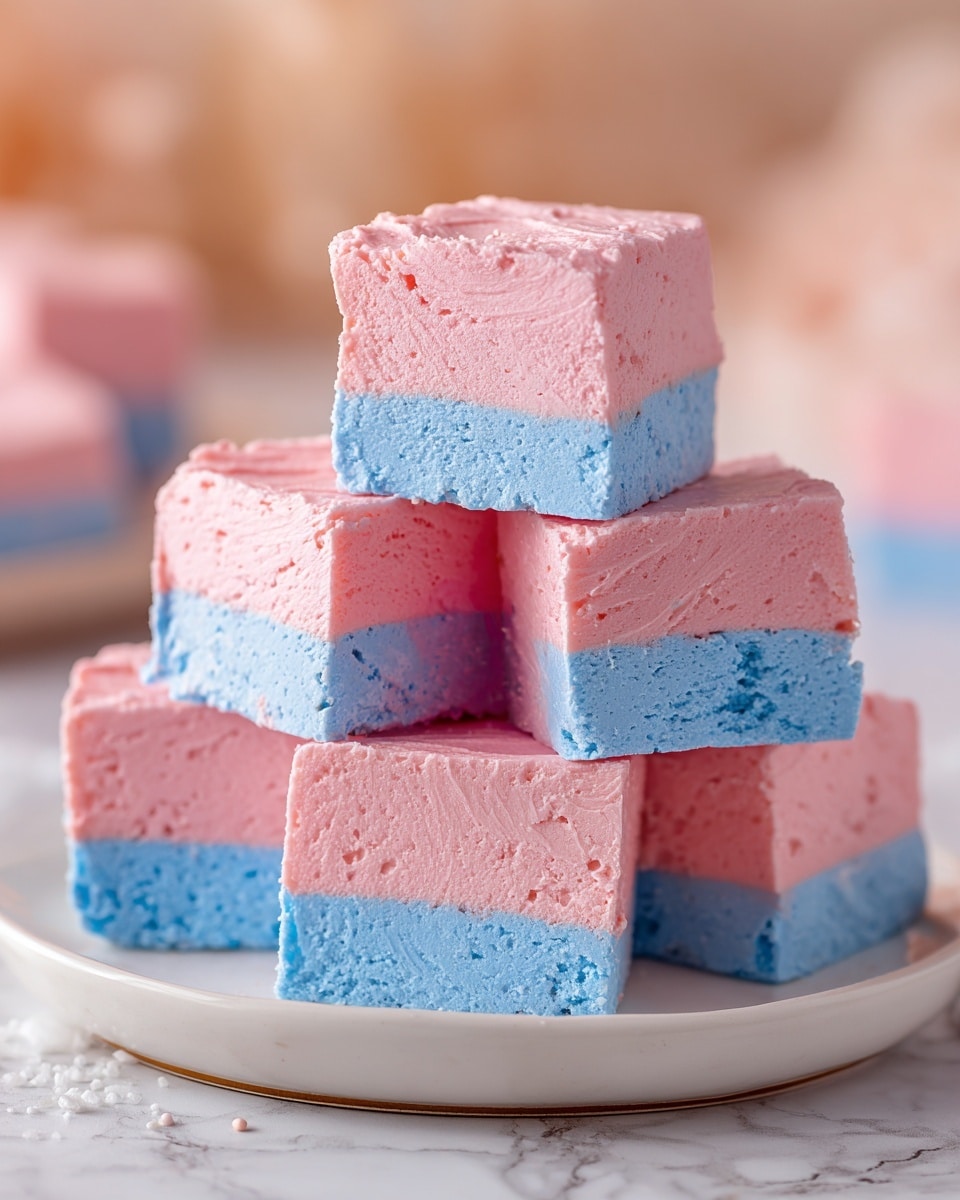
Sprinkle a pinch of pink sea salt atop your fudge squares just before serving to highlight and balance out the sweetness. Alternatively, a dusting of edible glitter or tiny sugar pearls can add a touch of carnival sparkle.
Side Dishes
This fudge shines as a solo treat but pairs wonderfully with tea or a light dessert wine. Fresh berries or a citrus sorbet on the side work beautifully to cut through the creamy richness and add fresh flavor contrast.
Creative Ways to Present
Present your Homemade Cotton Candy Fudge Recipe in colorful mini cupcake liners or arrange them on a pretty platter with pastel decorations for parties or baby showers. Layering the fudge squares with cotton candy cones or candy sticks can also create a charming carnival-themed dessert display.
Make Ahead and Storage
Storing Leftovers
Keep your fudge in an airtight container at room temperature or in the fridge. Properly stored, it will stay fresh and delicious for up to two weeks, giving you plenty of time to savor that cotton candy magic.
Freezing
You can freeze fudge to extend its life. Wrap individual pieces tightly in plastic wrap and place them in a freezer-safe bag or container. It will keep well for up to three months. Thaw overnight in the fridge before serving for best texture.
Reheating
Fudge is best enjoyed chilled or at room temperature, so reheating is usually unnecessary. If you prefer it softer, leave it at room temperature for a bit or microwave very gently in short bursts to avoid melting.
FAQs
Can I use regular flavoring instead of cotton candy flavoring?
While regular vanilla or berry flavors might taste good, cotton candy flavoring truly captures the unique, sweet, and slightly fruity profile essential to this fudge’s nostalgic charm. For the classic experience, sticking with cotton candy flavoring is best.
Is it possible to make this fudge vegan or dairy-free?
This recipe relies heavily on dairy-based ingredients like sweetened condensed milk and white chocolate chips. However, you can experiment with vegan condensed milk alternatives and dairy-free white chocolate to create a similar treat, though texture and flavor may vary.
How do I get the perfect marbled effect with the colors?
After adding pink and blue gel food coloring, use a toothpick or skewer to gently swirl the colors together without fully blending. This creates stunning marbled patterns that look just like cotton candy clouds.
Can I add other mix-ins to the fudge?
Absolutely! Mini marshmallows, crushed candy canes, or edible glitter can add fun textures and visual interest. Just fold them in gently after mixing the flavor and color.
What’s the best way to cut fudge without it cracking or crumbling?
Use a sharp knife dipped briefly in hot water and wiped dry between cuts. Cutting when the fudge is completely chilled and firm also helps achieve clean, neat squares.
Final Thoughts
I cannot recommend this Homemade Cotton Candy Fudge Recipe enough if you want a quick, delightful dessert that’s bursting with playful flavor and gorgeous pastel hues. It’s easy, fun to make, and a total crowd-pleaser—perfect for sharing those sweet moments with friends and family. Give it a try today and watch everyone’s eyes light up with each bite!
Print
Homemade Cotton Candy Fudge Recipe
- Total Time: 15 minutes
- Yield: 16 servings 1x
Description
This Homemade Cotton Candy Fudge is a delightful and whimsical treat that combines creamy white chocolate and sweetened condensed milk with playful cotton candy flavoring and vibrant colors. Perfect for parties or a fun dessert, this no-bake fudge is easy to make and sets quickly in the refrigerator into smooth, melt-in-your-mouth squares.
Ingredients
Fudge Base
- 1 can (14 oz) sweetened condensed milk
- 2 cups white chocolate chips
Flavoring & Coloring
- 1 tsp cotton candy flavoring
- Gel-based food coloring (pink and blue), as desired
Optional Garnish
- Pink sea salt, for sprinkling
Instructions
- Prepare Ingredients: Gather all the ingredients on your counter to have everything within reach for smooth preparation.
- Melt White Chocolate: Place the white chocolate chips in a microwave-safe bowl and heat in 30-second intervals, stirring well between each, until the chocolate is fully melted and smooth.
- Mix Condensed Milk: Add the sweetened condensed milk to the melted white chocolate and stir the mixture until it becomes silky and fully combined without lumps.
- Add Flavoring and Coloring: Stir in the cotton candy flavoring and gel-based food coloring until the mixture has an even pastel color and the flavor is fully incorporated.
- Pour and Smooth: Line an 8×8-inch baking pan with parchment paper and pour the fudge mixture into the pan. Use a spatula to smooth out the top evenly.
- Chill to Set: Place the pan in the refrigerator and chill for at least 2 hours, or until the fudge is firm to the touch.
- Slice and Serve: Once set, remove the fudge from the pan using the parchment paper and cut into 16 equal squares. Optionally, sprinkle with pink sea salt before serving to add a contrasting flavor and texture.
Notes
- Use gel-based food coloring to avoid altering the fudge texture.
- White chocolate chips can be substituted with white chocolate bars chopped finely.
- Store fudge in an airtight container in the refrigerator for up to 1 week.
- For a more intense flavor, adjust the cotton candy flavoring to your preference.
- Optional pink sea salt adds a nice sweet-salty contrast; omit if you prefer purely sweet.
- Prep Time: 10 minutes
- Cook Time: 5 minutes
- Category: Dessert
- Method: No-Cook
- Cuisine: American

