No-Bake Peanut Butter Bars Recipe
If you have a weakness for sweet treats that come together quickly and without heating up the oven, this No-Bake Peanut Butter Bars Recipe is a game changer. Imagine the rich, creamy peanut butter layer perfectly balanced with a buttery graham cracker crust, all topped off with a luscious chocolate layer that’s smooth and irresistible. These bars offer that perfect marriage of flavors and textures—crunchy, creamy, and chocolatey—all in one bite. Whether it’s a last-minute dessert, a snack to share with friends, or an anytime indulgence, this recipe is sure to become your go-to favorite.
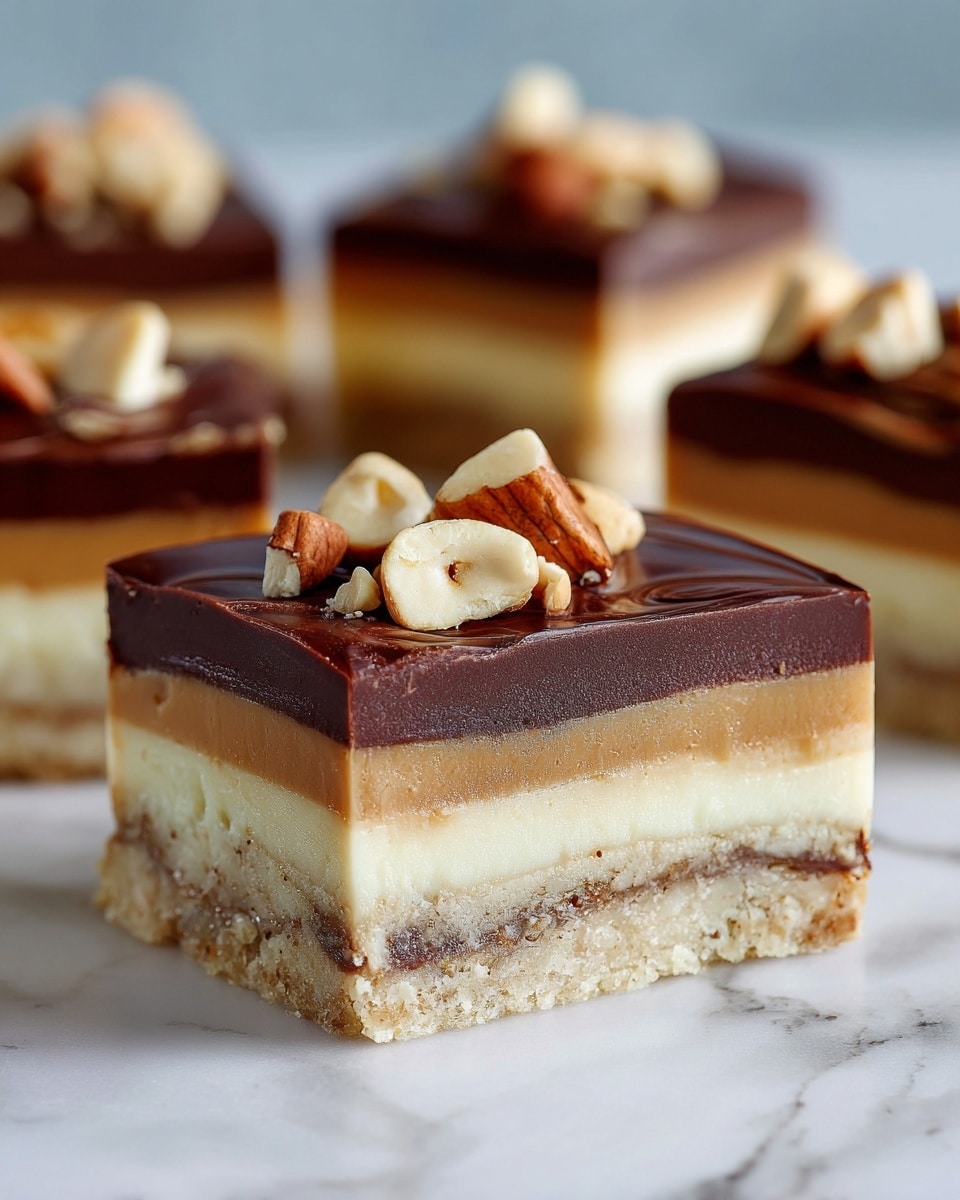
Ingredients You’ll Need
You don’t need a pantry full of fancy ingredients to whip up this delightful treat. Each item plays a crucial role: creamy peanut butter for richness and flavor, melted butter to bind the base with a silky touch, graham cracker crumbs to add a subtle crunch and depth, powdered sugar for that hint of sweetness, and chocolate chips that melt into a glossy, dreamy topping.
- 1 cup creamy peanut butter: Use smooth for a consistent texture and rich peanut flavor.
- 1/2 cup unsalted butter, melted: This ensures the base holds together without overpowering the peanut taste.
- 1 1/2 cups graham cracker crumbs: Provides that classic buttery, slightly sweet crunchy base.
- 1 cup powdered sugar: Adds sweetness and helps thicken the base mixture perfectly.
- 1 cup semi-sweet chocolate chips: Semi-sweet chocolate balances the peanut butter’s richness without being too sweet.
- 1/4 cup creamy peanut butter: Mixed into the chocolate topping for a peanut buttery twist in every bite.
How to Make No-Bake Peanut Butter Bars Recipe
Step 1: Prepare the Baking Dish
Start by lining an 8×8-inch baking dish with parchment paper. This simple step ensures you can easily lift out the bars later without any sticking or breaking. Leaving a bit of overhang on the sides makes removal quick and mess-free, giving you perfect edges every time.
Step 2: Make the Peanut Butter Base
In a large bowl, combine the creamy peanut butter, melted unsalted butter, graham cracker crumbs, and powdered sugar. Stir everything together until the mixture is smooth and uniformly combined. This is where the magic begins—the silky texture infused with just enough sweetness and crunch creates that irresistible base layer.
Step 3: Form the Base Layer
Press the peanut butter mixture evenly into the parchment-lined baking dish. Use the back of a spoon or an offset spatula to smooth it out and pack it down firmly. This step helps your bars hold their shape perfectly once chilled and sets the stage for the chocolate topping.
Step 4: Make the Chocolate Topping
In a microwave-safe bowl, combine the semi-sweet chocolate chips and 1/4 cup creamy peanut butter. Microwave in 20-30 second intervals, stirring well after each burst to prevent scorching and encourage smooth melting. You can also use a double boiler if you prefer—both methods yield a glossy chocolate-peanut butter topping that’s heavenly on these bars.
Step 5: Top the Bars
Once melted and combined, pour the chocolate mixture evenly over the peanut butter base. Use a spatula to gently spread it out in a smooth, even layer. This luscious chocolate coat adds that final richness and creates a beautiful contrast in texture and flavor.
Step 6: Chill
Place the baking dish in the refrigerator for at least 2 hours. This chilling time is essential—it allows the chocolate topping to harden and the bars to set firmly, making them easy to cut and perfect for serving.
Step 7: Serve
After the bars have fully set, use the parchment paper overhang to lift them out of the dish. Cut them into squares or rectangles, whatever size you prefer, and get ready to indulge in one of the easiest yet most satisfying desserts you’ll ever make.
How to Serve No-Bake Peanut Butter Bars Recipe
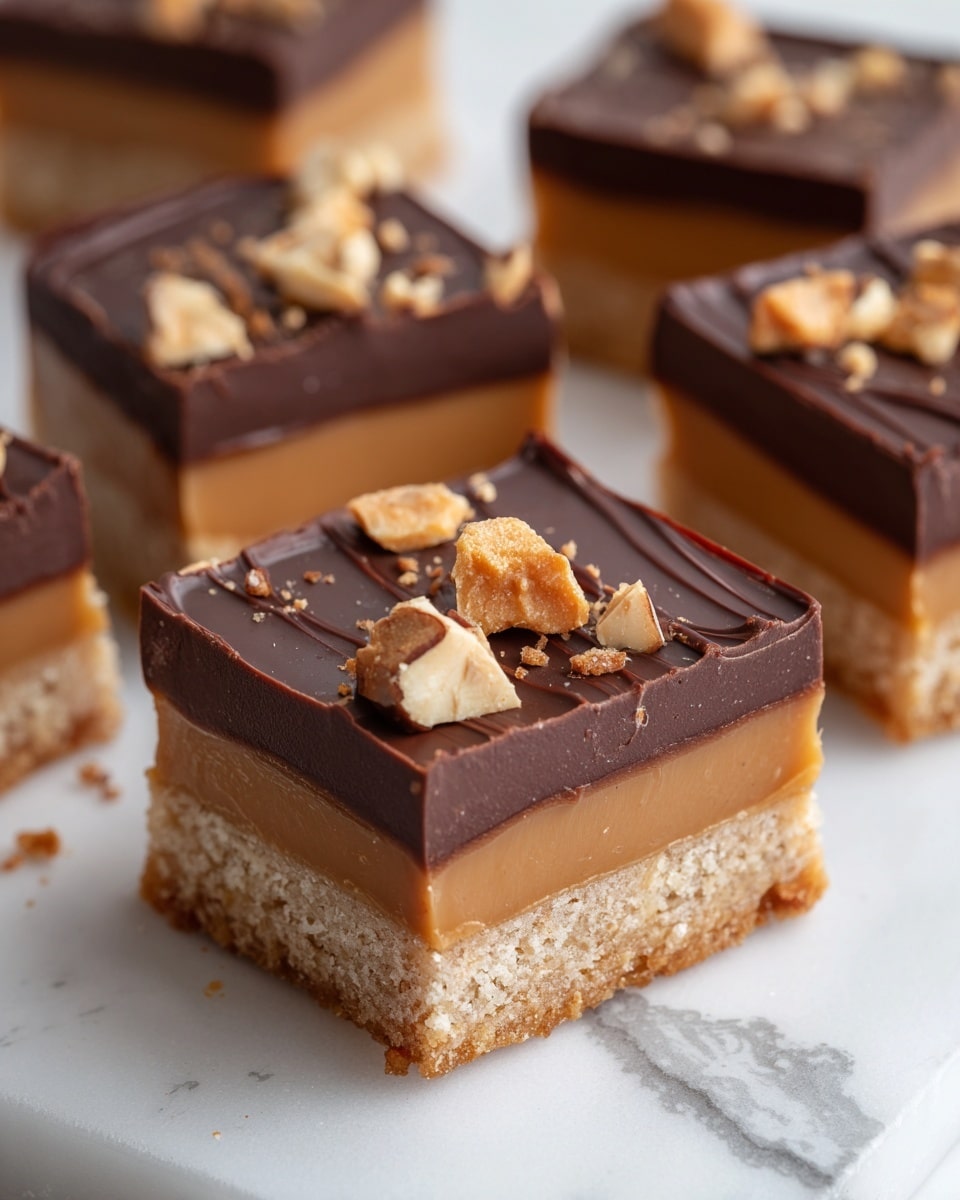
Garnishes
To elevate the presentation and add a little extra texture, sprinkle chopped peanuts, a pinch of sea salt, or a drizzle of melted white chocolate over the top before chilling. These simple touches make your bars look bakery-worthy and add a lovely flavor contrast.
Side Dishes
These peanut butter bars pair wonderfully with a cold glass of milk, a cup of rich coffee, or a dollop of whipped cream. For a refreshing touch, a side of fresh berries adds brightness that complements the creamy richness of the bars.
Creative Ways to Present
For parties, serve your bars on a decorative tray lined with colorful napkins or parchment paper with a sprinkle of crushed graham crackers around the edges. You can even cut them into bite-sized squares and serve on toothpicks for a fun finger-food dessert option.
Make Ahead and Storage
Storing Leftovers
Keep your no-bake peanut butter bars in an airtight container in the refrigerator where they will stay fresh for up to a week. Make sure to separate layers with parchment paper to prevent sticking and maintain their perfect texture.
Freezing
Want to make these bars in advance? Wrap individual bars tightly in plastic wrap, then place them in a freezer-safe container or zip-top bag. Frozen bars keep well for up to 3 months and can be thawed overnight in the fridge for an easy treat anytime.
Reheating
These bars are best enjoyed chilled or at room temperature, but if you prefer them a little softer, let them sit out for 10–15 minutes before serving. Avoid microwaving, as it can make the chocolate topping runny and the texture less stable.
FAQs
Can I use crunchy peanut butter instead of creamy?
Yes! Crunchy peanut butter adds a nice texture but keep in mind it may alter the smoothness of the base slightly. It’s a delicious twist if you enjoy a bit of nutty crunch in each bite.
What can I substitute for graham cracker crumbs?
If you don’t have graham crackers on hand, crushed digestive biscuits or vanilla wafers work well as a similar crunchy base with a subtle sweetness.
Is it necessary to melt the peanut butter with chocolate for the topping?
Melting peanut butter into the chocolate creates a smoother, richer topping with a distinct peanut flavor. You could melt chocolate alone, but the peanut butter adds that extra creamy, indulgent layer!
How do I make sure the bars are firm enough to cut?
Chilling for at least 2 hours in the fridge is key. If your bars aren’t firm enough, simply give them more time to chill until fully set—patience pays off with neat, clean squares.
Can I double the recipe for a larger batch?
Absolutely! Simply double all ingredients and use a larger baking dish. Just be sure to adjust chilling time accordingly, as a thicker layer may need extra time to set completely.
Final Thoughts
I wholeheartedly encourage you to dive into this No-Bake Peanut Butter Bars Recipe the next time you’re craving something sweet, simple, and downright addictive. It’s such a satisfying combination of flavors and textures that will have everyone asking for seconds. Plus, the ease of no-bake preparation means more time to enjoy, less time stressing in the kitchen. Trust me, once you try these bars, they’ll quickly become a beloved staple in your dessert repertoire.
Print
No-Bake Peanut Butter Bars Recipe
- Total Time: 2 hours 20 minutes
- Yield: 16 servings 1x
Description
No-Bake Peanut Butter Bars are a quick and easy treat combining a creamy peanut butter base with a rich chocolate topping. Perfect for when you want a delicious dessert without using the oven.
Ingredients
Base
- 1 cup creamy peanut butter
- 1/2 cup unsalted butter, melted
- 1 1/2 cups graham cracker crumbs
- 1 cup powdered sugar
Chocolate Topping
- 1 cup semi-sweet chocolate chips
- 1/4 cup creamy peanut butter
Instructions
- Prepare the baking dish: Line an 8×8-inch baking dish with parchment paper, leaving an overhang on the sides for easy removal of the bars later.
- Make the peanut butter base: In a large bowl, mix together the creamy peanut butter, melted unsalted butter, graham cracker crumbs, and powdered sugar until the mixture is smooth and thoroughly combined.
- Form the base layer: Press the peanut butter mixture evenly into the bottom of the prepared baking dish, creating a solid and compact base layer.
- Make the chocolate topping: In a microwave-safe bowl, melt the semi-sweet chocolate chips together with 1/4 cup creamy peanut butter in 20-30 second intervals, stirring after each interval until smooth. Alternatively, you can melt them using a double boiler over simmering water.
- Top the bars: Pour the melted chocolate mixture evenly over the peanut butter base and spread it out smoothly with a spatula to cover the surface.
- Chill: Refrigerate the assembled bars for at least 2 hours, or until the chocolate topping has hardened and the bars are fully set.
- Serve: Once chilled, lift the bars from the dish using the parchment overhang, cut into squares or rectangles, and enjoy your no-bake peanut butter bars!
Notes
- You can substitute crunchy peanut butter for a different texture.
- Store bars in an airtight container in the refrigerator for up to 1 week.
- For a gluten-free version, use gluten-free graham cracker crumbs.
- If you want a dairy-free option, replace butter with coconut oil and use dairy-free chocolate chips.
- Make sure to let the chocolate cool slightly before pouring to avoid melting the base.
- Prep Time: 20 minutes
- Cook Time: 0 minutes
- Category: Dessert
- Method: No-Cook
- Cuisine: American
