Chocolate Raspberry Cups Recipe
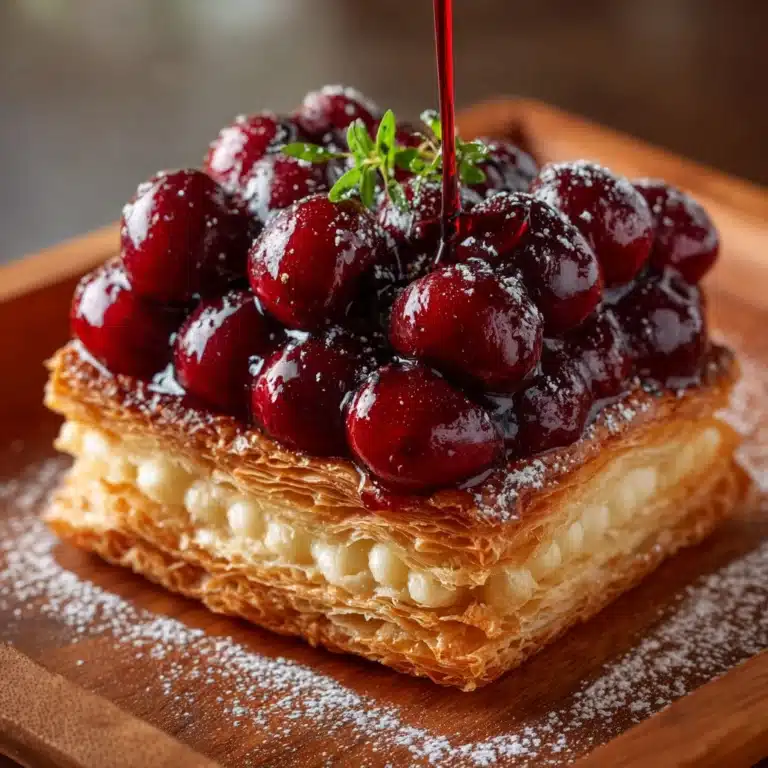
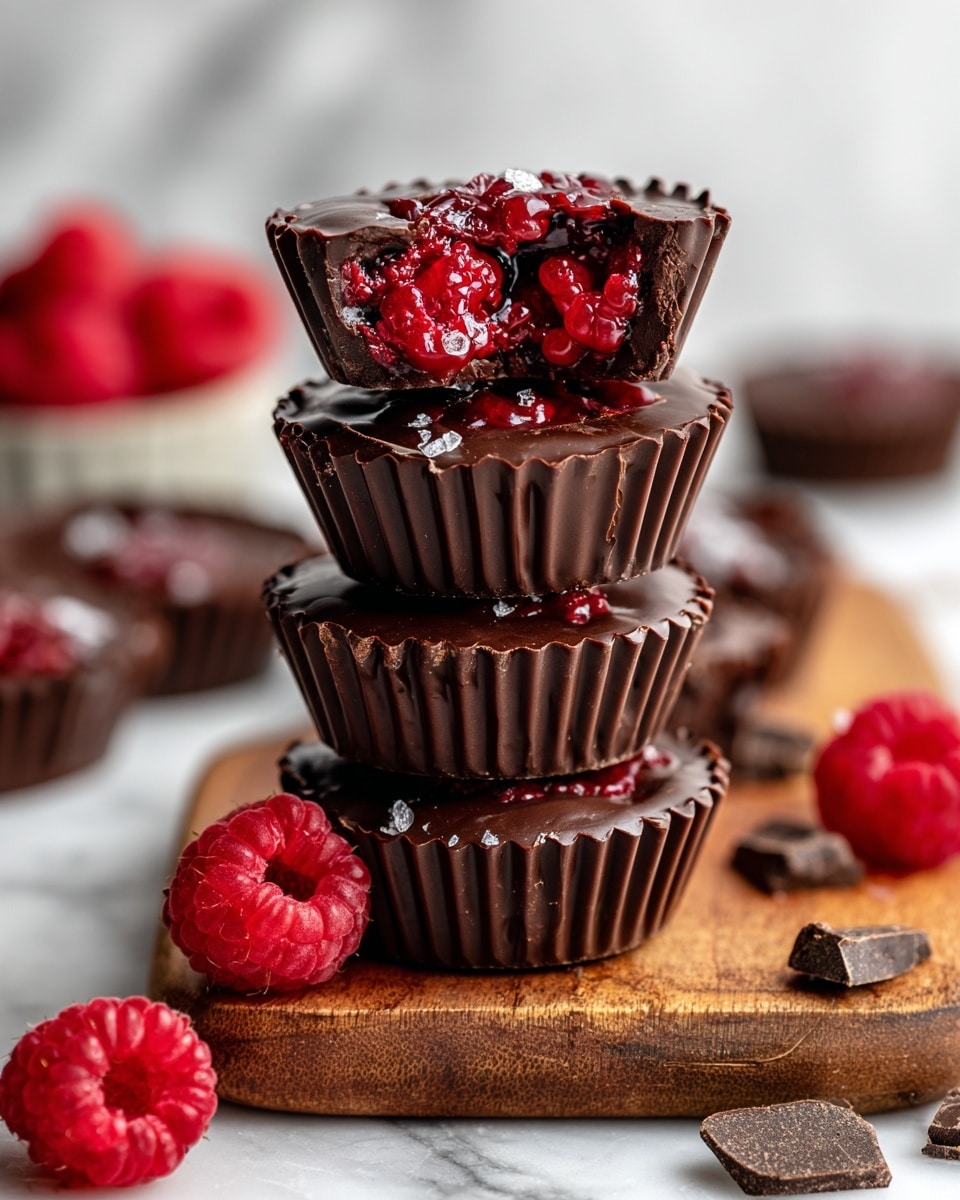
If you’re craving a delightful treat that’s as beautiful to look at as it is divine to eat, the Chocolate Raspberry Cups Recipe is going to steal your heart. Imagine luscious, tangy raspberry filling wrapped inside a crisp, silky chocolate shell—each bite bursting with just the right balance of sweetness and freshness. These cups are a fantastic little dessert or snack that feels fancy but is surprisingly simple to make, perfect for impressing friends or indulging yourself whenever the mood strikes.
Ingredients You’ll Need
The magic of this recipe lies in a handful of simple, quality ingredients that come together to deliver incredible flavor and texture. Each one plays a vital role, from the natural sweetness of the raspberries to the rich depth of the chocolate.
- 6 oz raspberries (fresh or frozen): Provides a vibrant, juicy base bursting with natural tartness and color.
- 1 tbsp chia seeds: Adds texture and helps thicken the raspberry filling naturally.
- 2 tsp sweetener of choice: Balances the tartness of the raspberries—choose honey, maple syrup, or your favorite sugar substitute.
- 6 oz chocolate chips or chopped chocolate bars (about 1 cup): Forms the silky shell, with options from dark to milk chocolate for customization.
- Optional: 1 tsp vegetable oil or melted coconut oil: Makes the melted chocolate extra smooth and shiny for a professional finish.
How to Make Chocolate Raspberry Cups Recipe
Step 1: Prepare the Raspberry Filling
Start by mashing the raspberries until they’re roughly pureed—don’t worry about a perfectly smooth texture, since the seeds add nice character. Warm the mashed fruit gently in a small saucepan with chia seeds and your chosen sweetener. Stir often and watch for small bubbles to form, which means it’s ready. Then, remove from heat and allow it to cool slightly so it thickens without losing its vibrant flavor.
Step 2: Melt the Chocolate
Next, melt your chocolate chips or chopped bars either in short bursts in the microwave, stirring in between, or using a double boiler for more control. If you want your chocolate to have that glossy, smooth finish, stir in a teaspoon of vegetable or coconut oil. This little trick makes a big difference when you coat the cups.
Step 3: Form the Chocolate Shells
Line a mini muffin tin with paper liners or prepare candy molds to give your cups a neat shape. Spoon about a teaspoon of melted chocolate into each liner, then use the back of a spoon to carefully spread the chocolate up the sides, creating a shell. Pop the tray into the fridge or freezer just long enough for the shells to harden so they can hold the filling well.
Step 4: Add the Raspberry Filling
Once your chocolate shells are firm, spoon two teaspoons of the cooled raspberry filling into each one. Don’t overfill—leave space to seal the top with chocolate, creating a neat and tempting cup.
Step 5: Seal the Cups
Cover each raspberry-filled cup with the remaining melted chocolate, smoothing the tops so they look polished. Return the cups to the fridge or freezer and chill until fully set. This seals in the jammy raspberry flavor and keeps your cups looking and tasting amazing.
How to Serve Chocolate Raspberry Cups Recipe
Garnishes
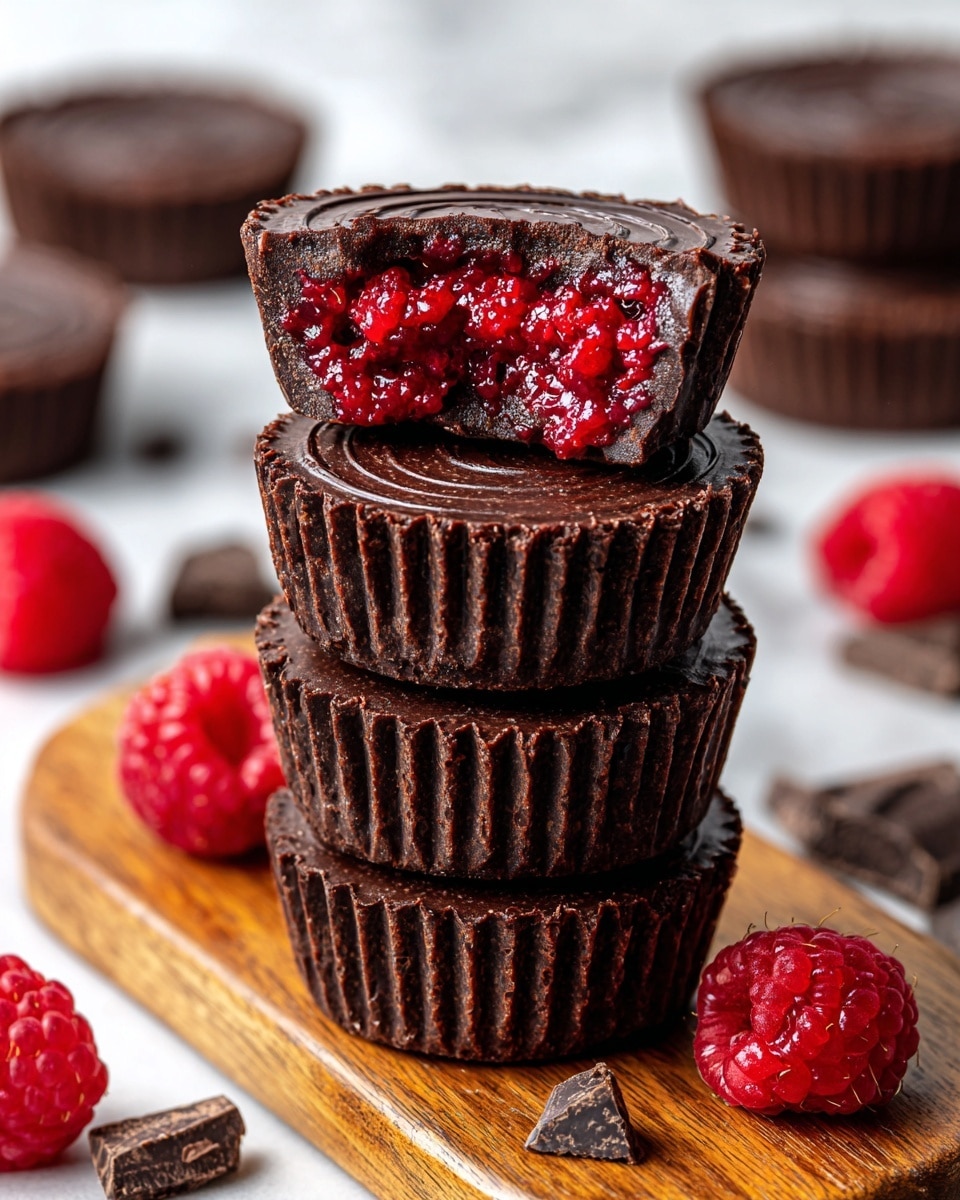
These little delights really shine on their own, but a light dusting of powdered sugar or a few fresh raspberries on top can elevate their presentation. For a bit of crunch, sprinkle finely chopped nuts or cocoa nibs before the final chill—giving a wonderful contrast to the creamy chocolate.
Side Dishes
Pair your Chocolate Raspberry Cups Recipe with a scoop of vanilla ice cream or a dollop of whipped cream for an added layer of indulgence. Fresh mint leaves on the side add a refreshing aroma that complements the rich, fruity flavors perfectly.
Creative Ways to Present
Why not get creative and serve these at your next party on a decorative platter lined with edible flowers or alongside a cup of hot coffee or tea? You can even place them in small gift boxes or clear treat bags tied with a ribbon—making these cups as wonderful as gifts as they are as desserts.
Make Ahead and Storage
Storing Leftovers
Chocolate Raspberry Cups hold up beautifully in the fridge for up to a week, making them a perfect make-ahead treat. Just be sure to store them in an airtight container to prevent the chocolate from absorbing any fridge odors and to keep the raspberry filling fresh.
Freezing
If you want to prepare these in advance, freezing is a great option. Place the cups on a baking sheet to freeze individually, then transfer to a sealed container or freezer bag. When properly stored, they’ll keep their flavor and texture for up to two months.
Reheating
Since these are best enjoyed chilled, avoid reheating. Instead, let frozen cups thaw in the fridge for several hours before serving to preserve the texture of both chocolate and raspberry filling. This ensures every bite feels fresh and luscious.
FAQs
Can I use other fruits instead of raspberries?
Absolutely! While raspberries lend a perfect tartness and vibrant color, strawberries, blackberries, or even blueberries can be substituted. Just adjust the sweetener to balance the natural sweetness of the fruit you choose.
What kind of chocolate is best for these cups?
Dark chocolate offers a lovely contrast to the sweet and tart filling, but milk chocolate works beautifully for a sweeter, creamier cup. For a dairy-free version, make sure to pick vegan chocolate chips or bars.
Do the chia seeds affect the texture much?
Chia seeds help thicken the raspberry mixture and add a subtle pop of texture without overwhelming the filling. If you prefer a smoother filling, you can blend the mixture after it cools or reduce the chia seeds slightly.
Can I make these cups nut-free?
Yes, this recipe is naturally nut-free as long as you choose chocolate without any nut traces. Always check labels if allergies are a concern.
How long does it take to make the cups?
The total prep and chilling time is around 45 minutes, making these a quick and rewarding treat. Most of that is hands-off chilling time while the chocolate sets.
Final Thoughts
The Chocolate Raspberry Cups Recipe is a fantastic way to bring a touch of elegance and irresistible flavor to your dessert table with minimal fuss. Whether you’re a seasoned baker or just looking for a fun kitchen project, these cups are wonderfully satisfying to make and enjoy. I promise once you try them, they’ll become a beloved go-to treat you’ll want to share with everyone you know.
Print
Chocolate Raspberry Cups Recipe
- Total Time: 45 minutes
- Yield: 12 servings 1x
- Diet: Vegetarian
Description
Delight in these Chocolate Raspberry Cups, a luscious no-bake treat featuring a rich chocolate shell filled with a tangy, chia-infused raspberry filling. Perfect for dessert or a sweet snack, these cups blend fresh or frozen raspberries with melted chocolate for a satisfying and elegant bite-sized indulgence.
Ingredients
Raspberry Filling
- 6 oz raspberries (fresh or frozen)
- 1 tbsp chia seeds
- 2 tsp sweetener of choice
Chocolate Shell
- 6 oz chocolate chips or chopped chocolate bars (about 1 cup)
- Optional: 1 tsp vegetable oil or melted coconut oil
Instructions
- Prepare the raspberry filling: Mash the raspberries thoroughly to break them down. In a small saucepan over low heat, combine the mashed raspberries, chia seeds, and sweetener. Stir occasionally until the mixture heats through and begins to bubble slightly. Remove from heat and let the filling cool slightly to thicken.
- Melt the chocolate: Place the chocolate chips or chopped chocolate in a microwave-safe bowl or double boiler. Melt the chocolate gently, stirring frequently. If desired, stir in the vegetable or coconut oil to achieve a smooth and glossy consistency.
- Form the chocolate cups: Line a mini muffin tin with paper liners or use candy molds. Spoon about one teaspoon of the melted chocolate into each liner, spreading it up the sides to create a shell. Place the tray in the refrigerator or freezer for a few minutes until the chocolate hardens.
- Add the raspberry filling: Once the chocolate shells have set, spoon approximately two teaspoons of the cooled raspberry filling into each cup, filling them carefully without overfilling.
- Seal the cups: Cover the raspberry filling with the remaining melted chocolate, smoothing the tops to seal the cups completely. Chill the cups again until the chocolate is fully set and firm.
Notes
- Use fresh or frozen raspberries based on availability; thaw frozen raspberries before mashing.
- Sweetener choice can be sugar, honey, maple syrup, or a sugar substitute depending on dietary preference.
- Adding oil to the chocolate creates a shinier, more easily spreadable texture.
- Ensure chocolate cups are well chilled between steps to prevent melting and maintain shape.
- These cups can be stored in an airtight container in the refrigerator for up to one week.
- Prep Time: 15 minutes
- Cook Time: 15 minutes
- Category: Dessert
- Method: No-Cook
- Cuisine: American
