Cherry Hand Pies Recipe
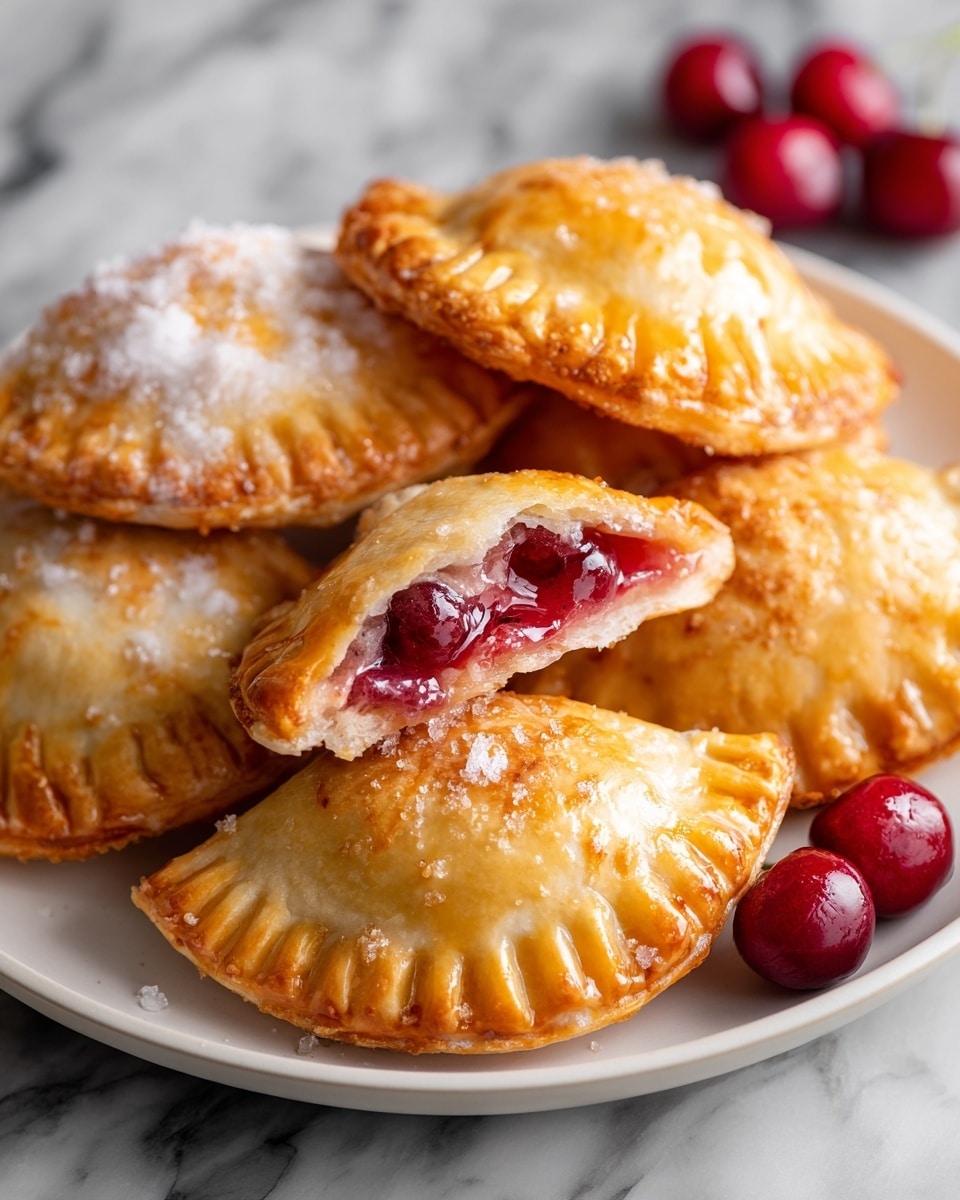
Nothing quite beats the comfort and joy of biting into a warm, flaky cherry pastry, which is exactly why I am so excited to share this delightful Cherry Hand Pies Recipe with you. These little parcels of happiness combine sweet, slightly tart cherry filling encased in a buttery, golden crust that’s perfectly sized for one-handed enjoyment. Whether you want to brighten up a simple afternoon snack or impress guests with an irresistible homemade treat, these hand pies are an absolute winner you’ll keep coming back to.
Ingredients You’ll Need
The magic behind these cherry hand pies lies in just a handful of simple, yet carefully chosen ingredients. Each one plays a key role, from the juicy cherries providing vibrant color and natural sweetness, to the gentle hint of vanilla that rounds out the flavor beautifully.
- Fresh or frozen cherries (2 cups): Pitted and chopped, they deliver the fresh, fruity star of the show.
- Granulated sugar (1/2 cup): Adds sweetness to balance the tartness of the cherries perfectly.
- Cornstarch (1 tablespoon): Thickens the cherry filling into a luscious, spoonable texture.
- Lemon juice (1 tablespoon): Brightens the flavor and complements the cherries’ natural acidity.
- Vanilla extract (1/2 teaspoon): Infuses a warm, fragrant note that elevates the overall taste.
- Refrigerated pie crusts (1 package): A time-saving, flaky base that turns out perfectly crisp and buttery.
- Egg (1, beaten): Creates a golden, glossy finish to make the hand pies visually stunning.
- Coarse sugar (1 tablespoon): Sprinkled on top for an irresistible crunch and sparkle.
How to Make Cherry Hand Pies Recipe
Step 1: Preheat and Prepare
First things first, set your oven to 375°F (190°C) and line a baking sheet with parchment paper. This makes cleanup a breeze and ensures your hand pies bake evenly without sticking.
Step 2: Create the Cherry Filling
Combine the cherries, granulated sugar, cornstarch, lemon juice, and vanilla extract in a medium saucepan. Cook over medium heat while stirring often until the mixture thickens, about 5 to 7 minutes. This step transforms the fresh cherries into a rich, jammy filling that holds together perfectly inside the crust. Once done, remove from heat and let it cool completely to avoid melting the dough later.
Step 3: Cut Out the Pie Circles
Roll out your refrigerated pie crust on a lightly floured surface to prevent sticking. Use a round cutter, or simply a cup, to cut out circles about 4 to 6 inches wide depending on how large or small you want your hand pies. This uniformity helps them bake evenly and look professional without any fuss.
Step 4: Fill and Seal
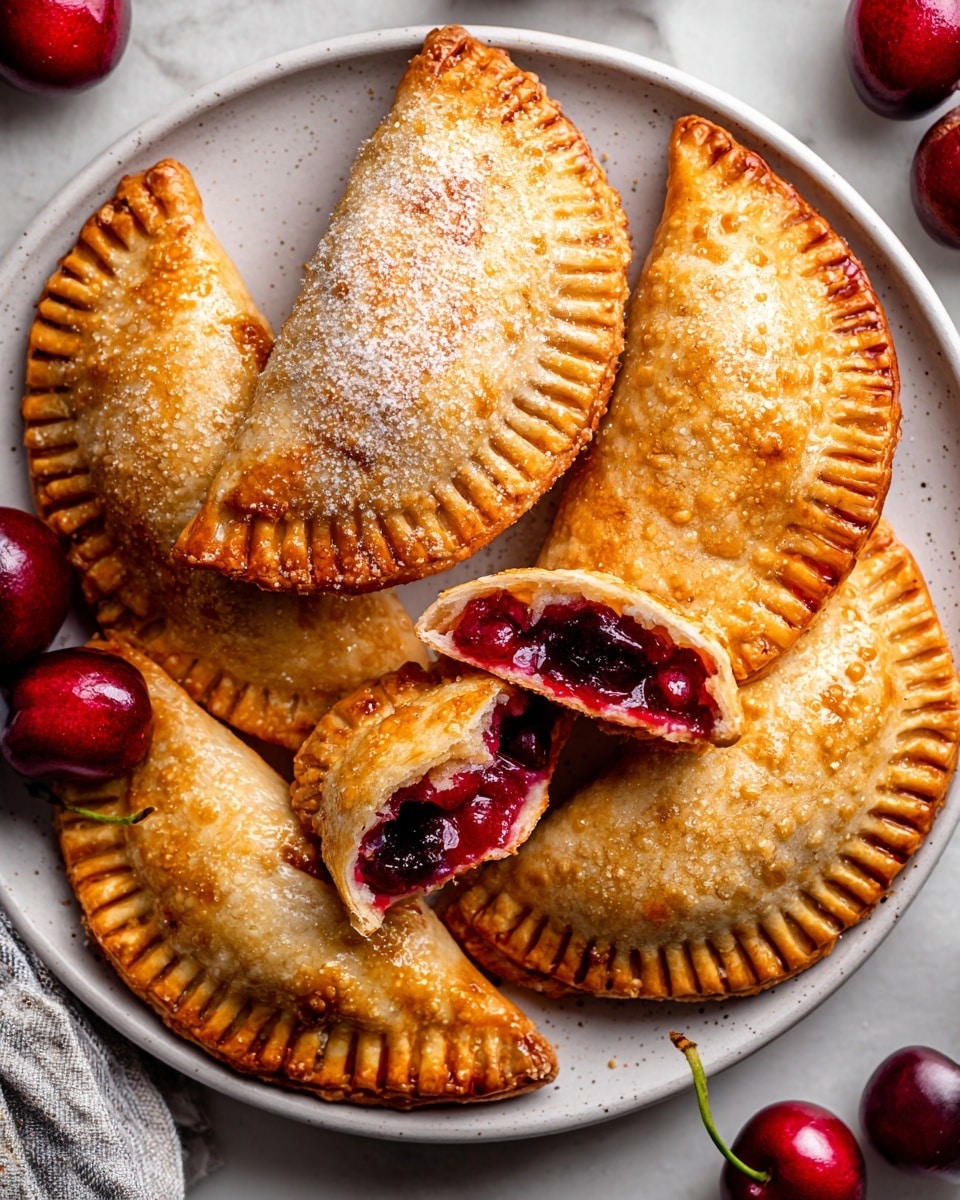
Place about 1 to 2 tablespoons of cooled cherry filling onto the center of each dough circle. Fold the dough over to create a half-moon shape, then press the edges together firmly to seal. Using a fork, crimp the edges for a decorative touch and to ensure the filling stays inside while baking. This is where your hand pies start to take shape and look simply irresistible.
Step 5: Egg Wash and Sugar Topping
Brush each hand pie with the beaten egg, which not only gives them a beautiful golden hue but also adds a slight sheen. Sprinkle coarse sugar generously on top for a hint of crunch and sparkle that catches the eye and tantalizes the taste buds.
Step 6: Bake to Perfection
Arrange the hand pies on the prepared baking sheet with a little space between them. Pop them into the oven and bake for 20 to 25 minutes, or until the crust turns a gorgeous golden brown and the filling bubbles through the edges, signaling they’re perfectly cooked and ready to enjoy.
Step 7: Cool and Enjoy
Let your freshly baked hand pies cool for a few minutes so the filling sets just right. Then dive in and savor the delightful balance of crisp pastry and luscious cherry goodness in every bite.
How to Serve Cherry Hand Pies Recipe
Garnishes
These cherry hand pies are delicious on their own, but a light dusting of powdered sugar or a small dollop of whipped cream can take their presentation and flavor to new heights. Fresh mint leaves also add a lovely burst of color and freshness.
Side Dishes
Pairing these hand pies with a scoop of vanilla ice cream or a side of creamy yogurt creates a fabulous contrast of temperatures and textures, making it a perfect dessert combo for guests or family. A hot cup of tea or coffee complements their sweetness beautifully, too.
Creative Ways to Present
Serve the cherry hand pies on a rustic wooden platter or wrapped individually in colorful parchment paper tied with twine for a charming gift or picnic treat. For brunch, arrange a variety of hand pies with different fillings alongside fresh fruit and cheese for a fun, crowd-pleasing spread.
Make Ahead and Storage
Storing Leftovers
Leftover cherry hand pies keep wonderfully when stored in an airtight container at room temperature for up to two days. If you want to keep them fresh a bit longer, refrigeration is a good option, but let them come to room temperature before enjoying for the best texture.
Freezing
You can freeze unbaked hand pies by assembling them as usual, placing them on a lined baking sheet, freezing until solid, and then transferring to a freezer bag. Bake them straight from frozen, adding a few extra minutes of time, for fresh-baked flavor whenever the craving strikes.
Reheating
To reheat, pop your chilled or frozen pies in a preheated oven at 350°F (175°C) for about 10 to 15 minutes, or until warmed through and the crust crisps back up. Avoid microwaving, as it can make the crust soggy instead of flaky and delightful.
FAQs
Can I use frozen cherries for this Cherry Hand Pies Recipe?
Absolutely! Frozen cherries work beautifully and are perfect when fresh ones are out of season. Just make sure to thaw and drain them well before cooking to avoid too much excess moisture in the filling.
Do I have to use refrigerated pie crusts?
Nope! You can definitely use homemade pie dough if you prefer. Homemade dough adds a wonderful personal touch and can be tailored to your favorite texture, but store-bought crusts make this recipe quick and very approachable.
How do I prevent the hand pies from leaking filling?
Sealing the edges carefully with a fork and not overfilling the pies are the best ways to avoid leaks. Also, letting the filling cool before assembling helps keep it thick and contained.
Can I make these pies vegan?
Yes! Simply use a plant-based pie crust and substitute the egg wash with a little almond milk or maple syrup brushed on top for that lovely golden finish.
What’s the best way to serve these pies warm?
Reheating them in the oven at 350°F for 10 to 15 minutes helps restore that fresh-baked warmth and crispness, making them taste like they just came out of your kitchen oven.
Final Thoughts
I can’t recommend enough giving this Cherry Hand Pies Recipe a try—it’s one of those heartfelt, comforting treats that feels like a hug in dessert form. Easy to make, stunning to serve, and utterly delicious to eat, these hand pies are sure to become a cherished staple in your baking repertoire. Go ahead and bake a batch today, and get ready to fall in love!
Print
Cherry Hand Pies Recipe
- Total Time: 45 minutes
- Yield: 6 servings 1x
- Diet: Vegetarian
Description
Delight in these charming Cherry Hand Pies, perfect for a sweet treat any time of day. Featuring a luscious filling of fresh or frozen cherries thickened with cornstarch and brightened with lemon juice and vanilla, all encased in flaky pie crust. Baked to golden perfection and topped with a crunchy sugar sprinkle, these hand pies are easy to make and ideal for sharing.
Ingredients
For the Cherry Filling:
- 2 cups fresh or frozen cherries, pitted and chopped
- 1/2 cup granulated sugar
- 1 tablespoon cornstarch
- 1 tablespoon lemon juice
- 1/2 teaspoon vanilla extract
For the Pie Crust:
- 1 package refrigerated pie crusts (or homemade pie dough)
- 1 egg, beaten (for egg wash)
- 1 tablespoon coarse sugar (for sprinkling on top)
Instructions
- Preheat the Oven: Preheat your oven to 375°F (190°C) and prepare a baking sheet by lining it with parchment paper to prevent sticking and ensure easy cleanup.
- Prepare the Cherry Filling: In a medium saucepan, combine the pitted and chopped cherries, granulated sugar, cornstarch, lemon juice, and vanilla extract. Cook the mixture over medium heat, stirring frequently, until it thickens, about 5 to 7 minutes. Remove the saucepan from the heat and allow the filling to cool to room temperature.
- Prepare the Pie Crusts: Lightly flour your work surface and roll out the pie crusts. Use a round cutter or a cup to cut out 4 to 6 circles, depending on your preferred size for the hand pies.
- Assemble the Hand Pies: Place about 1 to 2 tablespoons of the cooled cherry filling onto the center of each dough circle. Fold the dough over to create a half-moon shape and press the edges firmly to seal. Use a fork to crimp the edges to add a decorative touch and reinforce the seal.
- Egg Wash and Bake: Brush the tops of the hand pies with the beaten egg to give them a beautiful golden color. Sprinkle coarse sugar over the tops for added texture and sweetness. Transfer the pies to the prepared baking sheet. Bake in the preheated oven for 20 to 25 minutes, or until the crust is golden brown and the cherry filling is bubbling.
- Cool and Serve: Let the hand pies cool on the baking sheet for a few minutes to set the filling before serving. Enjoy these delightful treats warm or at room temperature.
Notes
- For a dairy-free option, substitute the egg wash with a mixture of maple syrup and water or milk alternatives.
- Use fresh cherries in season for the best flavor, but frozen cherries work well too—just thaw and drain excess liquid before cooking.
- If you prefer a less sweet filling, reduce the sugar to 1/3 cup.
- Hand pies can be made ahead and refrigerated; reheat in a warm oven before serving for a fresh taste.
- For extra crispiness, bake on a preheated baking stone or steel if available.
- Prep Time: 15 minutes
- Cook Time: 30 minutes
- Category: Dessert
- Method: Baking
- Cuisine: American
