Homemade Buckeye Fudge Recipe
If you’ve ever dreamt of biting into a candy that perfectly balances rich chocolate and luscious peanut butter, let me introduce you to the magic of the Homemade Buckeye Fudge Recipe. This delightful treat packs the nostalgic flavors of the iconic buckeye candy into a smooth, creamy fudge that’s as indulgent as it is easy to make. Whether you’re looking for a no-fuss dessert for the holidays or a sweet gift that will wow your friends, this recipe is sure to become one of your favorites.
Ingredients You’ll Need
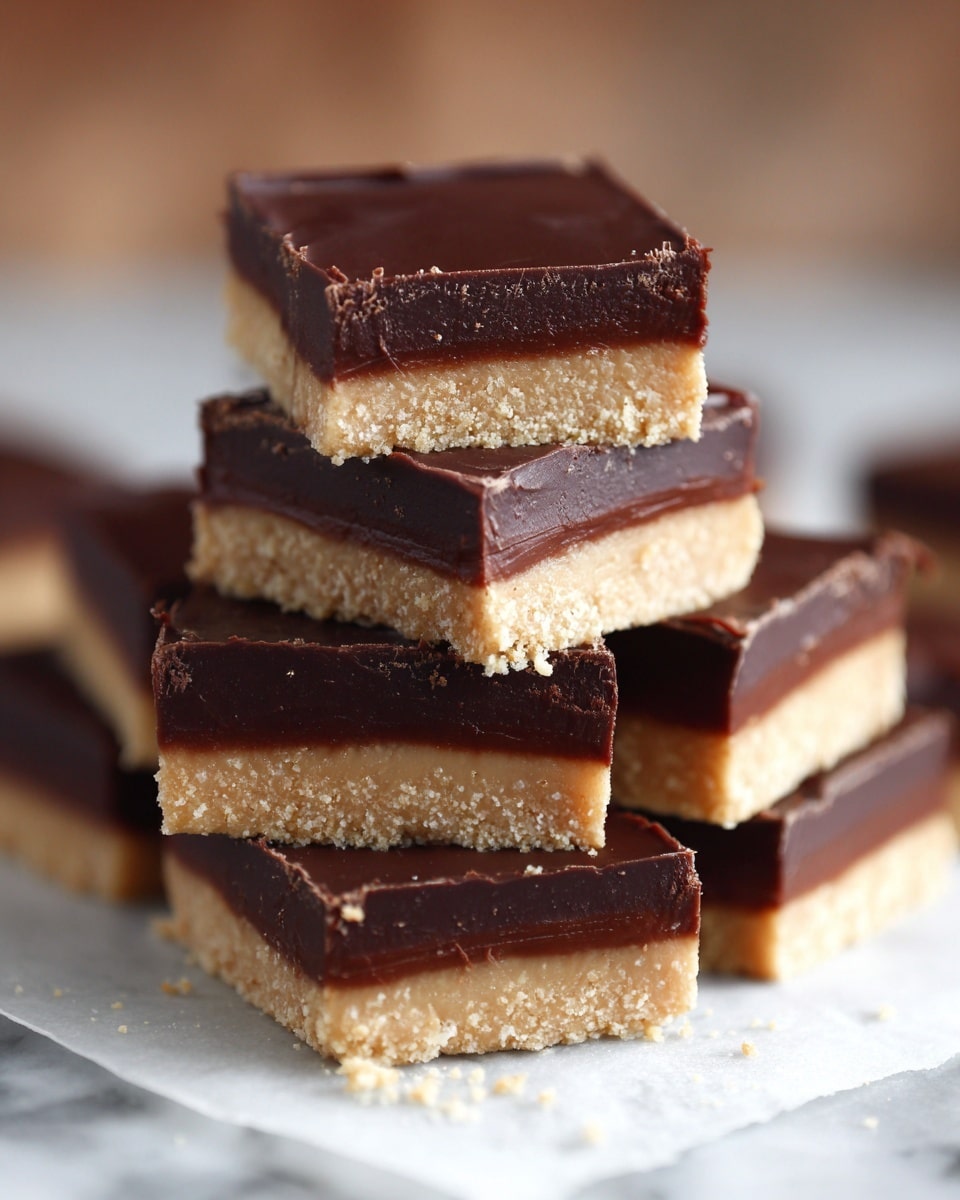
The beauty of the Homemade Buckeye Fudge Recipe lies in its simplicity. Each ingredient plays a crucial role: the creamy peanut butter brings that familiar nutty richness, the chocolate chips create a glossy, decadent topping, and the powdered sugar provides just the right touch of sweetness and structure. These easy-to-find ingredients come together effortlessly to form layers of pure bliss.
- 1 cup unsalted butter (softened): Adds a rich, creamy base to the peanut butter layer and ensures smooth texture.
- 1 cup creamy peanut butter: The star flavor that gives this fudge its signature nutty warmth.
- 1 tsp vanilla extract: Enhances all the flavors with a subtle aromatic note.
- 1/4 tsp salt: Balances sweetness and deepens the overall flavor profile.
- 3 1/2 cups powdered sugar: Sweetens and thickens the peanut butter mixture to perfect fudge consistency.
- 2 cups semi-sweet chocolate chips: Melts into a silky, luscious chocolate layer that complements the peanut butter.
- 1 (14 oz) can sweetened condensed milk: Adds creamy sweetness and helps bind the chocolate topping smoothly.
- 1 tbsp butter: Gives extra shine and richness to the chocolate layer.
How to Make Homemade Buckeye Fudge Recipe
Step 1: Prepare Your Pan
Start by lining an 8×8-inch baking pan with parchment paper or foil with a slight overhang on the sides. This simple step will make removing the fudge a breeze once it’s set, so you don’t lose any of those beautiful layers while slicing.
Step 2: Make the Peanut Butter Layer
In a large bowl, beat together the softened butter and creamy peanut butter until the mixture is smooth and irresistibly creamy. Next, stir in vanilla extract and salt for depth. Gradually incorporate the powdered sugar, mixing until the dough comes together into a thick, spreadable consistency. Press this luscious peanut butter mixture evenly into your prepared pan, using your hands or a spatula to create a flat, firm base.
Step 3: Create the Chocolate Layer
In a medium saucepan over low heat, combine semi-sweet chocolate chips, sweetened condensed milk, and butter. Stir constantly to ensure the ingredients melt evenly and the mixture becomes smooth and glossy. This step is so satisfying—watching those chocolate chips transform into a velvety topping is pure kitchen magic!
Step 4: Assemble and Chill
Pour the warm chocolate mixture directly over the peanut butter layer and spread it evenly with a spatula. Make sure every bite will have that perfect chocolate crown. Pop the pan into the refrigerator for at least 2 hours. Patience here is rewarded with fudge that’s firm yet creamy, easy to slice, and utterly indulgent.
Step 5: Slice and Enjoy
Once set, lift the fudge from the pan using the parchment overhang. Cut into approximately 36 small squares to serve delightful, bite-sized pieces. Whether chilled or brought to room temperature, these treats are always devoured quickly!
How to Serve Homemade Buckeye Fudge Recipe
Garnishes
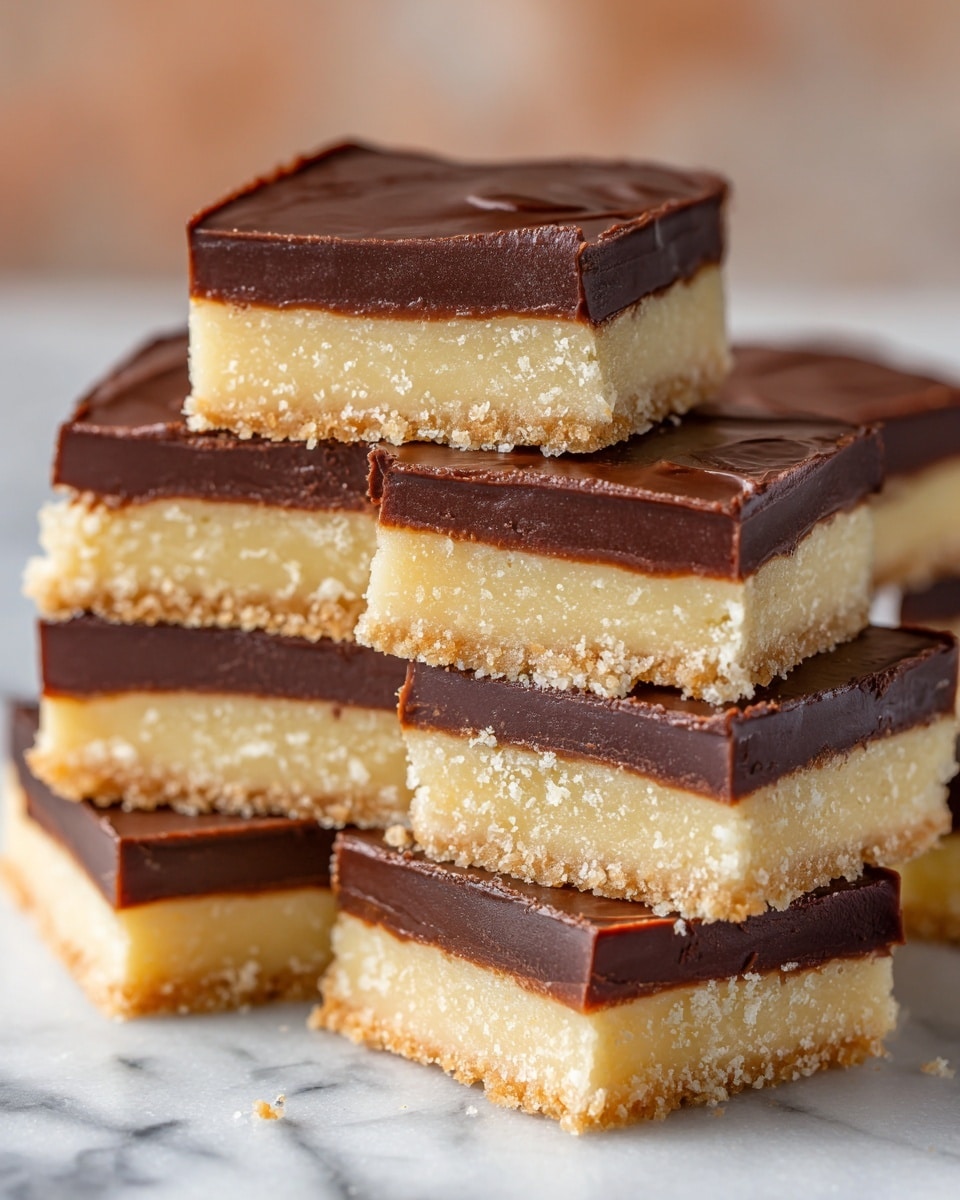
While this fudge is perfect on its own, adding a sprinkle of chopped peanuts or a light dusting of powdered sugar can elevate the presentation and add an extra crunch. For a festive touch, drizzle a bit of white chocolate or even a pinch of sea salt on top. These little details make serving this treat even more special.
Side Dishes
The Homemade Buckeye Fudge Recipe shines as a stand-alone dessert, but it pairs beautifully with a scoop of vanilla ice cream for a contrast of textures and temperatures. A hot cup of coffee or a creamy latte also complements the chocolate-peanut butter combination perfectly, making this fudge ideal for casual gatherings or holiday dessert tables.
Creative Ways to Present
Looking to impress at your next party? Arrange fudge squares on a decorative platter interspersed with fresh berries or mint leaves for bursts of color and freshness. Wrapping individual pieces in festive cellophane with ribbons transforms the fudge into charming homemade gifts that anyone will cherish.
Make Ahead and Storage
Storing Leftovers
One of the greatest things about this recipe is how well the fudge holds up over time. Store any leftover pieces in an airtight container in the refrigerator, and they’ll stay fresh and delicious for up to one week. Just be sure to bring them back to room temperature before serving for optimal creaminess.
Freezing
If you want to make this fudge ahead for a holiday or special occasion, freezing is a fantastic option. Wrap pieces tightly in plastic wrap and place them in a freezer-safe container. Frozen fudge maintains its flavor and texture for up to three months and can be thawed overnight in the refrigerator.
Reheating
Since this fudge is meant to be enjoyed chilled or at room temperature, reheating isn’t necessary. If you prefer it softer, simply let the fudge sit out for a few minutes before enjoying. Avoid microwaving as it can change the texture and melt the layers unevenly.
FAQs
Can I use crunchy peanut butter instead of creamy?
Absolutely! Crunchy peanut butter will add a delightful bit of texture to the fudge, making each bite a little more interesting. Just keep in mind it might slightly affect the smoothness of the peanut butter layer.
Is it possible to make this fudge dairy-free?
You can substitute the butter with a plant-based alternative and use dairy-free chocolate chips to make a vegan version. However, the texture might differ a bit since traditional butter and sweetened condensed milk contribute to the creamy consistency.
How long does the fudge need to chill?
At least 2 hours in the refrigerator is necessary for the fudge to set properly. If you have more time, chilling overnight results in an even firmer texture that’s easier to cut and handle.
Can I double the recipe? Will it still turn out well?
Definitely! This recipe scales up nicely. Use a larger pan or multiple pans and maintain the same proportions for best results. Just make sure you have enough chill time for thicker layers.
Why does my chocolate layer sometimes get grainy?
Chocolate can seize or get grainy if overheated or if stirred too aggressively over high heat. Be patient and melt your chocolate slowly over low heat, stirring gently and constantly to keep it smooth and shiny.
Final Thoughts
Making this Homemade Buckeye Fudge Recipe is a joyful adventure that rewards you with sweet bites of nostalgia and pure comfort. It’s simple enough for a weeknight treat but special enough for holidays and celebrations. So go ahead, gather your ingredients, and share this rich, creamy fudge with the people you love. Trust me, it will quickly become a recipe you reach for again and again!
Print
Homemade Buckeye Fudge Recipe
- Total Time: 20 minutes plus 2 hours chilling
- Yield: 36 small squares 1x
- Diet: Vegetarian
Description
Homemade Buckeye Fudge is a rich, creamy dessert featuring a smooth peanut butter base layered with a luscious chocolate topping. This no-bake treat combines the classic flavors of peanut butter and chocolate in easy layers, perfect for holiday gifting or a sweet indulgence anytime.
Ingredients
Peanut Butter Layer
- 1 cup unsalted butter, softened
- 1 cup creamy peanut butter
- 1 tsp vanilla extract
- 1/4 tsp salt
- 3 1/2 cups powdered sugar
Chocolate Layer
- 2 cups semi-sweet chocolate chips
- 1 (14 oz) can sweetened condensed milk
- 1 tbsp butter
Instructions
- Prepare the Pan: Line an 8×8-inch baking pan with parchment paper or foil, leaving a slight overhang on the sides to allow easy removal of the fudge once set.
- Make the Peanut Butter Layer: In a large bowl, use a mixer or spoon to beat together the softened butter and creamy peanut butter until the mixture is smooth and creamy. Stir in the vanilla extract and salt. Gradually add the powdered sugar, mixing continuously until fully combined and a thick dough forms. Press this peanut butter mixture evenly into the prepared pan using your hands or a spatula to create a firm base layer.
- Prepare the Chocolate Layer: In a medium saucepan set over low heat, combine the semi-sweet chocolate chips, sweetened condensed milk, and butter. Stir constantly to prevent burning, until the chocolate melts fully and the mixture becomes smooth and glossy. Remove the pan from heat immediately to avoid overcooking.
- Assemble the Fudge: Pour the warm chocolate mixture over the pressed peanut butter layer in the pan. Use a spatula to spread it evenly, ensuring a smooth chocolate layer that covers the peanut butter base completely.
- Chill and Set: Place the pan in the refrigerator and chill for at least 2 hours until the fudge is firm and set. This step is essential for the layers to solidify properly.
- Cut and Serve: Once the fudge is fully chilled and firm, lift it out of the pan using the parchment paper overhang. Transfer to a cutting board and slice into 36 small squares. Serve chilled or at room temperature as a decadent dessert or sweet snack.
Notes
- This fudge requires no baking, making it a quick and easy holiday treat option.
- Store leftovers in an airtight container in the refrigerator for up to one week.
- For longer storage, wrap tightly and freeze fudge pieces for up to three months.
- Use parchment paper for easiest removal and cleanup.
- Press the peanut butter layer firmly to ensure neat, even squares upon cutting.
- Prep Time: 15 minutes
- Cook Time: 5 minutes
- Category: Dessert
- Method: No-Cook
- Cuisine: American
