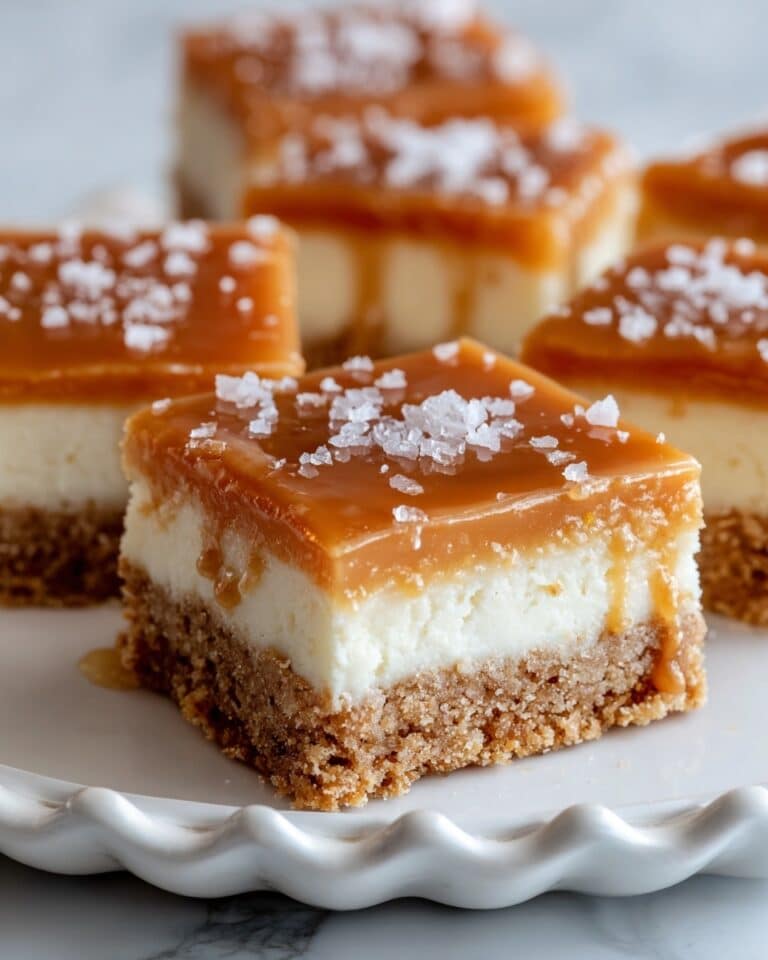
Chocolate Hazelnut Thumbprint Cookies Recipe
If you have a soft spot for cookies that are buttery, nutty, and filled with gooey chocolate goodness, you will adore this Chocolate Hazelnut Thumbprint Cookies Recipe. These melt-in-your-mouth treats combine a tender dough rolled in crunchy chopped hazelnuts and crowned with a luscious dollop of chocolate-hazelnut spread. Whether packed in a festive tin or shared with friends over coffee, this recipe effortlessly brings a warm, inviting vibe to any cookie platter and is just perfect for those cozy holiday moments or whenever the craving strikes.

Ingredients You’ll Need
Believe it or not, the magic behind these delightful cookies lies in a few simple, wholesome ingredients that each play an essential role. From providing the perfect soft texture to giving that irresistible nutty crunch and rich chocolate finish, these staples work harmoniously to deliver the ultimate sweet experience.
- 1 cup unsalted butter (softened): The base of our dough that ensures a tender, melt-in-your-mouth crumb.
- ½ cup granulated sugar: Adds sweetness and helps create a light, fluffy dough.
- 1 large egg yolk: Binds ingredients and enriches the dough with a silky texture.
- 1 teaspoon vanilla extract: Enhances flavor, adding warmth and depth to the cookie.
- 1¾ cups all-purpose flour: Gives structure to the cookies and holds everything together.
- ¼ teaspoon salt: Balances sweetness and intensifies the nutty flavors.
- 1 egg white (lightly beaten): Acts as a sticky surface for the chopped hazelnuts to cling to.
- ¾ cup finely chopped hazelnuts: Provides a satisfying crunch and hearty, earthy flavor.
- ½ cup chocolate-hazelnut spread (such as Nutella): The heavenly filling that perfectly complements the nutty dough.
How to Make Chocolate Hazelnut Thumbprint Cookies Recipe
Step 1: Prepare Your Oven and Baking Sheet
Start by preheating your oven to 350°F (175°C) and lining a baking sheet with parchment paper. This simple prep step ensures your cookies bake evenly and come off the pan easily, setting the stage for a flawless batch.
Step 2: Cream Butter and Sugar
In a large bowl, beat the softened butter with the granulated sugar until the mixture is light and fluffy. This creaming process is critical because it traps air in the dough, helping the cookies turn out tender and slightly airy.
Step 3: Add Egg Yolk and Vanilla
Mix in the egg yolk and vanilla extract until fully incorporated. The yolk enriches the dough, adding a velvety texture, while vanilla brings a sweet, fragrant depth that elevates the cookie’s flavor.
Step 4: Combine Dry Ingredients
Gradually add the all-purpose flour and salt to the wet mixture, stirring gently until a smooth dough forms. The balance of flour and salt is what shapes the dough and keeps the cookies from being overly sweet or crumbly.
Step 5: Shape, Dip, and Coat
Roll the dough into 1-inch balls. Dip each ball into the lightly beaten egg white to create a sticky layer, then roll it in the finely chopped hazelnuts so they cling beautifully, giving each cookie a delightful crunchy edge.
Step 6: Create Thumbprints
Place the coated cookie balls about 2 inches apart on your parchment-lined baking sheet. Using your thumb or the back of a small spoon, gently press an indentation into the center of each ball. This is the signature “thumbprint” waiting to be filled with chocolate.
Step 7: Bake Until Lightly Golden
Bake in the preheated oven for 12 to 14 minutes, or until the edges just start to turn golden. Right after removing them from the oven, reinforce each indentation if it has puffed up, ensuring that there’s plenty of space for the delicious filling.
Step 8: Cool and Fill
Allow the cookies to cool on the baking sheet for 5 minutes, then transfer them to a wire rack to cool completely. Once cooled, fill each thumbprint with about ½ teaspoon of your favorite chocolate-hazelnut spread, completing these scrumptious little bites.
How to Serve Chocolate Hazelnut Thumbprint Cookies Recipe

Garnishes
For an elegant touch, dust these cookies lightly with powdered sugar or sprinkle a few crushed toasted hazelnuts on top of the filling. This little extra goes a long way in making them look as irresistible as they taste.
Side Dishes
Pair these thumbprint cookies with a hot cup of coffee, rich espresso, or a cozy mug of spiced chai tea. Their nutty, chocolatey flavor beautifully complements warm beverages and makes for a comforting snack or dessert.
Creative Ways to Present
Arrange your cookies in a rustic wooden box lined with parchment paper or on a festive platter with colorful napkins and sprigs of fresh rosemary or pine for a holiday vibe. Gift them in clear jars tied with a ribbon to spread the joy of this delightful recipe.
Make Ahead and Storage
Storing Leftovers
Keep any leftover cookies in an airtight container at room temperature for up to 5 days. This helps preserve their tender texture while keeping the chocolate-hazelnut filling fresh and creamy.
Freezing
You can freeze unbaked dough balls after coating them in egg white and hazelnuts. Freeze them spread on a tray, then transfer to a bag once solid. When ready, thaw slightly and bake as directed. Alternatively, freeze baked cookies (without filling) and add the chocolate spread after thawing for best results.
Reheating
If you want to bring back that freshly-baked warmth, pop your cookies in a low oven (about 300°F) for a few minutes or microwave briefly. This revives the soft texture and melts the chocolate-hazelnut spread into a luscious treat again.
FAQs
Can I use a different type of nut instead of hazelnuts?
Absolutely! While hazelnuts are traditional for their delightful flavor, chopped pecans or almonds also work beautifully, providing a similar crunchy contrast and nutty notes.
Is there a gluten-free option for this recipe?
Yes, you can substitute the all-purpose flour with a gluten-free baking blend that measures cup-for-cup. Just be mindful of texture variations and chill the dough well to help with handling.
Can I make these cookies vegan?
To make these vegan, replace the butter with a plant-based alternative, swap the egg yolk and egg white for flaxseed or chia seed “eggs,” and use a vegan chocolate-hazelnut spread. The texture might be slightly different, but the flavor will still be delightful.
What’s the best way to fill the thumbprints neatly?
Using a small piping bag or a resealable plastic bag with the tip cut off lets you pipe the chocolate-hazelnut spread into the indentations precisely, creating a clean, professional look.
Why do the thumbprints sometimes disappear during baking?
The dough can puff up and fill in the indentation if you don’t make a deep enough thumbprint or don’t adjust the dimples right after baking. Making the indentations generously and pressing them in again immediately after baking helps maintain the perfect pocket for filling.
Final Thoughts
There is something incredibly comforting and joyful about baking your own Chocolate Hazelnut Thumbprint Cookies Recipe. The blend of buttery dough, crunchy hazelnuts, and luscious chocolate filling makes for a cookie that truly feels like a warm hug in bite-sized form. Whether you’re making them for the holidays, a casual treat, or a special gift, these cookies never fail to impress and delight. So go ahead, roll up your sleeves and give them a try — your taste buds will thank you!
Print
Chocolate Hazelnut Thumbprint Cookies Recipe
- Total Time: 34 minutes
- Yield: 24 cookies 1x
- Diet: Vegetarian
Description
Chocolate Hazelnut Thumbprint Cookies are buttery, nutty, and filled with rich chocolate-hazelnut spread for the perfect bite-sized treat. These soft, melt-in-your-mouth cookies are rolled in chopped hazelnuts for a crunchy edge and finished with a dollop of creamy Nutella or any favorite chocolate-hazelnut spread. A beautiful and delicious addition to any cookie platter, especially during the holidays!
Ingredients
Cookie Dough
- 1 cup unsalted butter (softened)
- ½ cup granulated sugar
- 1 large egg yolk
- 1 teaspoon vanilla extract
- 1¾ cups all-purpose flour
- ¼ teaspoon salt
Coating and Filling
- 1 egg white (lightly beaten)
- ¾ cup finely chopped hazelnuts
- ½ cup chocolate-hazelnut spread (such as Nutella)
Instructions
- Preheat Oven and Prepare Baking Sheet: Preheat the oven to 350°F (175°C) and line a baking sheet with parchment paper to prevent sticking and ensure even baking.
- Cream Butter and Sugar: In a large bowl, cream together the softened butter and granulated sugar using a mixer or spoon until the mixture is light and fluffy, which adds air and creates a tender cookie texture.
- Add Egg Yolk and Vanilla: Mix in the egg yolk and vanilla extract until smooth and fully incorporated, enriching the dough with flavor and moisture.
- Incorporate Dry Ingredients: Gradually add the all-purpose flour and salt to the wet mixture, stirring gently until the dough comes together without overmixing to maintain tenderness.
- Form Dough Balls: Roll the dough into approximately 1-inch diameter balls to create uniform cookie sizes for even baking.
- Coat with Egg White and Hazelnuts: Dip each dough ball in the lightly beaten egg white, then roll it in the finely chopped hazelnuts, ensuring an even coating for a crunchy texture on the edges.
- Arrange on Baking Sheet: Place the coated balls on the prepared baking sheet spaced about 2 inches apart to allow room for spreading during baking.
- Create Thumbprint Indentations: Use your thumb or the back of a small spoon to gently press an indentation into the center of each cookie, which will hold the filling after baking.
- Bake: Bake in the preheated oven for 12–14 minutes, or until the cookie edges turn light golden brown, indicating doneness without overbaking.
- Reinforce Indentations and Cool: Remove from the oven and immediately press down the thumbprints again if they have puffed up. Let the cookies cool on the pan for 5 minutes before transferring them to a wire rack to cool completely.
- Fill with Chocolate-Hazelnut Spread: Once cooled, spoon about ½ teaspoon of chocolate-hazelnut spread into each thumbprint indentation for a rich, creamy center.
Notes
- For less spreading, chill the dough balls in the refrigerator for 15–20 minutes before baking to help cookies hold their shape better.
- Use a piping bag or small spoon to fill the thumbprints neatly and avoid mess.
- Store the finished cookies in an airtight container at room temperature for up to 5 days to maintain freshness.
- Prep Time: 20 minutes
- Cook Time: 14 minutes
- Category: Dessert
- Method: Baking
- Cuisine: American, European-Inspired


