Boston Cream Pie Fudge Recipe
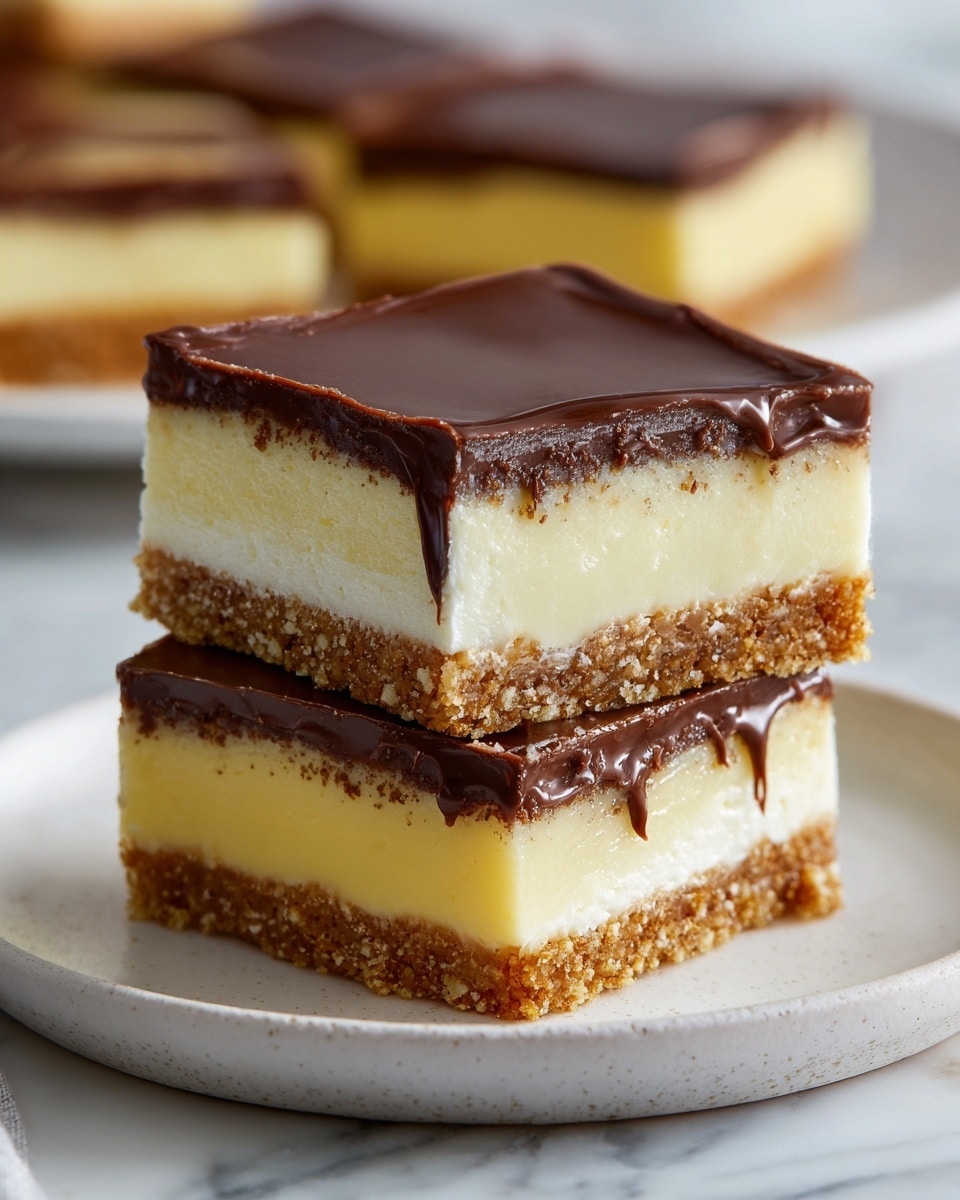
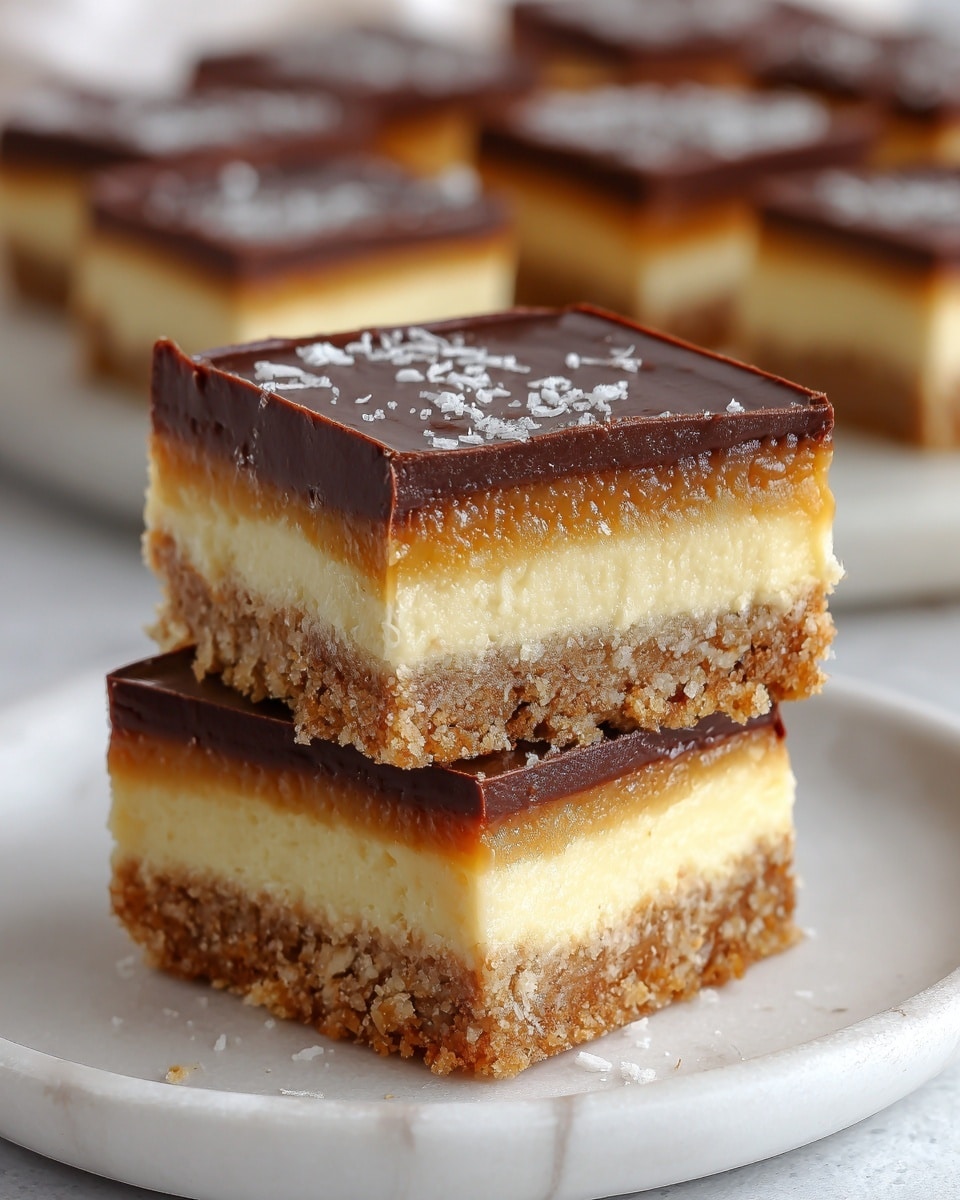
If you adore the classic combination of rich chocolate, smooth vanilla, and luscious cream filling, then this Boston Cream Pie Fudge Recipe is going to blow your mind. It’s everything you love about the iconic dessert turned into velvety, melt-in-your-mouth fudge, perfect for sharing or savoring solo. With layers of creamy white chocolate fudge and deep semi-sweet chocolate fudge, all infused with a hint of vanilla, this treat captures the magic of Boston Cream Pie in a whole new, indulgent form. Get ready to fall head over heels for this sweet, nostalgic delight!

Ingredients You’ll Need
This Boston Cream Pie Fudge Recipe uses just a handful of straightforward ingredients, but each one plays a starring role in delivering luscious flavor and perfect texture. Whether it’s the creamy sweetness of sweetened condensed milk or the smooth richness of white and semi-sweet chocolate chips, these essentials come together to create pure fudge bliss.
- 2 cups white chocolate chips: The base for the silky vanilla fudge layer, providing sweetness and creaminess.
- 1/2 cup sweetened condensed milk (for vanilla layer): Adds moisture and rich sweetness, ensuring the fudge sets just right.
- 1 teaspoon vanilla extract (for vanilla layer): Brings a warm, fragrant note that enhances the white chocolate perfectly.
- 1 1/2 cups semi-sweet chocolate chips: Creates the luscious, slightly bittersweet chocolate fudge layer that contrasts beautifully.
- 1/2 cup sweetened condensed milk (for chocolate layer): Makes the chocolate layer creamy and velvety, balancing the deep cocoa flavor.
- 1/2 teaspoon vanilla extract (for chocolate layer): Adds a subtle vanilla warmth that ties both layers together seamlessly.
How to Make Boston Cream Pie Fudge Recipe
Step 1: Prepare Your Pan
Start by lining an 8×8-inch square baking pan with parchment paper, leaving an overhang on the sides. This little trick makes it super easy to lift out your fudge once it’s set, ensuring clean cuts and no sticky fingers. Trust me, you’ll thank yourself later!
Step 2: Make the Vanilla Fudge Layer
In a microwave-safe bowl, combine the white chocolate chips and 1/2 cup of sweetened condensed milk. Heat the mixture in 20-second bursts, stirring every time to prevent scorching and encourage smooth melting. Once everything is luxuriously melted and combined, stir in the vanilla extract for that dreamy flavor. Pour this creamy vanilla fudge evenly into your lined pan and pop it in the fridge for about 20 minutes to firm up.
Step 3: Create the Chocolate Fudge Layer
While the vanilla layer chills, it’s time to whip up the chocolate fudge. Take the semi-sweet chocolate chips and the remaining 1/2 cup of sweetened condensed milk and melt together just like you did with the vanilla. Again, short bursts in the microwave and stirring between make all the difference for a silky texture. Stir in the vanilla extract to marry the flavors beautifully, then pour the chocolate fudge over the now firm vanilla layer. Smooth it out evenly to get those perfect layers.
Step 4: Chill Until Firm
Place the whole pan back in the refrigerator for at least 2 hours. This is the magic waiting time when the fudge sets to that perfect sliceable texture. Patience here means your Boston Cream Pie Fudge Recipe will have that irresistible firmness, yet still melt wonderfully on your tongue.
Step 5: Slice and Serve
Once firm, use the parchment paper overhang to lift the fudge out of the pan effortlessly. Grab a sharp knife, cut into 16 lovely squares, and get ready to wow your taste buds. Each piece is a decadent bite of layered heaven that perfectly captures the essence of Boston Cream Pie in fudge form.
How to Serve Boston Cream Pie Fudge Recipe

Garnishes
Sprinkle a few crushed graham cracker crumbs or mini chocolate chips over the fudge squares to mimic the classic pie crust feel and add a bit of delightful texture. A light dusting of powdered sugar can also elevate the presentation and add a touch of delicate sweetness on top.
Side Dishes
Boston Cream Pie Fudge pairs wonderfully with a dollop of freshly whipped cream or a scoop of vanilla ice cream to complement its creamy richness. Fresh berries like strawberries or raspberries offer a bright, tart contrast that will refresh your palate between bites.
Creative Ways to Present
For a fun twist, arrange the fudge squares on a vintage dessert tray or in colorful cupcake liners for a charming party spread. You can even layer pieces in clear jars separated by parchment paper to give as thoughtful homemade gifts that look as stunning as they taste.
Make Ahead and Storage
Storing Leftovers
Store your Boston Cream Pie Fudge in an airtight container in the refrigerator to keep it fresh and firm. It will stay delicious for up to two weeks, making it a perfect make-ahead treat when you want something special on hand for guests or a cozy night in.
Freezing
If you want to keep your fudge even longer, wrap individual squares tightly in plastic wrap and place them in a freezer-safe container or bag. Frozen fudge holds its flavor and texture well for up to three months and thaws beautifully in the fridge overnight.
Reheating
Fudge is best enjoyed chilled or at room temperature, so reheating is usually not necessary. If you prefer a softer texture, let the fudge sit out for 15-20 minutes before serving. Avoid microwaving, which can cause the fudge to become grainy or melt unevenly.
FAQs
Can I use other types of chocolate for this fudge?
Absolutely! While white and semi-sweet chocolate chips are traditional for recreating the Boston Cream Pie flavor, you can experiment with milk chocolate or even dark chocolate if you prefer a richer or sweeter profile. Just be mindful that different chocolates may affect sweetness and texture slightly.
Is this fudge recipe gluten-free?
Yes, this Boston Cream Pie Fudge Recipe is naturally gluten-free as it contains no flour or gluten-containing ingredients. However, always check your chocolate chips and other store-bought items to ensure they are certified gluten-free if sensitivity is a concern.
How long does it take for the fudge to set properly?
Chilling the fudge for at least 2 hours in the refrigerator is crucial for it to firm up perfectly. If your kitchen is warm, you might need a bit more time. Patience here leads to the best texture, so don’t rush the process!
Can I add a layer of custard or cream filling like in a traditional Boston Cream Pie?
This fudge combines the signature flavors in a smooth, solid form rather than layering custard. Adding a soft custard layer could affect the setting and texture, but if you want to play around, consider serving your fudge with a side of custard sauce instead.
What’s the best way to cut the fudge cleanly?
Use a sharp knife, and for the cleanest cuts, warm the blade by running it under hot water and drying thoroughly before slicing. Wipe the knife between cuts to prevent sticking and maintain neat edges on each piece.
Final Thoughts
If you’re looking for a sweet, nostalgic treat that’s easy to make but feels like a decadent indulgence, you simply must try this Boston Cream Pie Fudge Recipe. It brilliantly captures all the flavors of the classic dessert in a fun, shareable form that’s perfect for any occasion. Trust me, once you make it, this fudge will become a beloved staple in your dessert lineup that friends and family will rave about for years to come.
Print
Boston Cream Pie Fudge Recipe
- Total Time: 2 hours 25 minutes
- Yield: 16 servings 1x
Description
This Boston Cream Pie Fudge recipe recreates the classic dessert flavors in a rich, creamy fudge form. Combining smooth white chocolate fudge with a decadent dark chocolate layer, this no-bake treat is perfect for chocolate lovers and guaranteed to satisfy your sweet tooth with its luscious, velvety texture and classic vanilla notes.
Ingredients
Vanilla Fudge Layer
- 2 cups white chocolate chips
- 1/2 cup sweetened condensed milk
- 1 teaspoon vanilla extract
Chocolate Fudge Layer
- 1 1/2 cups semi-sweet chocolate chips
- 1/2 cup sweetened condensed milk
- 1/2 teaspoon vanilla extract
Instructions
- Prepare the Pan: Line an 8×8-inch square baking pan with parchment paper, leaving extra overhang on the sides for easy removal of the fudge later.
- Make the Vanilla Fudge Layer: In a microwave-safe bowl, combine the white chocolate chips and 1/2 cup sweetened condensed milk. Heat the mixture in 20-second intervals, stirring well between each heating until the mixture is fully melted and smooth.
- Add Vanilla Extract: Stir the teaspoon of vanilla extract into the smooth white chocolate fudge base, mixing thoroughly.
- Set the Vanilla Layer: Pour the vanilla fudge mixture into the prepared pan and spread it evenly with a spatula. Place the pan in the refrigerator for 20 minutes to allow the layer to firm up slightly.
- Make the Chocolate Fudge Layer: While the vanilla layer chills, combine the semi-sweet chocolate chips with 1/2 cup sweetened condensed milk in another microwave-safe bowl. Heat in 20-second increments, stirring after each, until the chocolate is completely melted and smooth.
- Flavor the Chocolate Layer: Stir 1/2 teaspoon of vanilla extract into the melted chocolate fudge mixture until fully blended.
- Top the Vanilla Layer: Carefully pour the chocolate fudge over the set vanilla layer in the pan, spreading it evenly to cover the entire surface.
- Chill to Set: Refrigerate the layered fudge for at least 2 hours, or until the fudge is completely firm and set.
- Serve: Using the parchment paper overhang, lift the fully set fudge out of the pan. Cut into 16 equal squares and serve chilled.
Notes
- Microwave heating times may vary depending on your microwave’s wattage; be careful not to overheat to avoid scorching the chocolate.
- Use high-quality chocolate chips for the best flavor and texture.
- The parchment paper overhang makes it easy to remove the fudge from the pan without cracking.
- Store the fudge in an airtight container in the refrigerator for up to a week.
- Allow fudge to sit at room temperature for a few minutes before serving for a softer texture.
- Prep Time: 15 minutes
- Cook Time: 10 minutes (microwaving in intervals)
- Category: Dessert
- Method: No-Cook
- Cuisine: American


