Brownie Refrigerator Cake Recipe
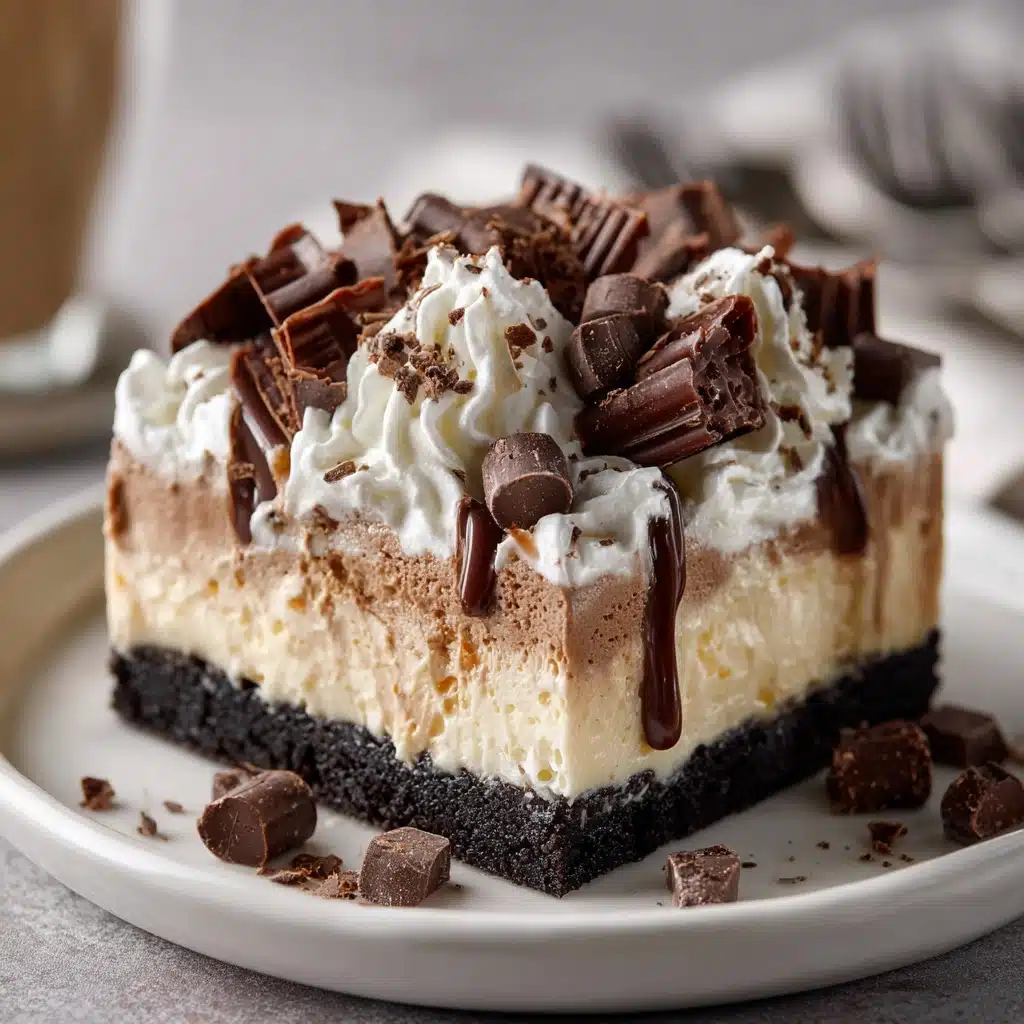
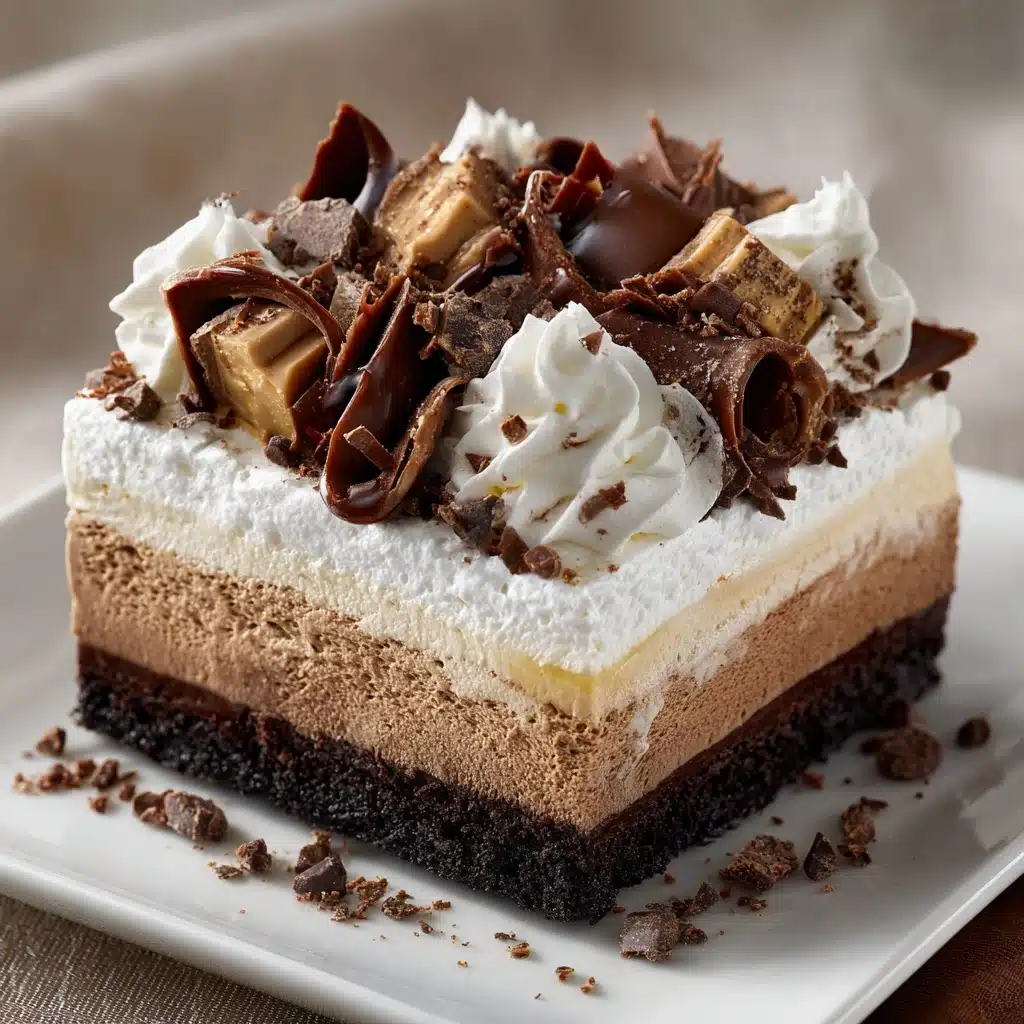
If you’re searching for a crowd-pleasing, showstopping dessert that’s a breeze to assemble and tastes absolutely decadent, look no further than Brownie Refrigerator Cake. Imagine fudgy brownies layered with silky chocolate pudding, airy whipped topping, and a sprinkle of chocolate chips and nuts, all chilled until perfectly set. This no-bake creation is not just easy, it’s practically foolproof, which makes it perfect for a busy weeknight treat or a last-minute party dessert. Every bite is a luscious combination of textures and chocolatey flavor, ensuring it disappears as quickly as it’s served!
Ingredients You’ll Need
-
Brownie Squares:
- 1 batch (18–20 ounces) prepared brownies, cut into small squares
Chocolate Pudding Layer:
- 1 package (3.4 ounces) instant chocolate pudding mix
- 2 cups cold milk
Whipped Topping Layer:
- 1 container (8 ounces) frozen whipped topping, thawed
Additional Ingredients:
- ½ cup mini chocolate chips
- ½ cup chopped nuts (optional)
- Chocolate syrup, for drizzling
How to Make Brownie Refrigerator Cake
Step 1: Mix the Pudding Base
Start your Brownie Refrigerator Cake journey by making the creamy chocolate pudding foundation. In a medium bowl, whisk together the instant chocolate pudding mix and cold milk for a good two minutes. You’ll watch the mixture thicken before your eyes, transforming into a luscious, velvety pudding. This step is the backbone of those crave-worthy layers you’re about to build.
Step 2: Fold in the Whipped Topping
Once your pudding is thickened, gently fold in half of the thawed whipped topping. This technique lightens up the pudding, creating a mousse-like filling that’s spoon-licking good. Take your time and use a gentle hand—you want a smooth, airy texture without deflating the whipped topping.
Step 3: Layer the Goodness
Grab a 9×9-inch dish or a trifle bowl for classic dessert drama. Scatter half of your brownie squares on the bottom to form the first layer. Spoon on half of the pudding-whipped topping mixture, spreading it to cover all the brownie nooks. Top this with a hearty sprinkle of mini chocolate chips and nuts if your crowd loves a little crunch.
Step 4: Repeat and Crown
Now, repeat those luxurious layers: the rest of the brownies, the rest of the pudding mixture, and another flurry of chips and nuts. Finish with the reserved whipped topping spread in a thick, inviting layer so every bite is cool and creamy. Sprinkle on remaining mini chocolate chips and drizzle generously with chocolate syrup for a truly irresistible look.
Step 5: Chill to Perfection
This is where the magic happens! Cover your assembled Brownie Refrigerator Cake and refrigerate it for at least 4 hours or, even better, overnight. This gives the layers a chance to meld, soak, and set up into sliceable, scoopable deliciousness. It’s well worth the wait.
How to Serve Brownie Refrigerator Cake
Garnishes
Bring your Brownie Refrigerator Cake to the next level with a few thoughtful garnishes. A flourish of extra mini chocolate chips, a final shower of chopped nuts, and an artful drizzle of chocolate syrup make every serving striking. If you’re feeling fancy, add a dollop of whipped cream or a few fresh berries for bright contrast.
Side Dishes
This dessert truly stands out on its own, but if you want to round out your dessert spread, try serving it alongside a scoop of vanilla ice cream or a tall glass of cold milk. The simplicity of these accompaniments lets the chocolate layers remain the star, while adding just the right amount of creamy comfort or cool refreshment.
Creative Ways to Present
Get creative with your presentation! Layer your Brownie Refrigerator Cake in individual mason jars for a picnic, or create mini parfait glasses for an elegant dinner party look. For birthdays or special occasions, top each serving with festive sprinkles or edible glitter for a dazzling effect. No matter how you serve it up, everyone will be asking for seconds.
Make Ahead and Storage
Storing Leftovers
Any leftover Brownie Refrigerator Cake should be covered tightly and kept in the refrigerator. Thanks to its pudding and whipped topping layers, it stays moist and delicious for up to three days. Just be sure the dessert is well-sealed to protect those luscious textures and prevent fridge odors from sneaking in.
Freezing
If you need to make the dessert farther in advance, you can absolutely freeze Brownie Refrigerator Cake. Wrap it securely in plastic wrap and foil, then freeze for up to a month. Thaw in the fridge overnight before serving. You may notice a slight change in the whipped topping’s texture, but the overall flavor and effect is still delightfully indulgent.
Reheating
Unlike some cakes, Brownie Refrigerator Cake is truly best enjoyed cold from the fridge. There’s no need to reheat—it’s meant to be creamy, cool, and utterly refreshing. If it’s been frozen, simply allow it to thaw in the refrigerator, then serve once fully chilled.
FAQs
Can I use homemade brownies instead of boxed?
Absolutely! Homemade brownies add a personal, extra-fudgy touch to your Brownie Refrigerator Cake, but a boxed mix works just as well if you’re short on time or looking for convenience.
Can I make Brownie Refrigerator Cake ahead of time?
Yes! In fact, it gets better as it sits. Prepare it the night before and let it chill overnight so the layers can meld together and make serving even simpler the next day.
What nuts are best for this recipe?
Walnuts and pecans are classic choices, lending a mild flavor and crispy texture. If you prefer, you can skip the nuts altogether for a nut-free version, or swap them with chopped almonds or hazelnuts.
How do I make this dessert more festive?
Switch things up by adding festive garnishes like colorful sprinkles, crushed peppermints during the holidays, or even a few raspberries or sliced strawberries for fresh, fruity contrast.
Can I use different pudding flavors?
Definitely! While chocolate pudding gives this Brownie Refrigerator Cake its signature richness, you can experiment with flavors like mocha, white chocolate, or a mix of chocolate and vanilla pudding for delicious variety.
Final Thoughts
If you haven’t tried making Brownie Refrigerator Cake yet, you’re in for a chocolate lover’s dream with none of the fuss. This recipe is meant for sharing, celebrating, and indulging—easy to make, impossible to resist, and always a hit. Treat yourself and your loved ones to a pan of this magic today—you’ll find yourself coming back to it again and again!
Print
Brownie Refrigerator Cake Recipe
- Total Time: 4 hours 15 minutes (including chilling)
- Yield: 9 servings 1x
- Diet: Vegetarian
Description
Indulge in this decadent Brownie Refrigerator Cake that features layers of rich brownies, creamy chocolate pudding, and fluffy whipped topping, creating a delightful no-bake dessert perfect for any occasion.
Ingredients
Brownie Squares:
- 1 batch (18–20 ounces) prepared brownies, cut into small squares
Chocolate Pudding Layer:
- 1 package (3.4 ounces) instant chocolate pudding mix
- 2 cups cold milk
Whipped Topping Layer:
- 1 container (8 ounces) frozen whipped topping, thawed
Additional Ingredients:
- ½ cup mini chocolate chips
- ½ cup chopped nuts (optional)
- Chocolate syrup, for drizzling
Instructions
- Prepare Chocolate Pudding Mixture: In a medium bowl, whisk together chocolate pudding mix and cold milk for 2 minutes until thickened.
- Combine Layers: Fold in half of the whipped topping until smooth and combined. In a 9×9-inch dish or trifle bowl, layer half of the brownie pieces, followed by half of the pudding mixture, and a sprinkle of chocolate chips and nuts if using. Repeat the layers.
- Finish and Chill: Spread the remaining whipped topping evenly over the top. Sprinkle with more mini chocolate chips and drizzle with chocolate syrup. Cover and refrigerate for at least 4 hours or overnight to allow flavors to meld and layers to set.
Notes
- Use homemade or boxed brownies.
- For added flavor, mix a tablespoon of brewed coffee into the pudding.
- Serve chilled for the best texture.
- Prep Time: 15 minutes
- Cook Time: 0 minutes
- Category: Dessert
- Method: No-Bake
- Cuisine: American
Nutrition
- Serving Size: 1 square
- Calories: 350
- Sugar: 28g
- Sodium: 290mg
- Fat: 18g
- Saturated Fat: 9g
- Unsaturated Fat: 7g
- Trans Fat: 0g
- Carbohydrates: 42g
- Fiber: 2g
- Protein: 5g
- Cholesterol: 40mg