Christmas Fudge Recipe
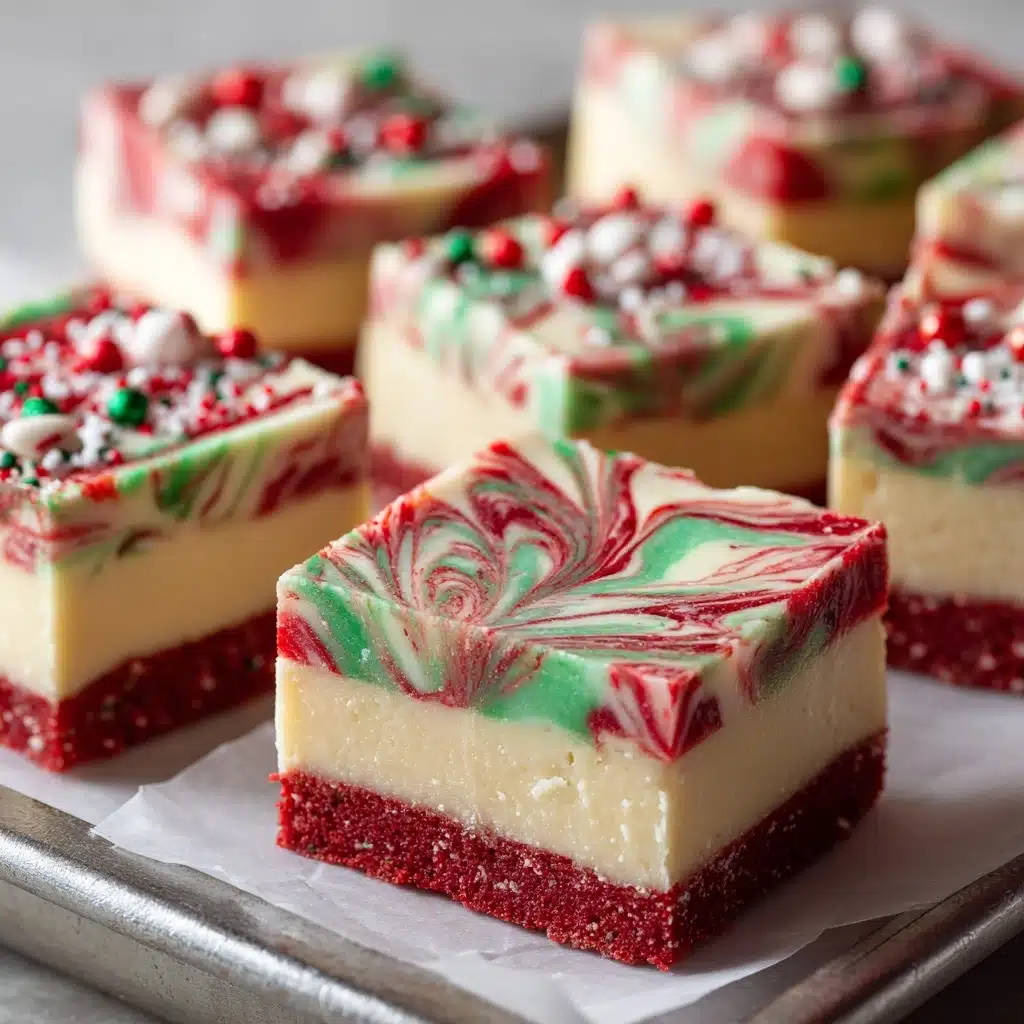
There is something truly magical about sharing Christmas Fudge with friends and family during the holidays. This timeless treat is all about silky-smooth chocolate, that hint of buttery richness, and festive bursts of color from holiday sprinkles or crushed peppermint. Each bite is like a warm hug, making your celebrations just a bit sweeter and more memorable. Whether you’re planning a cozy dessert table or packaging up edible gifts, Christmas Fudge is the classic that everyone looks forward to each year.
Ingredients You’ll Need
The beauty of Christmas Fudge is in its simplicity: just a handful of pantry staples transform into something spectacular. Each ingredient plays a key role in achieving that creamy, melt-in-your-mouth goodness that makes this fudge irresistible.
- Semi-sweet chocolate chips (3 cups): These provide the bold chocolate backbone and help the fudge set perfectly.
- Sweetened condensed milk (1 (14 oz) can): Adds creaminess and just the right amount of sweetness for a luscious texture.
- Unsalted butter (1/4 cup): Gives a rich, smooth finish and helps bind all the flavors together.
- Vanilla extract (1 teaspoon): Rounds out the flavors with a lovely warmth and depth.
- Salt (1/4 teaspoon): Enhances the chocolate flavor and balances the sweetness.
- Chopped walnuts or pecans (1/2 cup, optional): Introduce a nutty crunch for those who love a little extra texture.
- Holiday sprinkles or crushed peppermint (1/4 cup for topping): Bring a festive sparkle and a pop of holiday color—or a cool, minty twist!
How to Make Christmas Fudge
Step 1: Prep Your Pan
Line an 8×8-inch baking dish with parchment paper, making sure to leave some overhang on the sides. This brilliant trick isn’t just about easy cleanup—it guarantees you can lift your whole slab of Christmas Fudge out in one piece for tidy slicing later.
Step 2: Melt the Chocolate Mixture
In a medium saucepan set over low heat, combine the semi-sweet chocolate chips, sweetened condensed milk, and unsalted butter. Stir constantly, gently coaxing the chocolate and butter to melt into the milk, until the mixture is silky smooth with no lumps remaining. The key here is a gentle heat and patient stirring—this keeps everything velvety and glossy.
Step 3: Flavor and Nutty Crunch (Optional)
Take the pan off the heat and while the fudge mixture is still warm, stir in the vanilla extract and salt. If you adore a little crunch, this is the moment to fold in the chopped walnuts or pecans. The aroma at this stage is pure holiday magic!
Step 4: Pour and Decorate
Scrape the mixture into your prepared pan and use a spatula to smooth it out evenly, working quickly before it begins to firm up. Immediately shower the top with your choice of festive sprinkles or a dusting of crushed peppermint, gently pressing them into the surface so they’ll stay put once chilled.
Step 5: Chill and Set
Slide the pan into your refrigerator and let the Christmas Fudge chill for at least 2 hours until fully set. The anticipation is real, but the wait is oh-so-worth it—a perfectly set fudge is easy to slice and melts beautifully on your tongue.
Step 6: Slice and Serve
When the fudge is firm, lift it out of the pan with the parchment overhang. Cut into neat squares—aim for 36 bite-sized pieces that are perfect for sharing, gifting, or sneaking a piece every time you walk by the fridge.
How to Serve Christmas Fudge
Garnishes
Don’t be afraid to have fun with toppings! Traditional holiday sprinkles add a colorful crunch, while crushed peppermint sends a cool, festive nod to the season. See if you can find star-shaped sprinkles or even drizzle on a touch of melted white chocolate for extra pizzazz—each little detail makes your Christmas Fudge shine all the more.
Side Dishes
Christmas Fudge loves good company. Pair your squares with fresh berries for a pop of brightness or serve alongside steaming mugs of cocoa, coffee, or even spiced tea. It’s a charming addition to a festive dessert platter with cookies and fruit, inviting everyone to sample a bit of everything.
Creative Ways to Present
If you’re gifting fudge, nestle pieces in parchment-lined holiday tins or small boxes tied with ribbon for a homespun touch. For party platters, layer fudge squares with different colored sprinkles or candies between for a playful, rainbow effect. Individually wrap squares in clear cellophane and twist the ends for a nostalgic candy-shop feel—the sky’s the limit!
Make Ahead and Storage
Storing Leftovers
Keep any extra Christmas Fudge in an airtight container in the fridge. It’ll stay creamy, rich, and fresh for up to one week—just the right amount of time for leisurely snacking or sneaky midnight treats.
Freezing
Christmas Fudge is a fantastic make-ahead treat! Once fully set, place fudge squares in a freezer-safe container with parchment or waxed paper between the layers. Pop them in the freezer and enjoy homemade fudge for up to 2 months. Thaw pieces overnight in the refrigerator before serving for best flavor and texture.
Reheating
You won’t need to actually reheat Christmas Fudge for serving, but if it comes out of the fridge a little too firm for your taste, let it sit at room temperature for about 10 minutes before enjoying. This brings it back to its soft, creamy ideal—and that’s when it’s at its absolute best!
FAQs
Can I use a different type Dessert
Absolutely! You can use white chocolate chips or dark chocolate chips instead of semi-sweet for a whole new spin. Milk chocolate will give a sweeter, creamier result, while dark chocolate brings a bolder, more intense flavor. Just be sure to use the same amount so the texture stays perfect.
Is Christmas Fudge gluten-free?
Yes, as written, this recipe is gluten-free. Just double-check your vanilla extract and sprinkles to ensure they’re gluten-free if you’re serving someone with dietary restrictions.
What’s the best way to cut fudge into neat squares?
For the cleanest slices, use a sharp knife and wipe the blade with a warm damp cloth between cuts. Letting the fudge sit at room temperature for a few minutes before cutting also helps prevent cracking.
Can I make Christmas Fudge without nuts?
Definitely! The nuts are completely optional and can be left out for a completely smooth, nut-free fudge. Or, feel free to try other mix-ins like mini marshmallows or dried cranberries for a fun twist.
How far in advance can I prepare Christmas Fudge?
You can make this Christmas Fudge up to one week in advance and store it, tightly covered, in the fridge. If you want to prepare it further ahead, pop it in the freezer for up to two months—just thaw before serving.
Final Thoughts
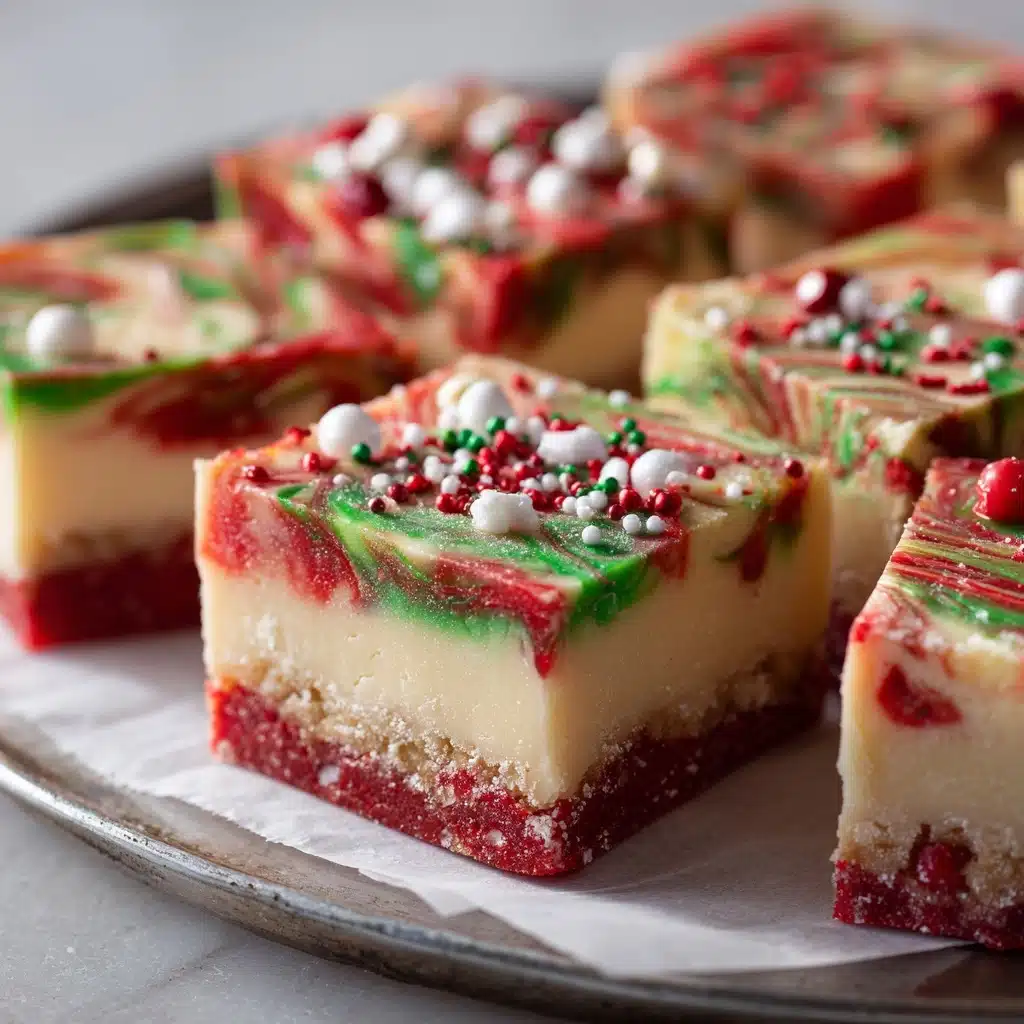
Few things spark joy quite like a tray of homemade Christmas Fudge piled high and ready to share. This recipe is truly foolproof, bursting with classic holiday flavor, and endlessly adaptable to your own festive style. Whip up a batch this season and experience just how delightfully sweet (and fun!) homemade fudge can be—you’ll want to gift it, share it, and, of course, sneak a few pieces for yourself.
Print
Christmas Fudge Recipe
- Total Time: 2 hours 15 minutes
- Yield: 36 pieces 1x
- Diet: Vegetarian, Gluten-Free
Description
Indulge in the rich and creamy delight of Christmas Fudge, a decadent holiday treat that is perfect for gifting or enjoying with loved ones. This easy, no-bake dessert is a classic favorite that combines the sweetness of chocolate with the crunch of nuts and festive sprinkles.
Ingredients
Main Ingredients:
- 3 cups semi-sweet chocolate chips
- 1 (14 oz) can sweetened condensed milk
- 1/4 cup unsalted butter
- 1 teaspoon vanilla extract
- 1/4 teaspoon salt
Optional Ingredients:
- 1/2 cup chopped walnuts or pecans
- 1/4 cup holiday sprinkles or crushed peppermint for topping
Instructions
- Prepare the Pan: Line an 8×8-inch baking dish with parchment paper, leaving some overhang for easy removal.
- Melt Chocolate Mixture: In a medium saucepan over low heat, combine chocolate chips, sweetened condensed milk, and butter. Stir continuously until smooth.
- Flavor and Mix: Remove from heat and stir in vanilla extract, salt, and nuts if using.
- Set and Decorate: Pour the mixture into the prepared pan, spread evenly, and top with holiday sprinkles or crushed peppermint. Refrigerate until set.
- Serve: Lift out of the pan using parchment, cut into squares, and enjoy!
Notes
- Experiment with white or dark chocolate for different flavor profiles.
- Fudge can be prepared ahead of time and stored in the fridge for up to a week.
- Prep Time: 10 minutes
- Cook Time: 5 minutes
- Category: Dessert
- Method: No-Bake
- Cuisine: American
Nutrition
- Serving Size: 1 piece
- Calories: 120
- Sugar: 14 g
- Sodium: 30 mg
- Fat: 6 g
- Saturated Fat: 4 g
- Unsaturated Fat: 2 g
- Trans Fat: 0 g
- Carbohydrates: 16 g
- Fiber: 1 g
- Protein: 1 g
- Cholesterol: 5 mg