Classic Popovers Recipe
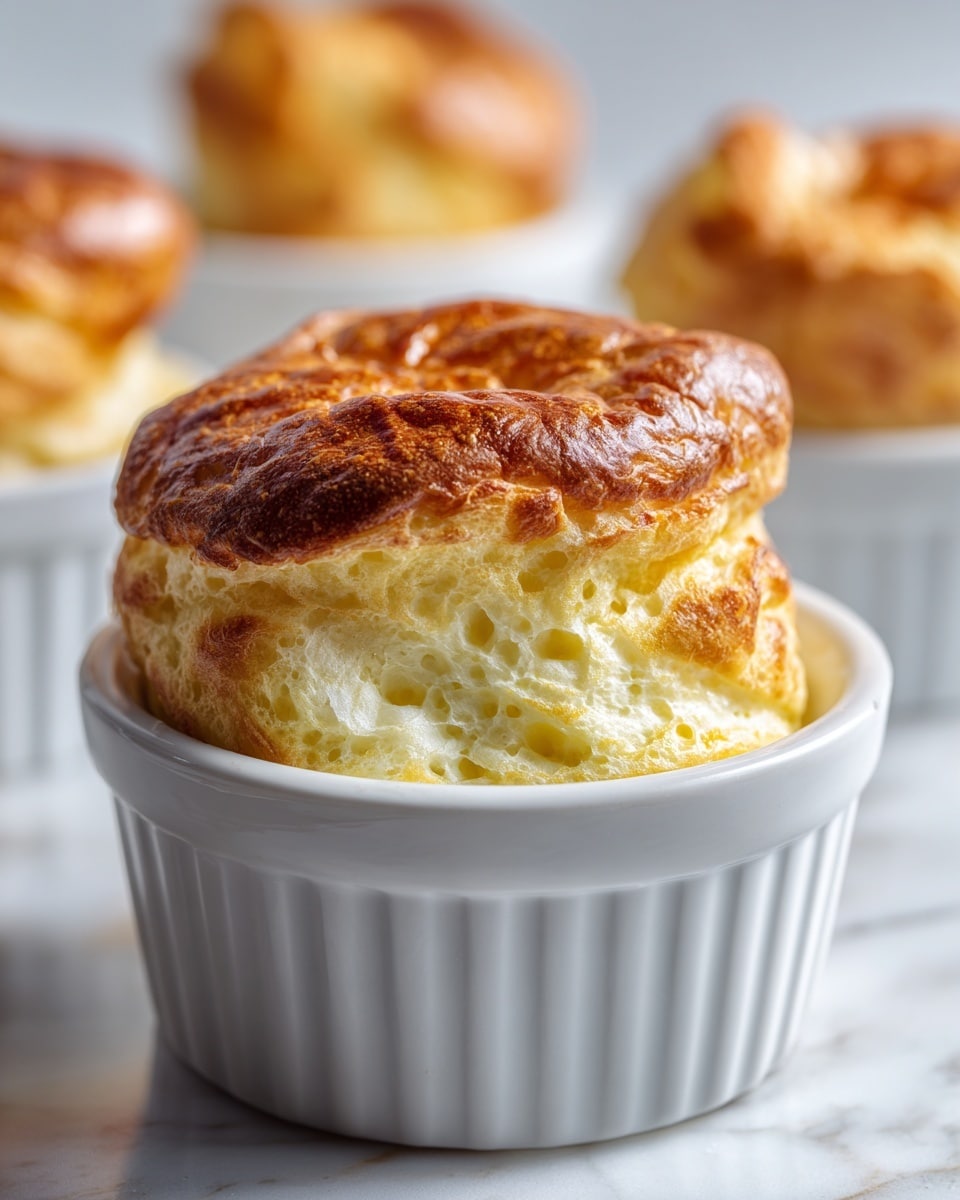
If you have ever wanted to bake a light, airy bread that feels like a cloud but boasts a golden, crispy exterior, then this Classic Popovers Recipe is exactly what you need to try next. There is something wonderfully nostalgic and comforting about freshly made popovers, with their puffed-up, hollow centers that are just perfect for filling with butter, jam, or your favorite savory spreads. This recipe captures that perfect balance of simplicity and elegance, ensuring a delicious, showstopping bread experience that is surprisingly easy to whip up in your own kitchen.
Ingredients You’ll Need
The beauty of this Classic Popovers Recipe lies in its simplicity, using just a handful of essential ingredients that each play a special role. From the fluff-creating eggs to the rich, smooth milk, every component contributes to that signature popover texture and taste.
- 1 cup all-purpose flour: Provides the structure and body for the popover, allowing it to rise tall and hold its shape.
- 1 cup whole milk (room temperature): Adds moisture and richness, helping create that tender interior.
- 3 large eggs (room temperature): The heroes of lift and fluffiness, making the popovers light and airy.
- 1/2 tsp salt: Enhances flavor and balances the sweetness subtly present in the batter.
- 1 tbsp unsalted butter (melted): Brings a subtle buttery flavor and contributes to a golden crust.
- Extra butter or non-stick spray: Essential for greasing the pan so the popovers don’t stick and release beautifully.
How to Make Classic Popovers Recipe
Step 1: Preheat and Prepare
Start by preheating your oven to 450°F and placing your popover pan or muffin tin inside as the oven heats up. This preheating of the baking vessel is a secret weapon that helps the batter puff up quickly the instant it’s placed in the oven, creating those iconic tall, hollow popovers you know and love.
Step 2: Mix Your Batter
Whisk the eggs in a bowl until they become light and foamy — this is where the air gets incorporated for that wonderful lift. Next, add the room temperature milk and melted butter, whisking everything together until combined. Slowly add the flour and salt, continuing to whisk until you achieve a smooth and thin batter, not much thicker than crepe batter.
Step 3: Grease and Fill the Pan
Carefully remove the hot pan from the oven and grease each cup generously with butter or non-stick spray. This step is vital to achieving a crisp bottom and helps the popovers release easily once baked. Quickly fill each cup about halfway with batter — less is more here, as the batter will expand dramatically during baking.
Step 4: Bake to Perfection
Bake the popovers at 450°F for 15 minutes without opening the oven door to maintain the crucial heat blast that causes them to rise spectacularly. After that, lower the temperature to 350°F and bake for an additional 15–20 minutes, until they’re beautifully golden and puffed to their fullest glory.
Step 5: Serve Immediately
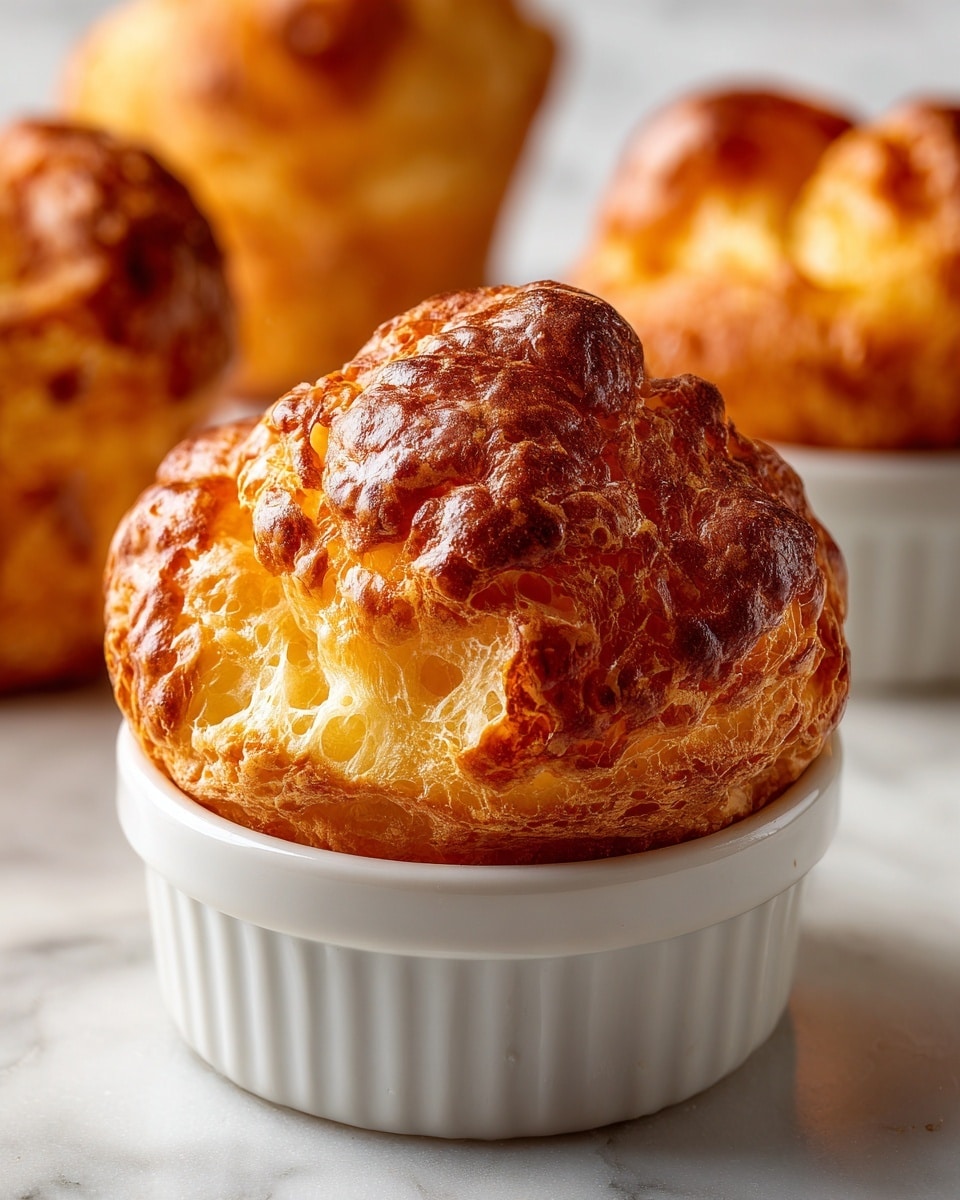
Remove the popovers from the oven and pierce each one gently with a knife. This quick release of steam keeps the interior light and prevents them from collapsing. Serve these warm to enjoy their crispy exterior and soft, hollow center at their very best.
How to Serve Classic Popovers Recipe
Garnishes
Popovers are wonderfully versatile when it comes to garnishes. For a classic touch, slather them with softened butter or a bit of fruit preserves. If you want to add a savory twist, try spreading cream cheese with chives or even a little garlic-herb butter. The hollow centers are like little cups just waiting to be filled with your imagination.
Side Dishes
Popovers make a fantastic accompaniment to so many dishes. Their airy texture pairs beautifully with hearty soups and stews, soaking up every drop of broth. They’re also irresistible alongside roasted chicken, glazed ham, or even a fresh salad, adding the perfect contrast and texture that makes a meal feel special.
Creative Ways to Present
Looking to impress at your next brunch or dinner? Fill your popovers with scrambled eggs and smoked salmon, or use them as mini bread bowls for creamy chicken pot pie. You can even slice them open and layer with ham and cheese for a delightful lunch treat. The possibilities are endless, making this Classic Popovers Recipe a canvas for your culinary creativity.
Make Ahead and Storage
Storing Leftovers
If you have any leftovers, store them in an airtight container at room temperature for up to two days. While popovers are always best fresh, these little clouds still hold up well and can be quickly revived with a few tricks.
Freezing
You can freeze popovers by placing them in a sealed plastic bag or airtight container. Because they are delicate, freezing them quickly after baking helps lock in their texture for up to one month. When ready to use, just thaw at room temperature.
Reheating
The best way to bring popovers back to life is by reheating them in a preheated oven at 350°F for 5–7 minutes. This warms them through while crisping the outside, restoring much of that original fresh-from-the-oven magic.
FAQs
Why do my popovers sometimes collapse after baking?
Popovers rely on steam to puff up, so it is essential to avoid opening the oven door during the initial high-heat baking period. Also, piercing them immediately after baking allows steam to escape slowly and prevents sudden collapse. Using room temperature ingredients and a well-preheated pan also helps maintain their structure.
Can I use milk alternatives in this recipe?
Yes, you can substitute whole milk with plant-based milks like almond or oat milk, but beware this might slightly alter the texture and flavor. Whole milk offers richness and moisture that contribute to the classic popover’s tenderness.
Is there a gluten-free version of this Classic Popovers Recipe?
Popovers traditionally rely on gluten’s structure for their impressive rise, so gluten-free versions can be tricky. However, experimenting with gluten-free blends that include xanthan gum might work, though results can vary compared to the classic version.
Can I make popovers without a special pan?
Absolutely! A standard muffin tin works perfectly well if you do not have a popover pan. Just follow the same greasing and filling instructions. The shape may vary slightly, but the taste and texture will still be delightful.
How do I get the best rise for my popovers?
Always use room temperature eggs and milk, preheat your oven and pan thoroughly, fill the cups only halfway, and avoid opening the oven door while baking at the high temperature. These tips help create the steam explosion required for tall, airy popovers.
Final Thoughts
This Classic Popovers Recipe is truly a gem to add to your baking repertoire. The ease of preparation combined with the magical, fluffy results make it one of those dishes that brings delight to any meal or occasion. Once you try it, you’ll understand why popovers have been cherished for so long — they’re simple, elegant, and utterly delicious. So go ahead and give this recipe a whirl; your taste buds will thank you for it!
Print
Classic Popovers Recipe
- Total Time: 45 minutes
- Yield: 6 popovers 1x
- Diet: Vegetarian
Description
Classic Popovers are light, airy, and golden brown bread made from a simple batter of eggs, milk, flour, and butter. Perfect as a side dish, these popovers boast a crisp exterior and a soft, hollow interior, ideal for serving with butter, jam, or alongside hearty soups and stews.
Ingredients
Popovers
- 1 cup all-purpose flour
- 1 cup whole milk (room temperature)
- 3 large eggs (room temperature)
- 1/2 tsp salt
- 1 tbsp unsalted butter (melted)
- Extra butter or non-stick spray for greasing the pan
Instructions
- Preheat the oven: Preheat your oven to 450°F (232°C). Place a standard 6-cup popover pan or a muffin tin inside the oven as it heats to ensure the pan becomes very hot, which is essential for the popovers’ rise.
- Prepare the batter: In a mixing bowl, whisk the eggs until they become light and foamy. Add the room temperature milk and melted butter to the eggs, whisking until combined. Gradually whisk in the flour and salt until the batter is smooth and thin, similar to the consistency of crepe batter.
- Grease the hot pan: Carefully remove the heated pan from the oven. Lightly grease each cup with butter or non-stick spray to prevent sticking and help with browning.
- Fill the cups: Immediately fill each cup about halfway with the prepared batter. The hot pan and the thin batter are critical for creating the characteristic popover puffiness.
- Bake at high temperature: Place the pan back in the oven and bake at 450°F for 15 minutes. Do not open the oven door during this time to prevent the popovers from collapsing.
- Lower the temperature and continue baking: After 15 minutes, reduce the oven temperature to 350°F (177°C) and bake for an additional 15 to 20 minutes until the popovers are puffed up and have a deep golden brown color.
- Finish and serve: Remove the popovers from the oven. Pierce each one with a knife to release steam, preventing them from becoming soggy. Serve immediately, ideally with butter, jam, or as an accompaniment to soups and stews.
Notes
- For the best popover rise, ensure eggs and milk are at room temperature to improve batter consistency and oven spring.
- Preheating the pan is vital to achieve maximum puffiness and crispiness.
- Do not open the oven door during the initial baking phase to avoid collapse.
- Popovers are best served fresh and immediately after baking for an ideal texture.
- Popovers make a delicious side for breakfast, brunch, or dinner, complementing both sweet and savory dishes.
- Prep Time: 10 minutes
- Cook Time: 35 minutes
- Category: Side Dish, Bread
- Method: Baking
- Cuisine: American
