Crispy Caesar Chicken Breasts Recipe
If you’re on the hunt for a weeknight dinner that delivers big on flavor without requiring a mountain of prep, look no further than Crispy Caesar Chicken Breasts. This dish combines juicy, tender chicken with a crave-worthy Parmesan and panko crust, all brought together by the unmistakable tang of Caesar dressing. With a crunchy, golden coating and a punch of garlicky goodness, these chicken breasts are just as perfect for a cozy family dinner as they are for impressing friends at your next get-together.
Ingredients You’ll Need
The magic of Crispy Caesar Chicken Breasts lies in its handful of simple yet essential ingredients. Each one brings something special to the table—whether it’s crunch, creaminess, or a burst of fresh flavor. Here’s what you’ll need and why each is important:
- Chicken breasts: Go for boneless, skinless for quick cooking and a lean, juicy bite every time.
- Creamy Caesar dressing: This is your flavor booster and moisture lock, ensuring every bite is juicy and packed with that signature Caesar zing.
- Grated Parmesan cheese: Freshly grated is best for melty, nutty richness in every crusty bite.
- Panko breadcrumbs: They deliver unbeatable crunch and a light golden finish that regular breadcrumbs just can’t match.
- Garlic powder: Adds a subtle savory depth that pairs perfectly with Caesar flavors.
- Black pepper: A little kick of heat to balance the creamy and cheesy elements.
- Salt: Just enough to bring out all the flavors without overpowering the dish.
- Melted butter: Helps the crust brown beautifully and adds a touch of richness.
- Chopped parsley (optional): For a pop of fresh color and herbal brightness at the end.
- Lemon wedges (optional): A squeeze over the top lifts all the flavors and adds a zesty finish.
How to Make Crispy Caesar Chicken Breasts
Step 1: Prep Your Oven and Baking Sheet
Start by preheating your oven to 400°F so it’s nice and hot when the chicken goes in. Line a baking sheet with parchment paper—this not only makes cleanup a breeze but also helps keep the crust perfectly crisp.
Step 2: Season the Chicken
Pat your chicken breasts dry with paper towels. This is a simple trick that helps the seasoning stick and keeps the crust from sliding off. Sprinkle both sides of each breast with salt, pepper, and garlic powder for even, flavorful seasoning.
Step 3: Coat with Caesar Dressing
Brush a generous layer of Caesar dressing over both sides of each chicken breast. This creamy coating not only infuses the meat with classic Caesar flavor but also acts as the glue for your crunchy topping.
Step 4: Prepare the Crispy Coating
In a shallow bowl, mix together the panko breadcrumbs, freshly grated Parmesan cheese, and melted butter. The butter helps the crust brown up beautifully, while the Parmesan brings that irresistible cheesy crunch.
Step 5: Dredge and Coat the Chicken
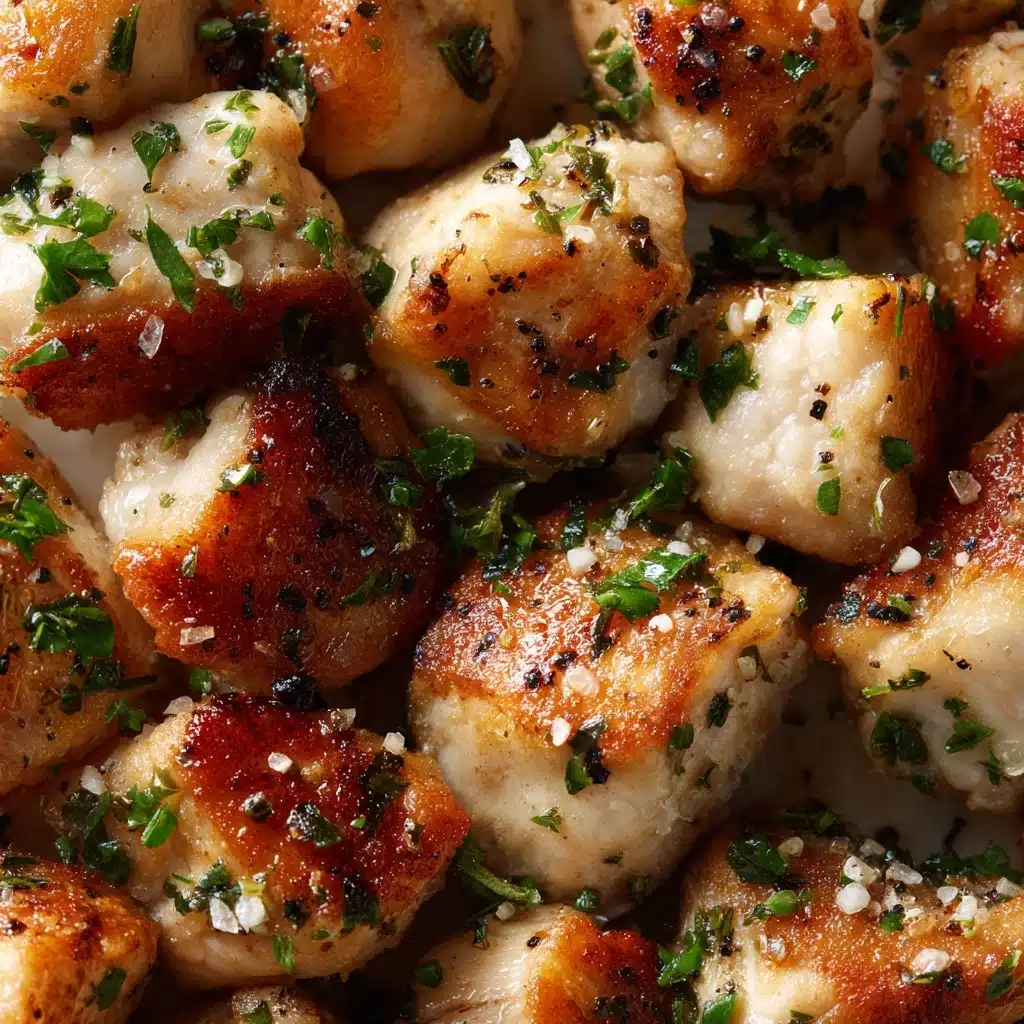
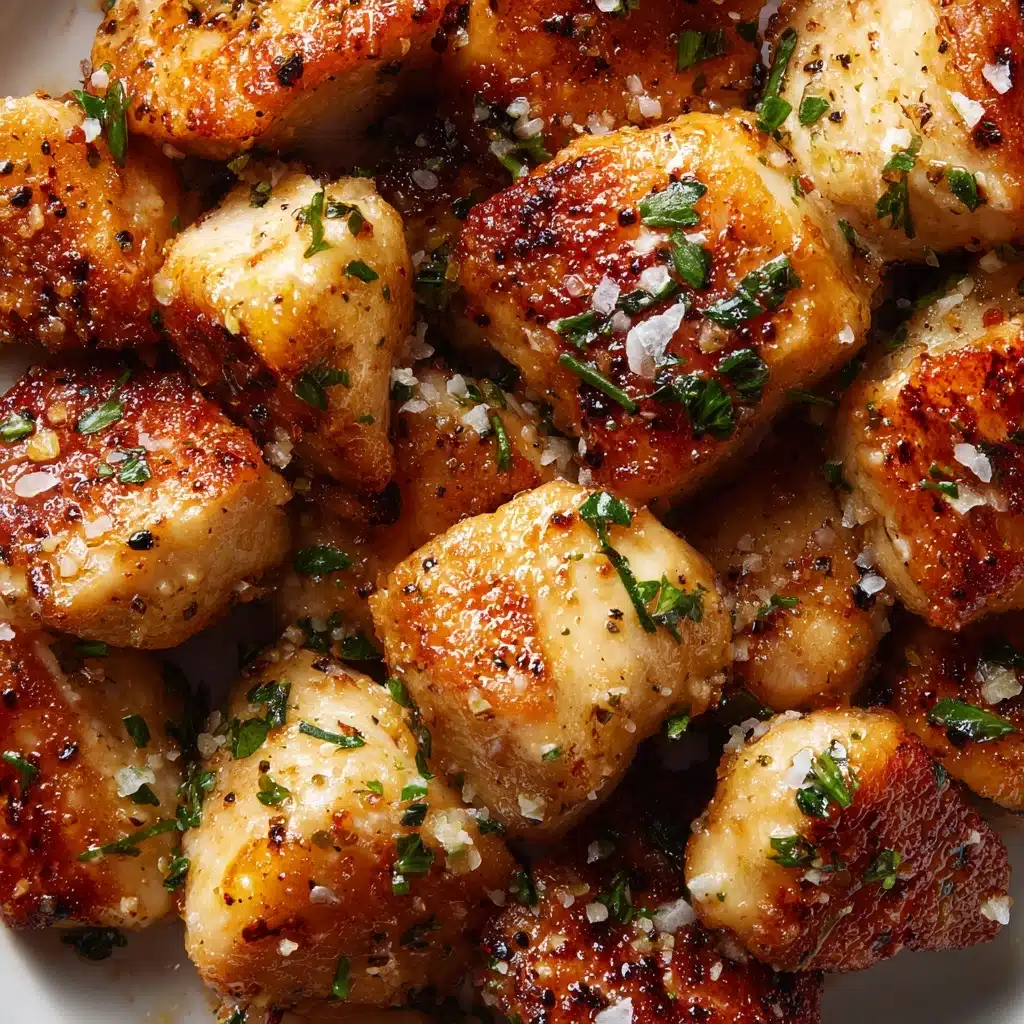
Press each Caesar-coated chicken breast into the panko-Parmesan mixture, making sure to cover the top and sides thoroughly. Don’t be shy—really pack the coating on to ensure every bite is crispy and full of flavor.
Step 6: Bake to Golden Perfection
Arrange the coated chicken breasts on your prepared baking sheet. Slide them into the oven and bake for 25 to 30 minutes, until the crust is golden brown and the chicken reaches an internal temperature of 165°F. For extra crunch, broil during the last two minutes of baking, but keep an eye on them so the crust doesn’t burn!
Step 7: Rest and Garnish
Let the Crispy Caesar Chicken Breasts rest for about 5 minutes after baking. This helps the juices redistribute and the crust set up. Finish with a sprinkle of chopped parsley and serve with lemon wedges for a fresh, tangy finish.
How to Serve Crispy Caesar Chicken Breasts
Garnishes
A final flourish of chopped fresh parsley gives your Crispy Caesar Chicken Breasts a burst of color and a hint of herbiness, while a squeeze of lemon brightens and balances the rich flavors. If you’re feeling extra fancy, add a few shavings of Parmesan on top for that classic Caesar touch.
Side Dishes
These chicken breasts are incredibly versatile. Pair them with roasted vegetables for a wholesome dinner, serve alongside creamy mashed potatoes for comfort food vibes, or keep things light with a crisp Caesar salad. The crunch and flavor of the chicken complement just about any side you love.
Creative Ways to Present
Slice Crispy Caesar Chicken Breasts and layer over a big green salad for a show-stopping lunch, tuck into a warm sandwich with lettuce and tomato, or serve sliced atop pasta tossed with a little extra Caesar dressing. The golden crust makes every presentation look irresistible.
Make Ahead and Storage
Storing Leftovers
Store any leftover Crispy Caesar Chicken Breasts in an airtight container in the refrigerator for up to three days. To help keep the crust as crisp as possible, let the chicken cool completely before sealing it up.
Freezing
You can freeze the cooked chicken breasts by wrapping each one tightly in plastic wrap and then transferring to a freezer-safe bag. They’ll keep well for up to two months—just know the crust may lose a bit of its crunch after freezing and thawing.
Reheating
For the crispiest results, reheat leftover Crispy Caesar Chicken Breasts in a 350°F oven for about 10-12 minutes, or until heated through. Avoid the microwave if you can, since it tends to soften the crunchy coating.
FAQs
Can I use chicken thighs instead of breasts?
Absolutely! Boneless, skinless chicken thighs work well and stay extra juicy. Just adjust the baking time as needed, since thighs may cook a bit faster or slower depending on size.
What’s the best Caesar dressing to use?
Choose a creamy Caesar dressing you love—homemade or store-bought both work. A good-quality dressing with plenty of garlic and anchovy flavor will really make these Crispy Caesar Chicken Breasts stand out.
Can I make this recipe gluten-free?
Yes! Swap the panko breadcrumbs for gluten-free panko or crushed gluten-free crackers. The rest of the ingredients are naturally gluten-free, so it’s an easy modification.
Is it possible to prep the chicken ahead of time?
You can season and coat the chicken up to a few hours in advance, then cover and refrigerate until you’re ready to bake. This makes dinner even more effortless on busy nights.
How do I know when the chicken is fully cooked?
Use a meat thermometer to check for an internal temperature of 165°F at the thickest part. The crust should be golden and crunchy, and the juices should run clear.
Final Thoughts
If you’re craving a dinner that’s equal parts easy, comforting, and packed with flavor, you simply have to try Crispy Caesar Chicken Breasts. This recipe is a hit every time I make it, and I’m certain it’ll become a favorite at your table, too!
Print
Crispy Caesar Chicken Breasts Recipe
- Total Time: 40 minutes
- Yield: 4 servings 1x
- Diet: Non-Vegetarian
Description
Crispy Caesar Chicken Breasts are a delicious and easy-to-make meal featuring tender chicken breasts coated in creamy Caesar dressing, Parmesan cheese, and crunchy panko breadcrumbs. Baked to golden perfection, this dish makes for a satisfying and flavorful main course option for any dinner.
Ingredients
Chicken and Seasoning
- 4 boneless, skinless chicken breasts
- 1 teaspoon garlic powder
- 1/2 teaspoon black pepper
- 1/4 teaspoon salt
Dressing and Coating
- 1/2 cup creamy Caesar dressing
- 1/2 cup grated Parmesan cheese
- 1 cup panko breadcrumbs
- 2 tablespoons melted butter
Optional Garnish
- Chopped parsley
- Lemon wedges
Instructions
- Preheat and Prepare Chicken: Preheat the oven to 400°F and line a baking sheet with parchment paper. Pat the chicken breasts dry with paper towels, then lightly season both sides with salt, pepper, and garlic powder to enhance flavor.
- Coat with Caesar Dressing: Brush each chicken breast evenly with creamy Caesar dressing, ensuring every piece is well-coated for moisture and flavor before the breadcrumb layer.
- Prepare Breadcrumb Mixture: In a shallow bowl, combine the grated Parmesan cheese, panko breadcrumbs, and melted butter. Mix well to create a rich, buttery coating mixture that will crisp up in the oven.
- Apply Breadcrumb Coating: Press the breadcrumb mixture onto each chicken breast, covering the top and sides thoroughly to form an even crust that will turn golden brown when baked.
- Bake the Chicken: Place the coated chicken breasts on the prepared baking sheet and bake for 25 to 30 minutes, or until the coating is golden and the internal temperature reaches 165°F, ensuring the chicken is cooked through.
- Rest and Serve: Remove the chicken from the oven and let it rest for 5 minutes to keep it juicy. Garnish with chopped parsley and serve with lemon wedges if desired for a fresh, bright finish.
Notes
- Use freshly grated Parmesan cheese for the best flavor and texture in the breadcrumb coating.
- For extra crunch, broil the chicken for the last 2 minutes of baking but watch closely to avoid burning.
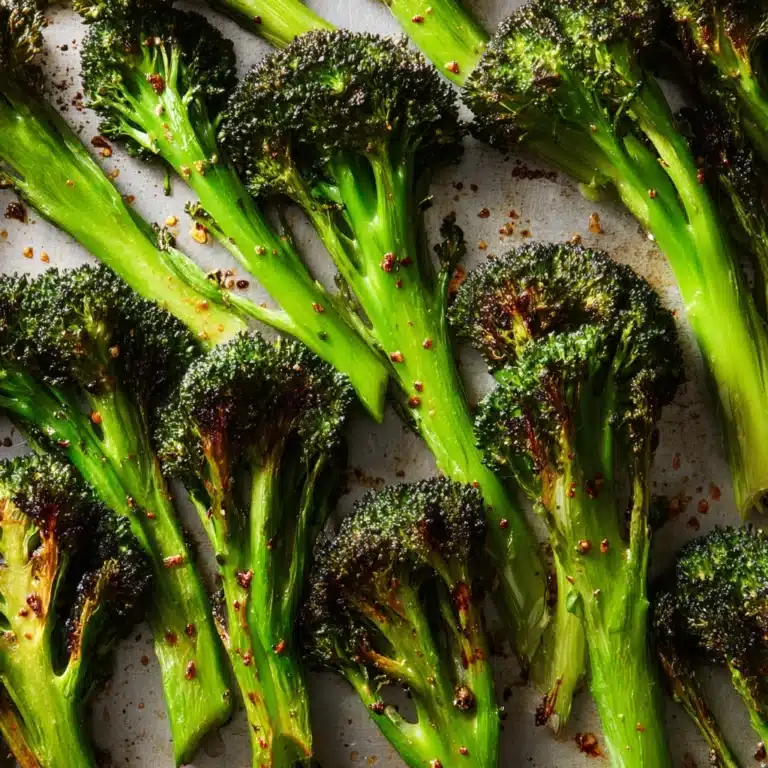
- This recipe pairs wonderfully with roasted vegetables, mashed potatoes, or a crisp Caesar salad for a complete meal.
- Prep Time: 10 minutes
- Cook Time: 30 minutes
- Category: Main Course
- Method: Baking
- Cuisine: American
Nutrition
- Serving Size: 1 chicken breast
- Calories: 410
- Sugar: 1 g
- Sodium: 620 mg
- Fat: 23 g
- Saturated Fat: 7 g
- Unsaturated Fat: 14 g
- Trans Fat: 0 g
- Carbohydrates: 10 g
- Fiber: 1 g
- Protein: 40 g
- Cholesterol: 105 mg