Crispy Fried Cheese Balls Recipe That’s Better Than Takeout Recipe
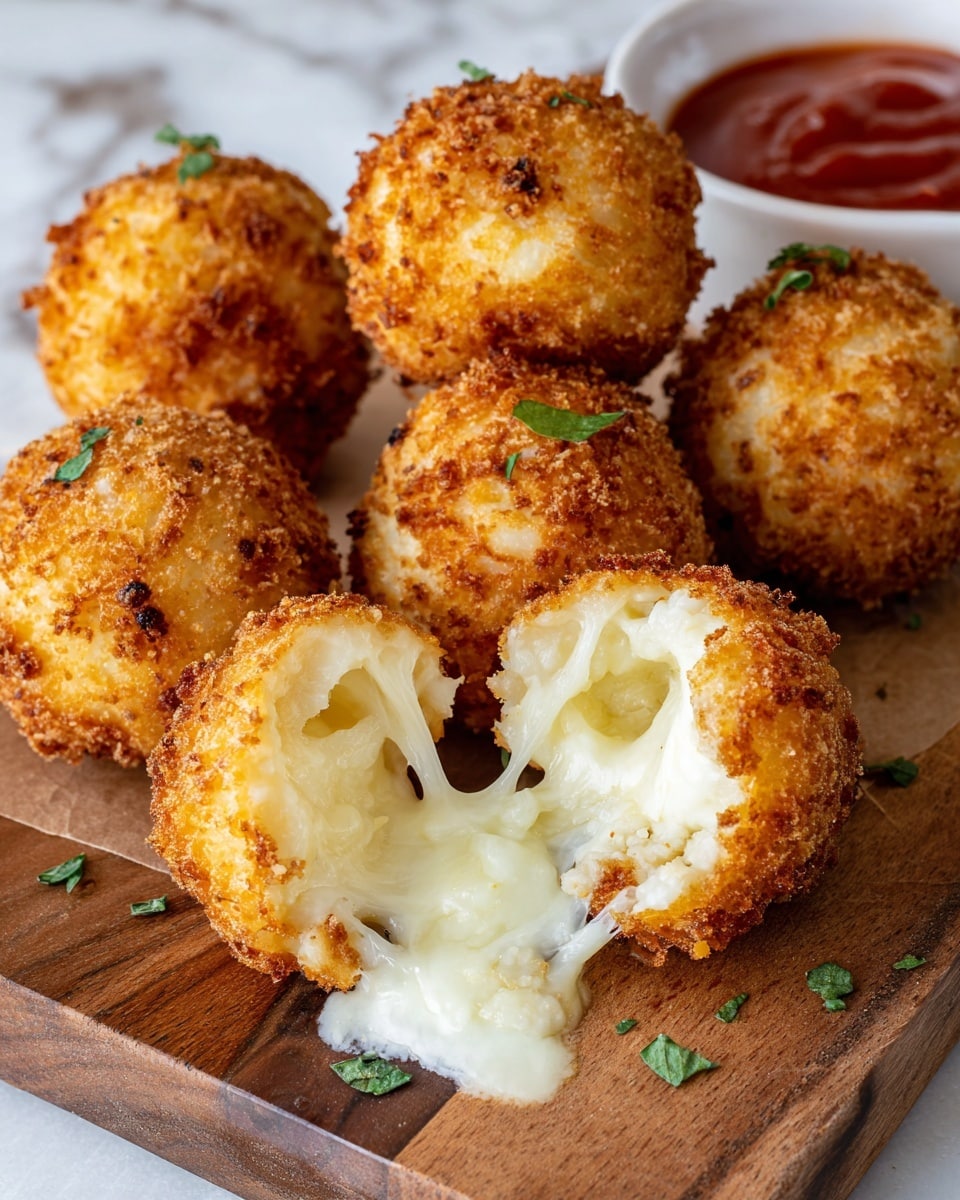
If you have ever found yourself craving a snack that’s irresistibly golden, cheesy, and bursting with flavor, then this Crispy Fried Cheese Balls Recipe That’s Better Than Takeout Recipe is exactly what you’ve been dreaming of. Perfectly crunchy on the outside and gooey on the inside, these cheese balls combine savory spices and melty cheese to create a snack that feels both indulgent and comforting. Whether you’re throwing a party, looking for a fun appetizer, or just want to treat yourself, this recipe will quickly become your new favorite way to enjoy crispy, cheesy goodness at home.
Ingredients You’ll Need
The magic behind these cheese balls lies in a handful of simple, pantry-friendly ingredients that each play a crucial role in achieving that perfect texture and flavor. From the cheese that brings the rich, creamy center to the spices that add a delightful kick, every component is essential.
- 4 cups grated cheese or vegan cheese: This is the star that melts into a creamy, flavorful center for each bite.
- 2 eggs: Eggs act as the binding force, holding the cheese and spices together so they don’t fall apart while frying.
- 4 tbsp all-purpose flour: Flour adds structure and helps create a smooth mixture that’s easy to shape.
- 2 tsp garlic powder: Garlic powder lends a subtle, savory depth without overpowering the cheese.
- 2 tsp onion powder: Onion powder balances the flavors with a mild sweetness and earthy aroma.
- 2 tsp oregano: Oregano offers herby warmth that complements the cheesy filling beautifully.
- 1 tsp black pepper: A touch of pepper brings a gentle heat and sharpness to brighten the mix.
- 1 tsp smoked paprika: Smoked paprika adds smoky richness and a hint of warmth that’s deeply satisfying.
- 1 tsp chili flakes: Chili flakes give these cheese balls a subtle spicy kick that lingers delightfully.
- 1 cup bread crumbs: Bread crumbs form the crispy shell around each ball, locking in the melted cheese.
- 6-8 cups vegetable oil: Plenty of oil is needed to fry the cheese balls evenly and create that perfect golden crust.
How to Make Crispy Fried Cheese Balls Recipe That’s Better Than Takeout Recipe
Step 1: Prepare Your Workspace and Ingredients
Start by lining a baking tray with parchment paper. This tray will be where your cheese balls rest after coating, keeping them neat and ready for refrigeration. Measure out your ingredients carefully—having them all set before mixing is key to smooth preparation.
Step 2: Combine Cheese and Seasonings
In a large bowl, toss together the grated cheese, eggs, flour, garlic powder, onion powder, oregano, black pepper, smoked paprika, and chili flakes. Using a hand mixer or a strong spoon, mix until everything is fully incorporated. You’re aiming for a uniform mixture that feels sticky enough to roll but not too wet.
Step 3: Shape Your Cheese Balls
Using a spoon, scoop roughly two tablespoons of the mixture at a time and roll it into tight, bite-sized balls with your hands. The consistency should hold well; if it’s too soft, a little extra flour can help.
Step 4: Coat with Bread Crumbs
Next, evenly coat each cheese ball in the bread crumbs. This layer is what will crisp up beautifully when fried, so don’t be shy about giving each ball a good coat. Place the coated balls onto your lined baking tray and make sure they don’t touch to prevent sticking.
Step 5: Chill to Set
Refrigerate the tray for 30 to 45 minutes. This chilling step is crucial because it firms up the cheese balls, ensuring they hold their shape when they hit the hot oil instead of turning into melted blobs.
Step 6: Heat the Oil
While the cheese balls chill, prepare a deep pot with 6 to 8 cups of vegetable oil. Heat the oil to a steady 350-355°F (175-180°C) using a thermometer to keep it precise. Proper oil temperature guarantees a crispy exterior without absorbing too much oil.
Step 7: Fry Until Golden
Fry the cheese balls in batches of 4 to 5 to avoid overcrowding the pot. Each ball will need about 30 seconds per side. Keep a close eye as they quickly turn golden brown and release a tempting aroma. Use a slotted spoon to remove them carefully.
Step 8: Drain and Serve
Place the fried cheese balls on a tray lined with paper towels to soak up excess oil. Serve them immediately for the best crispy, melty experience, ideally paired with a tangy marinara sauce and a sprinkle of fresh basil for extra freshness.
How to Serve Crispy Fried Cheese Balls Recipe That’s Better Than Takeout Recipe
Garnishes
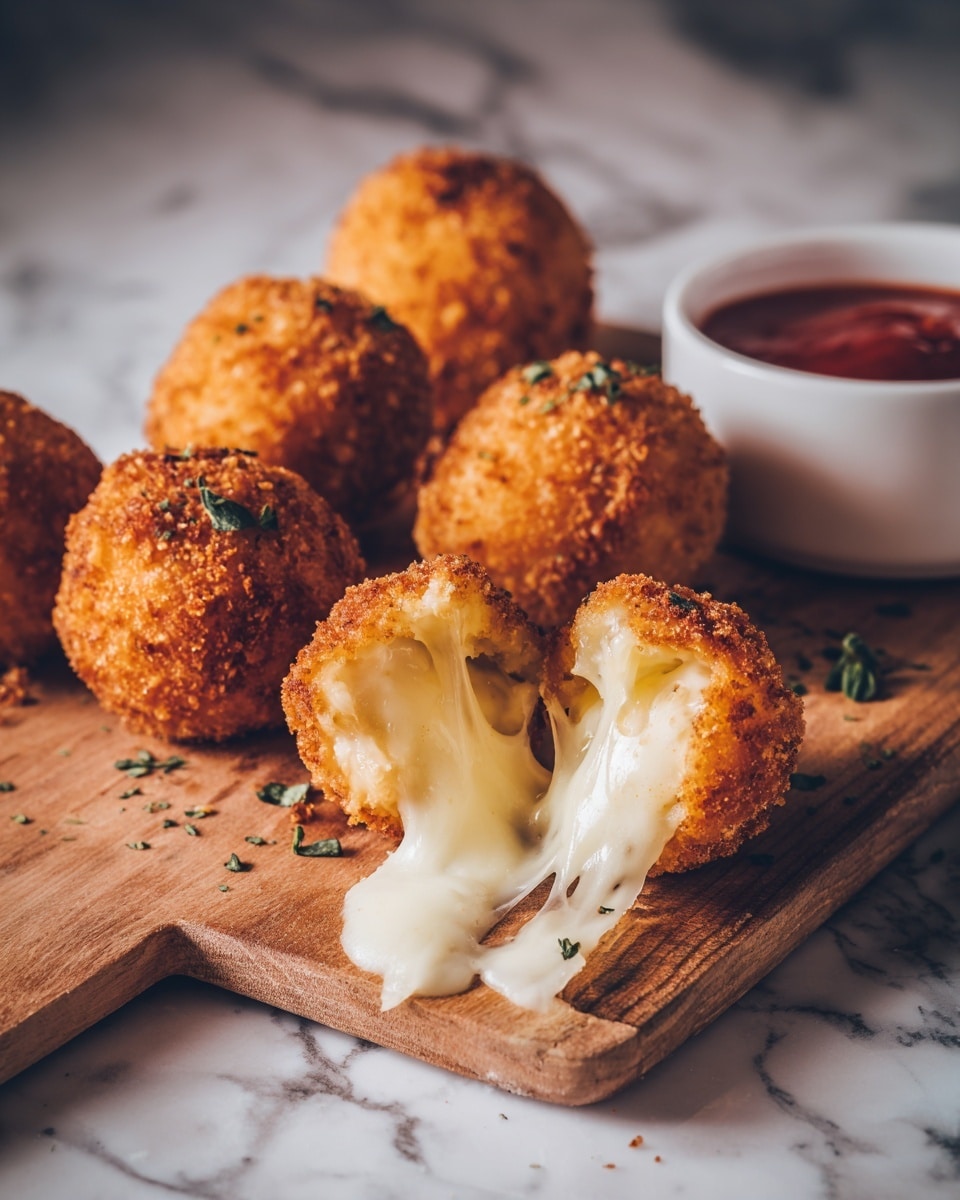
Top these cheesy delights with freshly chopped basil or parsley to add vibrant color and a fragrant lift. A light dusting of parmesan or a drizzle of garlic aioli can also add exciting flavor twists that transform the snack into a gourmet treat.
Side Dishes
Pair your cheese balls with homemade marinara sauce, a cooling ranch dip, or spicy sriracha mayo. They also go wonderfully alongside a crisp garden salad or roasted vegetables, balancing the richness with fresh, crisp textures.
Creative Ways to Present
For parties, serve these crispy cheese balls on skewers with alternating cherry tomatoes and basil leaves for a fun finger-food twist. Or arrange them in mini cupcake liners for an adorable, mess-free presentation that guests will love.
Make Ahead and Storage
Storing Leftovers
If you find yourself with leftovers, store the cheese balls in an airtight container in the refrigerator for up to 2 days. They may lose a little of their crunch but will still taste delicious when reheated properly.
Freezing
These cheese balls freeze very well. After shaping and coating, place them on a tray to freeze individually before transferring to a freezer bag. Freeze for up to one month. When ready, you can fry them straight from frozen, adding a minute or two to the cooking time.
Reheating
To bring back their perfect crispiness, reheat leftover cheese balls in a preheated oven at 375°F (190°C) for about 10 minutes or until warmed through. Avoid microwaving, as this will make them soggy.
FAQs
Can I use any type of cheese for this recipe?
Absolutely! While sharp cheddar or mozzarella work wonderfully, feel free to experiment with your favorite melting cheeses. Vegan cheese options also yield fantastic results if you prefer a plant-based version.
Is there a way to bake these instead of frying?
You can bake the cheese balls at 400°F (200°C) for 12-15 minutes until golden and melted inside. Keep in mind they won’t be quite as crispy as the fried version but still very tasty.
How do I know if the oil is at the right temperature?
Using a deep-fry thermometer is your best bet for accuracy. If you don’t have one, drop a small piece of bread or a single cheese ball in—the oil should bubble steadily without smoking.
Can I make these gluten-free?
Yes! Simply swap the all-purpose flour with a gluten-free alternative and choose gluten-free bread crumbs. The results will still be fabulous and crispy.
Why do the cheese balls fall apart sometimes?
Typically, this happens if the mixture is too wet or if the cheese balls aren’t chilled long enough before frying. Make sure to refrigerate them properly and adjust the flour quantity if needed for a firmer mix.
Final Thoughts
Now that you have the full scoop on crafting the Crispy Fried Cheese Balls Recipe That’s Better Than Takeout Recipe, I encourage you to dive right in and try it for yourself. This snack is a guaranteed crowd-pleaser, easy enough for a weeknight treat but special enough to impress anyone. Trust me, once you taste that warm, crunchy outside and melty cheesy inside, you’ll understand why this recipe truly is better than anything you can get at takeout.
Print
Crispy Fried Cheese Balls Recipe That’s Better Than Takeout Recipe
- Total Time: 55 minutes
- Yield: 24 servings 1x
Description
These Crispy Fried Cheese Balls are a delightful appetizer that’s better than takeout! Made with a flavorful blend of cheeses and spices, coated in crunchy bread crumbs, and fried to golden perfection, they make a perfect party snack or starter. Serve hot with marinara sauce and fresh basil for a mouthwatering treat everyone will love.
Ingredients
Main Ingredients
- 4 cups grated cheese or vegan cheese
- 2 eggs
- 4 tbsp all-purpose flour
- 2 tsp garlic powder
- 2 tsp onion powder
- 2 tsp oregano
- 1 tsp black pepper
- 1 tsp smoked paprika
- 1 tsp chili flakes
- 1 cup bread crumbs
- 6–8 cups vegetable oil (for frying)
Instructions
- Prepare the tray: Line a baking tray with parchment paper and set it aside to hold the cheese balls after coating.
- Mix ingredients: In a large bowl, combine the grated cheese, eggs, all-purpose flour, garlic powder, onion powder, oregano, black pepper, smoked paprika, and chili flakes. Use a hand mixer to mix until fully incorporated and the mixture is uniform.
- Form cheese balls: Scoop approximately 2 tablespoons of the mixture and roll into small, even-sized balls using your hands for consistency.
- Coat with bread crumbs: Coat each cheese ball evenly in bread crumbs, ensuring they are fully covered, then place them on the prepared parchment-lined tray.
- Chill: Refrigerate the coated cheese balls for 30 to 45 minutes to allow them to firm up and maintain their shape during frying.
- Prepare for frying: Line another tray with paper towels to drain the excess oil after frying.
- Heat oil: In a deep pot, heat 6 to 8 cups of vegetable oil to a temperature of 350–355°F (175–180°C); use a kitchen thermometer to ensure accurate temperature for perfect frying.
- Fry cheese balls: Fry 4 to 5 cheese balls at a time carefully in the hot oil until golden brown, about 30 seconds on each side. Avoid overcrowding to maintain oil temperature.
- Drain excess oil: Using a slotted spoon, remove the fried cheese balls from the oil and place them on the paper towel-lined tray to drain excess oil.
- Serve: Serve the crispy fried cheese balls immediately with marinara sauce and fresh basil for a delicious appetizer or snack.
Notes
- Use a mix of cheeses like mozzarella and cheddar for richer flavor and better melting quality.
- Ensure the oil temperature is maintained at 350–355°F to avoid greasy cheese balls.
- You can substitute bread crumbs with panko for even crispier coating.
- Refrigerating the cheese balls before frying helps to keep them from falling apart in the oil.
- Serve immediately for best texture and taste as cheese balls tend to soften over time.
- Prep Time: 15 minutes
- Cook Time: 40 minutes
- Category: Appetizer
- Method: Frying
- Cuisine: American
