Dr. Pepper Ice Cream Recipe
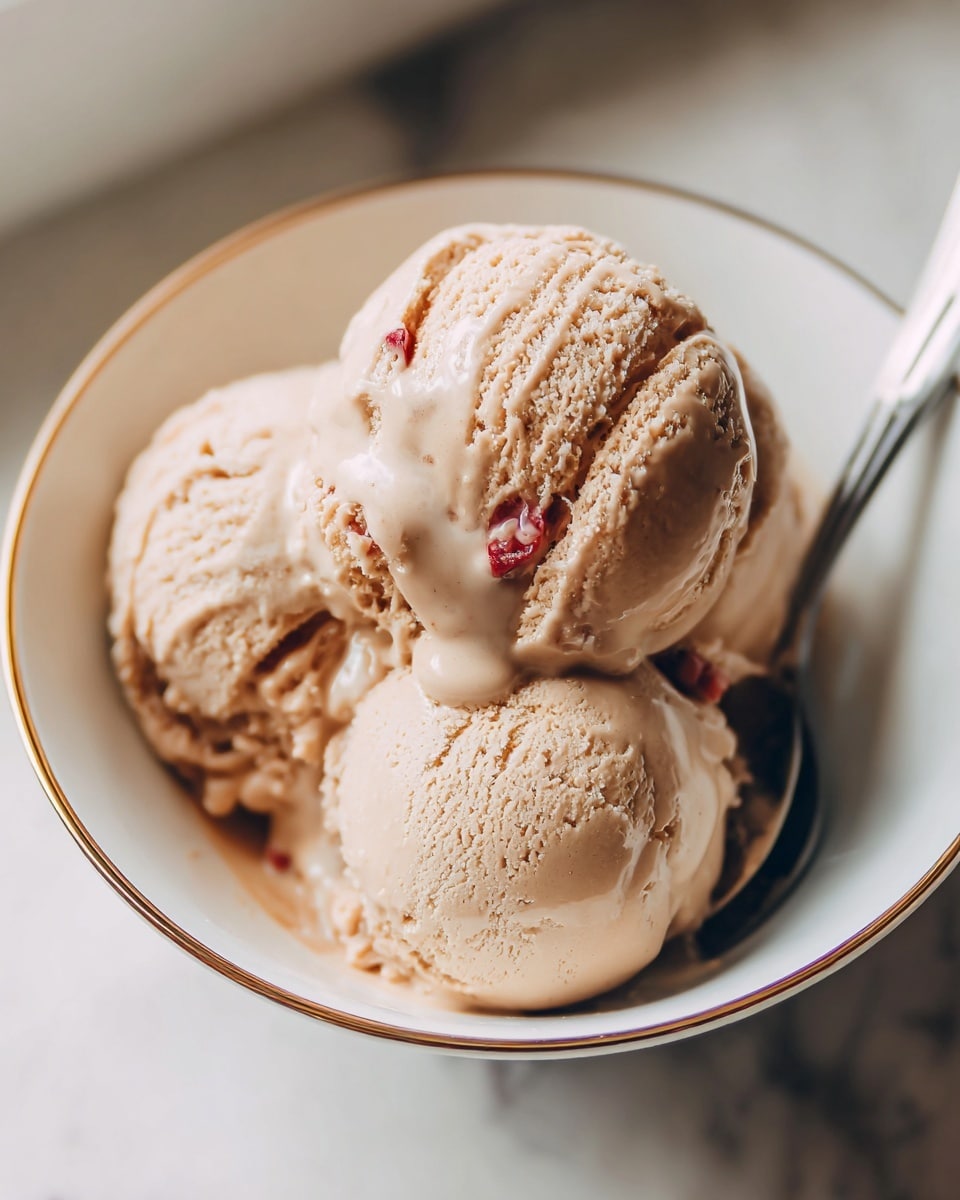
If you’ve ever wondered how to transform your favorite soda into a silky, dreamy dessert, you’re in for a real treat with this Dr. Pepper Ice Cream Recipe. This delightful homemade ice cream captures the unique, spicy sweetness of Dr. Pepper in a luscious, creamy base that feels indulgent but surprisingly simple to make. Every spoonful bursts with nostalgic soda pop notes perfectly balanced by rich custard flavors, making it an unforgettable scoop for hot days, special occasions, or whenever you need a fun twist on classic ice cream.
Ingredients You’ll Need
The magic of this Dr. Pepper Ice Cream Recipe lies in its simple ingredients, each playing an essential role. From the fizzy depth brought by Dr. Pepper to the creamy richness of heavy cream and the smooth silkiness that eggs provide, these ingredients combine to create a texture and flavor that feels elevated yet approachable.
- 1 cup Dr. Pepper: Regular Dr. Pepper offers that signature bold, spiced flavor; avoid diet soda for best results.
- 2 cups heavy cream: This adds luscious creaminess, making every bite velvety and rich.
- 1 cup whole milk: Balances the cream’s thickness and helps the ice cream churn to the perfect consistency.
- 3/4 cup granulated sugar: Sweetens the ice cream just right without overpowering the soda flavor.
- 1 tablespoon vanilla extract: Enhances the depth and rounds out the warm spice notes.
- 1/2 teaspoon salt: Elevates all flavors and balances the sweetness exquisitely.
- 5 large egg yolks: These create a smooth, custard base by thickening the mixture and enriching the texture.
How to Make Dr. Pepper Ice Cream Recipe
Step 1: Warm the Base Mixture
Start by combining the Dr. Pepper, heavy cream, milk, sugar, vanilla extract, and salt in a medium saucepan. Warm this mixture over medium heat, stirring occasionally to dissolve the sugar and blend all those incredible flavors. The goal here is to heat the liquid gently until it’s warm but not boiling—this is crucial for the next steps.
Step 2: Prepare the Egg Yolks
While the liquid base warms up, whisk your egg yolks in a separate bowl until they become slightly pale and creamy. This step starts building the rich custard texture that will make this ice cream so smooth and irresistible.
Step 3: Temper the Egg Yolks
To prevent scrambled eggs in your ice cream, slowly pour a small amount of the warm cream mixture into the yolks while whisking constantly. This tempering technique gently raises the egg mixture’s temperature, preparing it to combine safely with the rest of the hot liquid.
Step 4: Combine and Cook Until Thickened
Slowly pour the tempered egg yolks back into the saucepan with the remaining cream mixture, whisking continuously to fully incorporate everything. Now, cook over low heat while stirring constantly until the custard thickens just enough to coat the back of a spoon. Do not let it boil, or you’ll risk curdling the custard.
Step 5: Cool and Chill the Custard
Remove the saucepan from heat and allow the custard to cool to room temperature. Once cooled, cover it tightly and refrigerate for at least 4 hours or overnight to let the flavors meld and the custard firm up before churning.
Step 6: Churn and Freeze
After chilling, pour the custard into your ice cream maker and churn according to the manufacturer’s instructions—usually about 20 to 25 minutes. Once churned, transfer the ice cream to a container and freeze it for an additional 2 to 4 hours until it firms up beautifully.
Step 7: Serve and Enjoy!
Finally, scoop out this luscious treat and enjoy the nostalgic fizz and creaminess of your homemade Dr. Pepper Ice Cream Recipe. Whether in a bowl or a cone, every bite delivers a wonderful mash-up of flavors and textures.
How to Serve Dr. Pepper Ice Cream Recipe
Garnishes
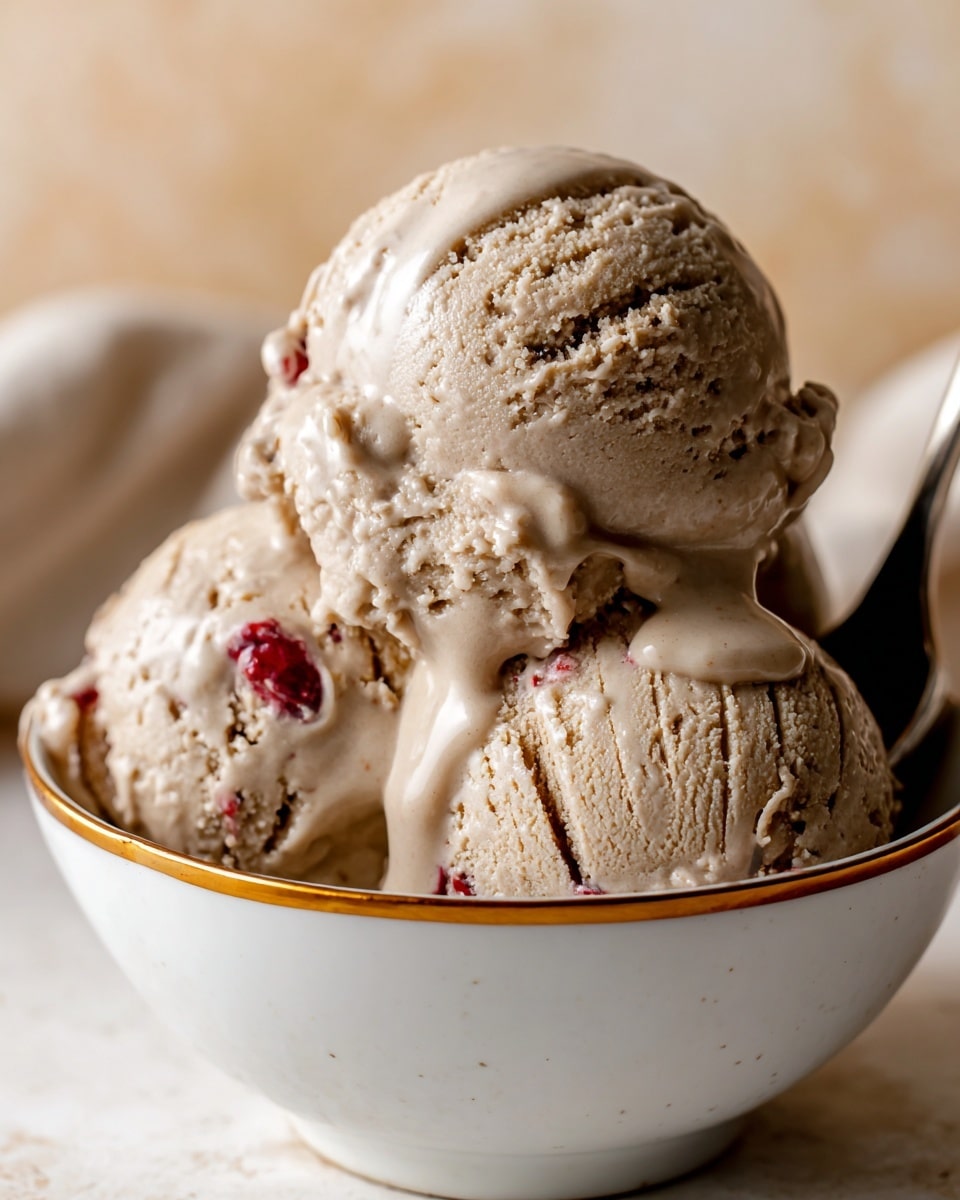
To enhance the experience, consider garnishing your Dr. Pepper Ice Cream with a sprinkle of crushed cherries or maraschino cherries for a complementing fruity pop. A drizzle of caramel or chocolate sauce can also add a rich contrast to the soda-infused base.
Side Dishes
This ice cream pairs exceptionally well with warm desserts like chocolate cake, brownies, or even a classic slice of apple pie. The cold, creamy texture contrasts beautifully with warm, spiced treats, creating a dessert experience that is both comforting and exciting.
Creative Ways to Present
Think outside the bowl! Serve your Dr. Pepper Ice Cream Recipe in hollowed-out waffle cones, alongside soda floats, or stacked between layers of brownies for an unforgettable sundae. Even pairing with soda-soaked cake layers can turn it into a stunning ice cream cake.
Make Ahead and Storage
Storing Leftovers
Leftover Dr. Pepper Ice Cream should always be stored in an airtight container to keep ice crystals at bay. Pressing a piece of parchment paper or plastic wrap directly over the ice cream’s surface helps maintain its creamy texture for days.
Freezing
For best quality, freeze the ice cream at a consistent temperature, ideally below 0°F (-18°C). This ensures your Dr. Pepper Ice Cream Recipe maintains its ideal creaminess and flavor. Avoid frequent temperature fluctuations which can cause ice crystals to form.
Reheating
Since this is ice cream, reheating isn’t necessary—but if the ice cream gets too firm in the freezer, let it sit at room temperature for 5 to 10 minutes before scooping. This short rest softens it slightly for smoother serving without losing its creamy texture.
FAQs
Can I use diet or sugar-free Dr. Pepper in this recipe?
It’s best to use regular Dr. Pepper because sugar-free versions don’t have the same body or sweetness, which can affect the texture and flavor balance of the ice cream.
Do I need an ice cream maker to make this recipe?
An ice cream maker gives you the best, smoothest texture. However, if you don’t have one, you can freeze the mixture in a shallow container and stir every 30 minutes until it’s frozen to help reduce ice crystals.
How long can I store this homemade ice cream?
Stored properly in an airtight container, your Dr. Pepper Ice Cream will stay delicious for up to two weeks in the freezer without significant texture changes.
Can I substitute the egg yolks?
Egg yolks are key for the creamy custard texture. If you must avoid them, try using a commercial custard base or a stabilizer designed for ice cream, but the flavor and texture might differ slightly.
Will the Dr. Pepper flavor be very strong?
The soda flavor is noticeable but balanced. The custard’s richness mellows the soda, creating a subtle but distinctive Dr. Pepper taste that’s both refreshing and indulgent.
Final Thoughts
There’s something truly special about crafting ice cream with a nostalgic soda twist, and this Dr. Pepper Ice Cream Recipe hits all the right notes. It’s creamy, fun, and full of character – perfect for impressing friends or treating yourself on a sunny afternoon. Give it a try and discover how this unique flavor can become a new favorite in your dessert rotation!
Print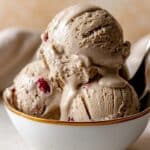
Dr. Pepper Ice Cream Recipe
- Total Time: 4 hours 35 minutes
- Yield: 6 servings 1x
Description
This Dr. Pepper Ice Cream recipe combines the unique, bold flavor of Dr. Pepper soda with a rich, creamy custard base for a delightful frozen treat. The process involves creating a smooth custard infused with the soda’s distinctive flavor, then chilling and churning it into a creamy ice cream that’s perfect for hot days or as a fun dessert pairing.
Ingredients
Ice Cream Base
- 1 cup Dr. Pepper (preferably regular, not diet)
- 2 cups heavy cream
- 1 cup whole milk
- 3/4 cup granulated sugar
- 1 tablespoon vanilla extract
- 1/2 teaspoon salt
Custard
- 5 large egg yolks
Instructions
- Combine Ingredients: In a medium saucepan, combine the Dr. Pepper, heavy cream, whole milk, granulated sugar, vanilla extract, and salt. Heat over medium heat while stirring occasionally until warm but not boiling.
- Whisk Egg Yolks: In a separate bowl, whisk the 5 large egg yolks until pale and creamy, which helps incorporate air and sets the stage for a smooth custard.
- Temper Eggs: Slowly add a small amount of the warm cream mixture to the egg yolks while whisking constantly. This careful mixing prevents the eggs from scrambling by gradually raising their temperature.
- Combine Mixtures: Pour the tempered egg yolk mixture back into the saucepan containing the rest of the warm cream mixture. Keep whisking constantly to blend everything evenly.
- Cook Custard: Cook the mixture over low heat, stirring constantly, until it thickens enough to coat the back of a spoon. Avoid boiling, which can curdle the custard.
- Cool and Refrigerate: Remove the saucepan from heat and let the custard cool to room temperature. Then, cover and refrigerate for at least 4 hours or overnight to chill thoroughly.
- Churn Ice Cream: Pour the chilled custard into your ice cream maker and churn following the manufacturer’s instructions for about 20-25 minutes until it reaches a soft-serve consistency.
- Freeze Firm: Transfer the churned ice cream to a freezer-safe container and freeze for an additional 2-4 hours until it firms up.
- Serve and Enjoy: Scoop and serve your homemade Dr. Pepper Ice Cream on its own or pair with chocolate cake or cookies for a delicious dessert experience.
Notes
- Use regular Dr. Pepper, not diet, to ensure proper flavor and texture.
- Tempering the eggs is crucial to avoid curdling and ensure a silky custard.
- Do not boil the custard; cook on low heat and watch closely to prevent scrambling.
- Refrigeration time is important for flavor development and proper churning.
- If you don’t have an ice cream maker, you can periodically stir the mixture during freezing to minimize ice crystals.
- Store any leftovers in an airtight container to maintain freshness.
- Prep Time: 20 minutes
- Cook Time: 15 minutes
- Category: Dessert
- Method: Stovetop
- Cuisine: American
