Easiest Cream Puffs Recipe
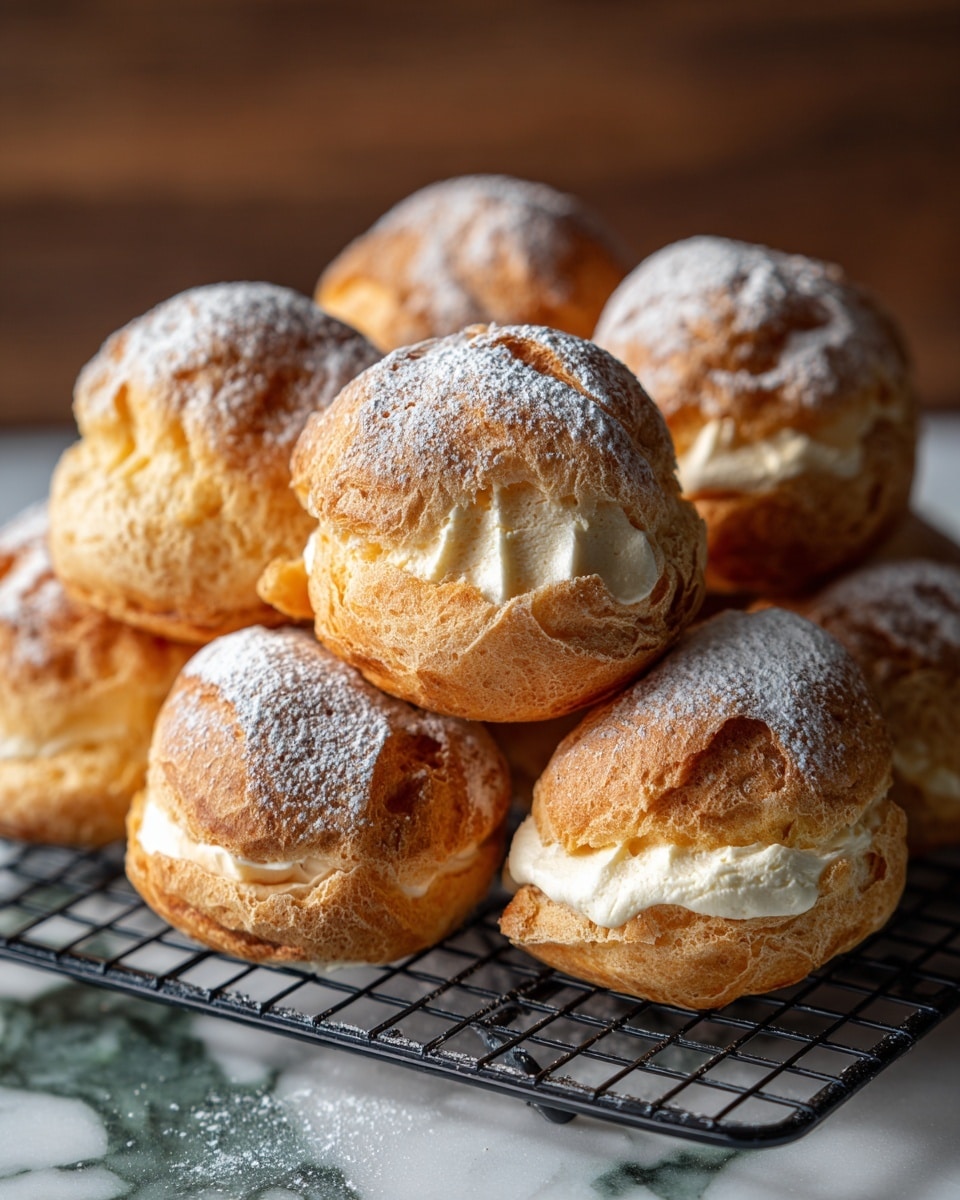
If you have ever dreamed of mastering a delicate French pastry without any fuss, this is your moment. The Easiest Cream Puffs Recipe is a charming way to impress yourself and your guests with something light, airy, and irresistibly tender. Crafted from a simple pâte à choux dough and filled with whipped cream that melts in your mouth, these cream puffs are an absolute joy to make and devour. Whether you are a kitchen novice or a seasoned baker, you’ll find this recipe rewarding, straightforward, and pure comfort on a plate.
Ingredients You’ll Need
All good recipes start with quality ingredients, and this one is no exception. The magic of these cream puffs comes from each component playing its perfect part: butter for richness, eggs for structure, and cream for that dreamy filling. It’s a small list with mighty results.
- ½ cup unsalted butter: Provides a rich, creamy base that gives the pastry its tender crumb and deep flavor.
- 1 cup water: Helps create steam in the oven, which is crucial for puffing the pastry beautifully.
- ¼ teaspoon salt: Balances the sweetness and enhances the overall flavor of the dough.
- 1 cup all-purpose flour: The foundation that holds everything together and gives the cream puffs their structure.
- 4 large eggs: These add moisture and help the dough rise to golden perfection.
- 1½ cups heavy whipping cream: The star of the filling, whipped to cloud-like softness.
- ¼ cup powdered sugar: Sweetens the cream filling to just the right degree without overpowering.
- 1 teaspoon vanilla extract: Adds a warm, aromatic note that elevates the whipped cream filling.
- Optional: Powdered sugar or melted chocolate: For that final touch of elegance and extra flavor.
How to Make Easiest Cream Puffs Recipe
Step 1: Preparing the Choux Pastry Dough
Start by preheating your oven to 400°F (200°C) and lining a baking sheet with parchment paper to ensure your cream puffs release easily. In a medium saucepan, melt the butter with water and salt until it boils. Then quickly add the flour all at once and stir vigorously to form a smooth dough that pulls away from the pot’s edges. This cooking stage is crucial—it activates the flour and prepares the dough to puff up perfectly in the oven.
Step 2: Incorporating the Eggs
After allowing the dough to cool slightly for about five minutes, add your eggs one at a time. Beat well after each addition until you achieve a glossy, smooth batter. This process ensures your dough gains the elasticity and moisture it needs to rise and form those coveted hollow pockets inside the puffs.
Step 3: Piping and Baking
Transfer your dough into a piping bag or simply spoon it onto the parchment-lined sheet in generous mounds spaced about two inches apart. Bake for 25 to 30 minutes without opening the oven door, until the cream puffs are puffed up and a beautiful golden color. The last touch is to turn the oven off, crack the door open, and let them dry out inside for a few minutes. This step guarantees that crisp exterior that contrasts so wonderfully with the soft filling.
Step 4: Whipping the Cream Filling
Whip the heavy cream with powdered sugar and vanilla extract until stiff peaks form. This fluffy filling brings the delightful sweetness and creamy texture that make each bite heavenly. It’s so simple, yet so vital to the success of your Easiest Cream Puffs Recipe.
Step 5: Assembling the Cream Puffs
Once the puffs have cooled completely, slice them in half horizontally. Fill each bottom half generously with the whipped cream, then gently press the tops back on. For a final flourish, dust with powdered sugar or drizzle with melted chocolate to make your dessert look as decadent as it tastes.
How to Serve Easiest Cream Puffs Recipe
Garnishes
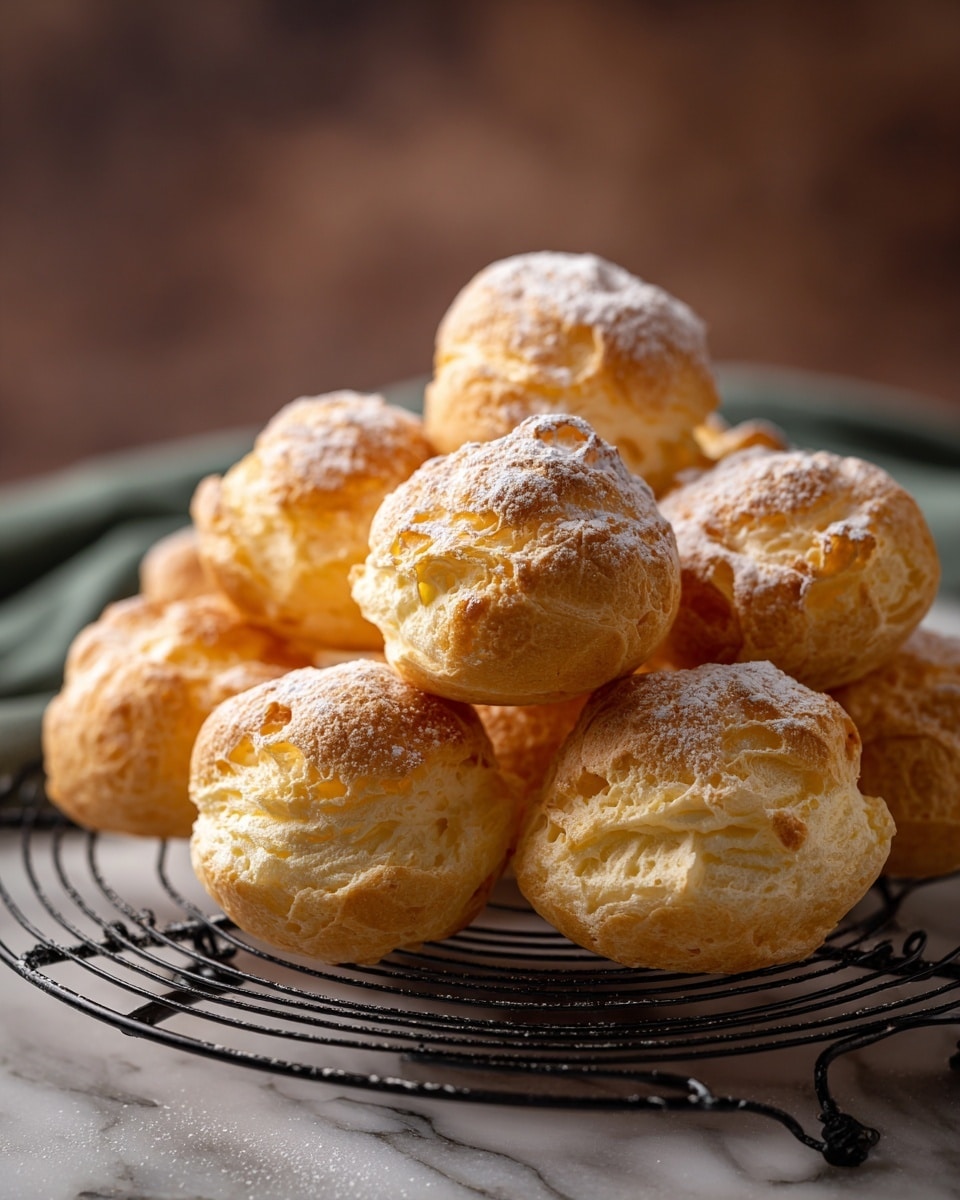
Simple powdered sugar dusting adds a delicate, snowy finish that enhances the creamy filling’s sweetness. Alternatively, a drizzle of melted dark or milk chocolate creates an elegant presentation and a flavorful balance that is hard to beat.
Side Dishes
Pair your cream puffs with fresh berries or a light fruit compote. The tartness from berries like raspberries, strawberries, or blueberries beautifully complements the richness of the pastry and cream, refreshing your palate.
Creative Ways to Present
For entertaining, try presenting the cream puffs stacked into a croquembouche-style pyramid, secured with edible caramel threads or fondant flowers. You could also fill each puff with flavored pastry cream or ice cream for a decadent twist that will wow your guests every time.
Make Ahead and Storage
Storing Leftovers
If you have any unfilled cream puffs left, store them in an airtight container at room temperature for up to two days to maintain their crispness. Once filled, however, it’s best to refrigerate and consume them within a day to keep the cream fresh and the pastry from softening.
Freezing
Unfilled cream puffs freeze beautifully for up to one month. Place them in a single layer on a baking sheet to freeze solid, then transfer to a freezer-safe container or bag. When you’re ready, thaw them at room temperature and fill just before serving for the best texture.
Reheating
To bring back that freshly baked crispness, warm unfilled cream puffs in a preheated 350°F (175°C) oven for 5–7 minutes. Avoid reheating after filling, as the cream will become warm and lose its delightful consistency.
FAQs
Can I use a different filling instead of whipped cream?
Absolutely! While whipped cream is classic and light, pastry cream, custard, or even ice cream make delicious alternatives. Each offers a different texture and flavor, so feel free to experiment to find your favorite.
Why did my cream puffs collapse after baking?
This usually happens when the oven door is opened too early or if the puffs don’t dry out enough after baking. Make sure to follow the resting step with the oven door cracked to let excess moisture escape, which helps keep them puffed up and crisp.
Is the pâte à choux dough difficult to make?
Not at all! Though it might sound fancy, it’s a straightforward dough created by cooking flour with butter and water and then mixing in eggs. The key is in the technique, which this recipe breaks down simply for the Easiest Cream Puffs Recipe experience.
Can I make gluten-free cream puffs?
Yes, by substituting the all-purpose flour with a gluten-free blend that’s suitable for baking, you can make these cream puffs gluten-free. Just be sure to select a blend that includes xanthan gum or another binder for best results.
How do I pipe the dough if I don’t have a piping bag?
No piping bag? No problem! You can use two spoons to dollop the dough onto the baking sheet or simply spoon it from a sturdy plastic bag with the corner snipped off. The shape might be less uniform, but they’ll still puff up beautifully.
Final Thoughts
There is something truly special about homemade cream puffs that brings a sense of accomplishment and delight, and this Easiest Cream Puffs Recipe makes it completely accessible. With its simple ingredients and clear steps, you’re just a bake away from golden, fluffy pastries filled with luscious cream that feel like a sweet hug. Dive in and enjoy every bite—you might just have a new favorite dessert to share with loved ones!
Print
Easiest Cream Puffs Recipe
- Total Time: 50 minutes
- Yield: 12 cream puffs 1x
- Diet: Vegetarian
Description
These Easiest Cream Puffs are light, airy, and filled with sweet whipped cream or pastry cream—perfect for beginners and seasoned bakers alike. Made with simple pantry ingredients and a classic pâte à choux dough, they bake up golden and crisp, ready to be filled and dusted with powdered sugar for an elegant yet easy dessert.
Ingredients
For the Choux Pastry:
- ½ cup unsalted butter
- 1 cup water
- ¼ teaspoon salt
- 1 cup all-purpose flour
- 4 large eggs
For the Filling:
- 1½ cups heavy whipping cream
- ¼ cup powdered sugar
- 1 teaspoon vanilla extract
Optional Topping:
- Powdered sugar for dusting
- Melted chocolate for drizzling
Instructions
- Preheat the oven: Preheat your oven to 400°F (200°C) and line a baking sheet with parchment paper to prevent sticking.
- Make the choux dough: In a medium saucepan, combine the unsalted butter, water, and salt. Bring the mixture to a boil over medium heat. Remove from heat, quickly stir in the flour all at once, then return the pan to the heat and stir vigorously until the dough forms a ball and pulls away from the sides of the pan, about 1–2 minutes.
- Cool and add eggs: Let the dough cool for about 5 minutes so it doesn’t cook the eggs. Then add the eggs one at a time, beating well after each addition until the dough is smooth and glossy.
- Pipe or spoon the dough: Transfer the dough to a piping bag or use a spoon to drop mounds of dough onto the prepared baking sheet. Make sure to space the puffs about 2 inches apart as they will expand while baking.
- Bake the puffs: Bake the cream puffs for 25–30 minutes or until they are puffed and golden brown. Avoid opening the oven door during the first 20 minutes to prevent collapsing.
- Dry the puffs: Once baked, turn off the oven and crack the door open. Let the cream puffs sit inside the warm oven for 5–10 minutes to dry out and ensure a crisp shell.
- Cool completely: Remove the cream puffs from the oven and allow them to cool completely on a wire rack before filling.
- Prepare the filling: Whip the heavy cream with powdered sugar and vanilla extract until stiff peaks form, creating a light and sweet whipped cream filling.
- Fill the cream puffs: Slice the cooled cream puffs in half horizontally. Spoon or pipe the whipped cream into the bottom halves, then replace the tops.
- Finish and serve: Dust the filled cream puffs with powdered sugar or drizzle with melted chocolate if desired. Serve immediately or chill until ready to enjoy.
Notes
- Cream puffs can also be filled with pastry cream, custard, or even ice cream for variety.
- Store unfilled cream puffs in an airtight container at room temperature for 1–2 days.
- For longer storage, freeze unfilled puffs for up to 1 month and thaw before filling.
- To maintain the crispiness, fill the puffs just before serving.
- Make sure not to open the oven door during the initial baking phase to prevent deflation.
- Prep Time: 20 minutes
- Cook Time: 30 minutes
- Category: Dessert
- Method: Baking
- Cuisine: French
