Halloween Lush Dessert Recipe
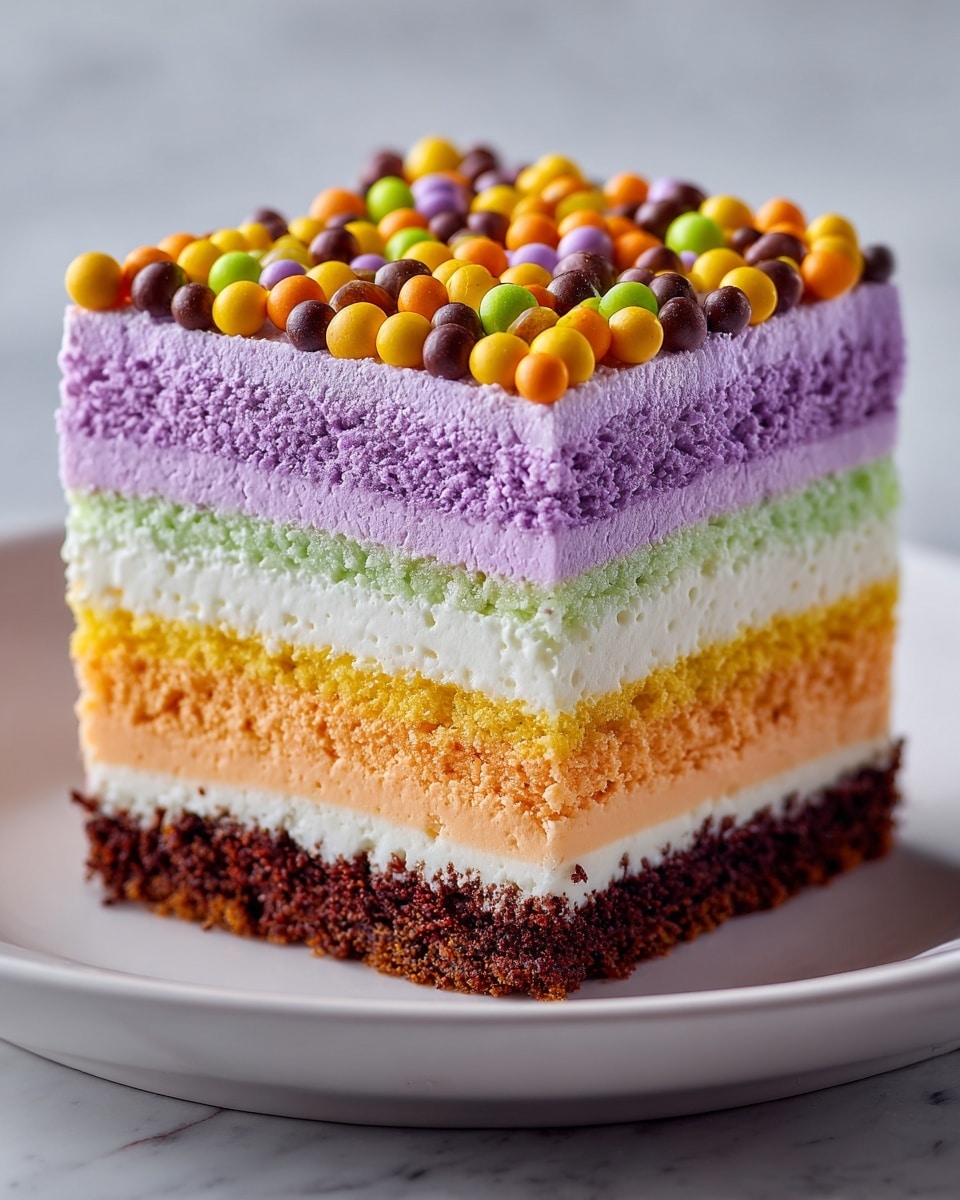
If you are on the hunt for a fun and festive way to impress your friends and family this fall, the Halloween Lush Dessert Recipe will be your new favorite go-to treat. This layered dessert offers a delightful combination of creamy textures, vibrant colors, and that perfect balance of sweet flavors, making it an irresistible addition to any Halloween gathering. Each bite feels like a celebration, thanks to the crunchy Oreo crust, dreamy cream cheese layer, luscious pudding, and subtly tinted whipped topping that adds a spooky yet inviting vibe. It’s a simple recipe that transforms classic ingredients into a showstopping centerpiece, guaranteed to light up your dessert table with Halloween spirit and lots of smiles.
Ingredients You’ll Need
Gathering the ingredients for this Halloween Lush Dessert Recipe is super straightforward, yet each element plays an essential role in building the dessert’s perfect taste and texture. From the familiar Oreo cookies creating a crunchy base to the colorful food coloring that brings playful visual appeal, every item adds something special to the mix.
- Oreo cookies, 36: Crushed to form a chocolatey, crunchy crust that contrasts beautifully with the creamy layers.
- Unsalted butter, 1/2 cup melted: Binds the Oreo crumbs together and adds richness to the crust.
- Cream cheese, 8 oz softened: Provides a smooth, tangy creamy layer essential for lush texture.
- Powdered sugar, 1 cup: Sweetens the cream cheese layer evenly without graininess.
- Whipped topping (Cool Whip), 1 cup: Incorporated into the cream cheese layer to add lightness and fluffiness with a hint of sweetness.
- Purple food coloring: Used to tint the cream cheese layer, adding festive Halloween colors.
- Instant vanilla pudding mix, 1 package (3.4 oz): Creates the silky, pudding layer that melts in your mouth.
- Cold milk, 2 cups: Essential to properly dissolve and thicken the pudding mix.
- Orange food coloring: Tints the pudding layer with a bright, eye-catching Halloween hue.
- Whipped topping (Cool Whip), 2 cups: Flavored and colored to top off the dessert with a fluffy, airy layer.
- Green food coloring: Added to the final whipped topping for an eerie, festive finish.
- Halloween-themed sprinkles: The perfect final touch that brings the whole dessert to life with color and fun.
How to Make Halloween Lush Dessert Recipe
Step 1: Prepare the Oreo Crust
First, crush the Oreo cookies into fine crumbs using a food processor to ensure an even base. Then, combine the crumbs with the melted butter, mixing well until the texture resembles damp sand. Press this mixture firmly into the bottom of a 9 by 13-inch baking dish. This crust is not only deliciously chocolatey but also forms a sturdy foundation for the luscious layers to follow.
Step 2: Make the Cream Cheese Layer
Beat the softened cream cheese in a large bowl until it’s perfectly smooth. Gradually add the powdered sugar and continue mixing until fully incorporated. Gently fold in 1 cup of whipped topping along with a few drops of purple food coloring, blending until the color is uniform. Spread this scrumptious, creamy layer evenly over the Oreo crust, which sets the stage for a striking look and rich flavor.
Step 3: Prepare the Pudding Layer
Whisk the instant vanilla pudding mix with cold milk in a separate bowl until it thickens to a creamy consistency. Add a few drops of orange food coloring and mix until the vibrant color turns evenly distributed. Spread the bright orange pudding carefully on top of the cream cheese layer, creating a playful and smooth contrast in both flavor and appearance.
Step 4: Make the Whipped Topping Layer
Mix the remaining 2 cups of whipped topping with green food coloring until the shade is well blended and perfect for Halloween. Spoon and spread this airy whipped topping across the pudding layer, sealing in all those luscious flavors beneath a fluffy and inviting green cover.
Step 5: Add the Garnish
Finish the Halloween Lush Dessert Recipe by generously sprinkling Halloween-themed sprinkles over the top. These tiny bursts of color and festive shapes make the dessert visually irresistible and perfect for any spooky celebration.
Step 6: Chill and Serve
Refrigerate the dessert for at least 4 hours to ensure all layers set firmly and flavors meld beautifully. When ready, cut into squares and serve chilled for the best experience. Each slice reveals layers of color and creamy texture that are bound to wow your guests.
How to Serve Halloween Lush Dessert Recipe
Garnishes
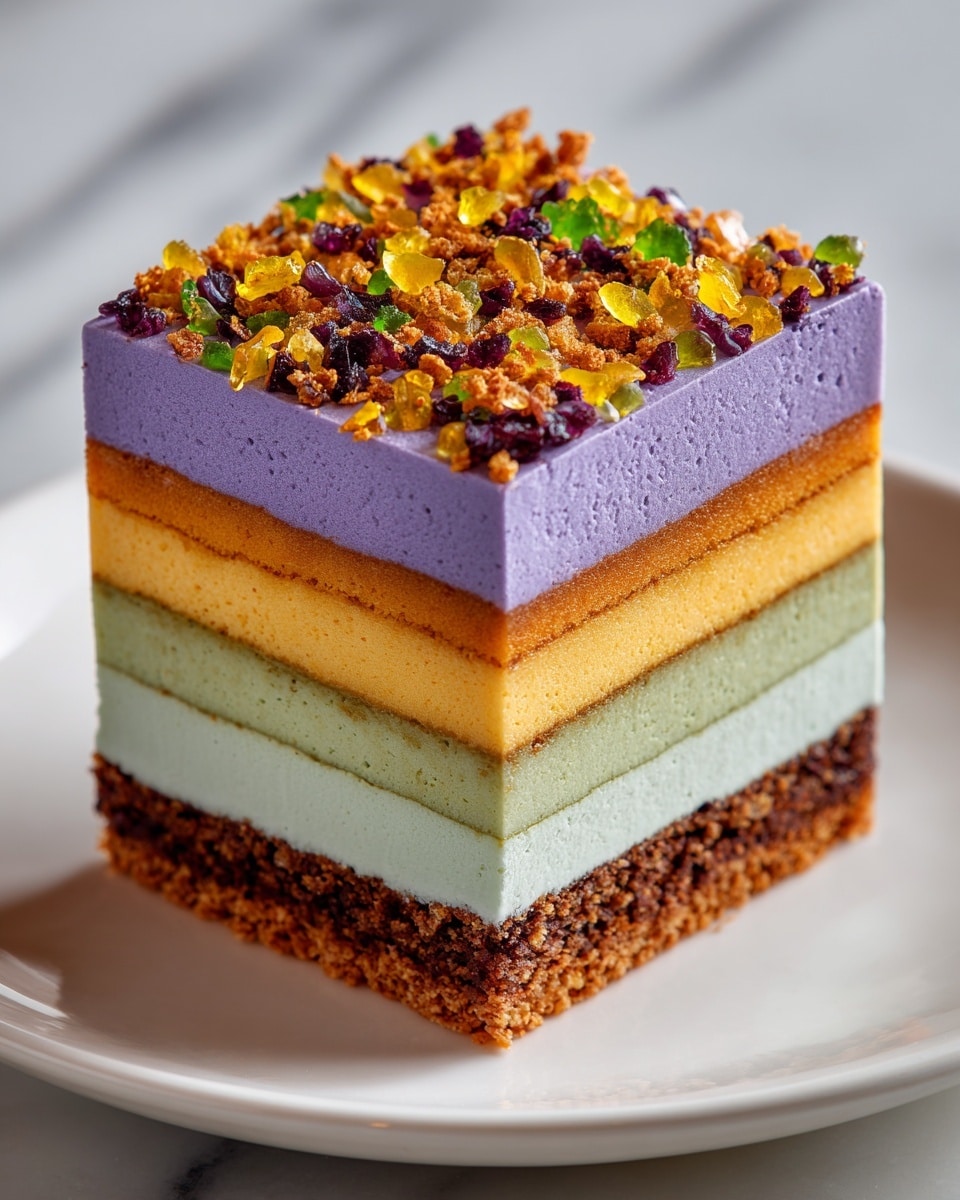
Beyond the colorful sprinkles, you can enhance the presentation with fresh Halloween touches such as edible candy eyes or small gummy spiders. These playful extras add another layer of fun and creativity that kids and adults will love.
Side Dishes
This dessert pairs wonderfully with simple sides like spiced cider or a light pumpkin-flavored beverage to balance the rich creaminess. For a heartier party spread, consider including some savory finger foods to complement the sweet delight of the Halloween Lush Dessert Recipe.
Creative Ways to Present
Try serving this dessert layered in clear individual cups or mini mason jars for a whimsical touch. Another fun idea is to use themed serving platters with spiderweb or pumpkin designs to elevate your Halloween party table instantly.
Make Ahead and Storage
Storing Leftovers
Keep any leftovers covered tightly in the refrigerator for up to 3 days. The rich layers hold up nicely, and the flavors deepen as it sits, making the dessert even more delicious the next day.
Freezing
If you want to preserve the Halloween Lush Dessert Recipe longer, freeze individual servings in airtight containers for up to a month. Thaw them overnight in the fridge before serving to maintain their creamy texture.
Reheating
This dessert is best enjoyed chilled and does not require reheating. Warming it can cause the layers to separate or lose their texture, so refrigerate rather than microwave or heat.
FAQs
Can I use regular whipped cream instead of Cool Whip?
Yes, you can substitute regular whipped cream, but make sure it’s stabilized so it holds its shape in the layers. It will provide a fresher dairy flavor but might alter the texture slightly.
Is it possible to make this dessert vegan or dairy-free?
With some ingredient swaps, like vegan cream cheese, dairy-free pudding mixes, and coconut whipped topping, you can adapt the Halloween Lush Dessert Recipe for a dairy-free diet. Just be mindful of the Oreos, as standard ones contain milk ingredients.
Could I make this dessert gluten-free?
Absolutely! Simply use gluten-free chocolate sandwich cookies in place of Oreos to keep that delicious crust while making it safe for gluten-sensitive guests.
How long does the dessert need to chill?
The dessert benefits from at least 4 hours of chilling, which allows the layers to set firmly and flavors to blend perfectly. Overnight chilling is even better if you have the time.
Can I prepare this dessert a day ahead?
Definitely! Preparing the Halloween Lush Dessert Recipe the day before your event is a great idea. It saves time and makes sure all layers have melded together for maximum flavor and texture.
Final Thoughts
This Halloween Lush Dessert Recipe is a true crowd-pleaser that combines simplicity with eye-catching fun and delicious flavor. Whether you’re hosting a big party or looking for a sweet treat to share with family, this vibrant and creamy dessert guarantees festive cheer in every bite. Give it a try, and watch everyone’s faces light up with delight!
Print
Halloween Lush Dessert Recipe
- Total Time: 4 hours 20 minutes
- Yield: 12 servings 1x
Description
This vibrant Halloween Lush Dessert is a festive layered treat featuring a crunchy Oreo crust, a creamy purple-tinted cream cheese layer, an orange-colored vanilla pudding middle, and a green whipped topping crowned with spooky sprinkles. Perfect for Halloween parties, this no-bake dessert combines colorful flavors and textures into a crowd-pleasing 12-serving delight that needs just 4 hours to chill and set.
Ingredients
Crust
- 36 Oreo cookies
- 1/2 cup unsalted butter, melted
Cream Cheese Layer
- 8 oz cream cheese, softened
- 1 cup powdered sugar
- 1 cup whipped topping (Cool Whip)
- Purple food coloring (a few drops)
Pudding Layer
- 1 package (3.4 oz) instant vanilla pudding mix
- 2 cups cold milk
- Orange food coloring (a few drops)
Whipped Topping Layer
- 2 cups whipped topping (Cool Whip)
- Green food coloring (as needed)
Garnish
- Halloween-themed sprinkles
Instructions
- Prepare the Crust: Crush the Oreo cookies into fine crumbs using a food processor for a uniform texture.
- Form the Crust: Mix the crushed Oreo crumbs with melted butter until evenly coated, then press firmly into the bottom of a 9×13-inch baking dish to create a compact base.
- Make the Cream Cheese Layer: Beat the softened cream cheese until smooth; add powdered sugar and mix well for sweetness.
- Incorporate Whipped Topping and Color: Gently fold in 1 cup whipped topping and a few drops of purple food coloring, blending until the color is evenly distributed.
- Spread the Cream Cheese Layer: Spread this mixture evenly over the prepared Oreo crust, creating the first creamy layer.
- Prepare the Pudding Layer: Whisk the instant vanilla pudding mix with cold milk until thickened and smooth.
- Add Orange Color: Mix in a few drops of orange food coloring until the pudding is uniformly tinted.
- Spread the Pudding Layer: Carefully spread the colored pudding over the cream cheese layer for a vibrant contrast.
- Make the Whipped Topping Layer: Combine 2 cups whipped topping with green food coloring, stirring until the color is well blended.
- Spread the Whipped Topping Layer: Smooth this green whipped topping over the pudding layer for a festive finish.
- Add the Garnish: Sprinkle Halloween-themed sprinkles across the top to add whimsical decoration and texture.
- Chill the Dessert: Refrigerate the assembled dessert for at least 4 hours or until fully set to allow the layers to firm up and flavors to meld.
- Serve: Cut into squares and serve chilled to enjoy the refreshing and colorful Halloween treat.
Notes
- Ensure cream cheese is fully softened for easy mixing and a smooth texture.
- Adjust food coloring drops based on desired vibrancy.
- Refrigerate for a minimum of 4 hours to achieve best layer consistency.
- Use a sharp knife dipped in warm water to cut clean squares.
- This dessert is best consumed within 2-3 days for optimal freshness.
- Prep Time: 20 minutes
- Cook Time: 0 minutes
- Category: Dessert
- Method: No-Cook
- Cuisine: American
