Icebox Cake Recipe
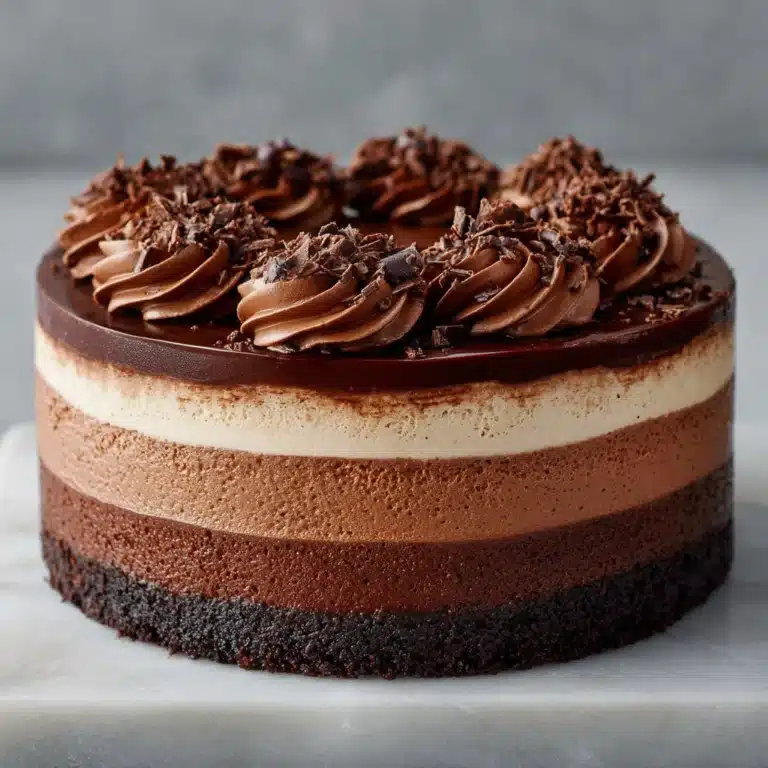
If you love easy desserts that look stunning and taste even better, let me personally introduce you to Icebox Cake. This nostalgic, no-bake treat layers chocolate wafers (or graham crackers!) and pillowy whipped cream, which magically transform in the refrigerator into a sliceable, cake-like wonder studded with your favorite garnishes. The result? A cool, creamy dessert that feels as effortless as a Sunday afternoon and is sure to win over guests of all ages.
Ingredients You’ll Need
-
For the Whipped Cream:
- 3 cups heavy whipping cream
- 1/3 cup powdered sugar
- 2 teaspoons vanilla extract
For Assembly:
- 1 box (14 ounces) chocolate wafer cookies or graham crackers
- Fresh berries or chocolate shavings for garnish (optional)
How to Make Icebox Cake
Step 1: Whip Up the Cream
Begin by pouring the chilled heavy cream, powdered sugar, and vanilla extract into a large mixing bowl. With a hand mixer or a stand mixer (or some serious arm power and a whisk), beat the mixture until you have firm, billowy peaks that hold their shape—don’t stop too soon! You want that cream to be fluffy and beautiful.
Step 2: Start the First Layer
Spread a thin, smooth layer of whipped cream in the bottom of a 9×13-inch dish. This is your “cake glue”—it keeps the bottom layer of cookies anchored and prevents them from slipping and sliding around when you serve it later.
Step 3: Add Cookie or Cracker Layers
Lay down a single, even layer of chocolate wafer cookies (or graham crackers) across the whipped cream, fitting the pieces snugly together. Don’t worry if you have to break a few to fill the edges; just patchwork the pieces into a full layer so every bite gets that delicious cookie flavor.
Step 4: Alternate the Layers
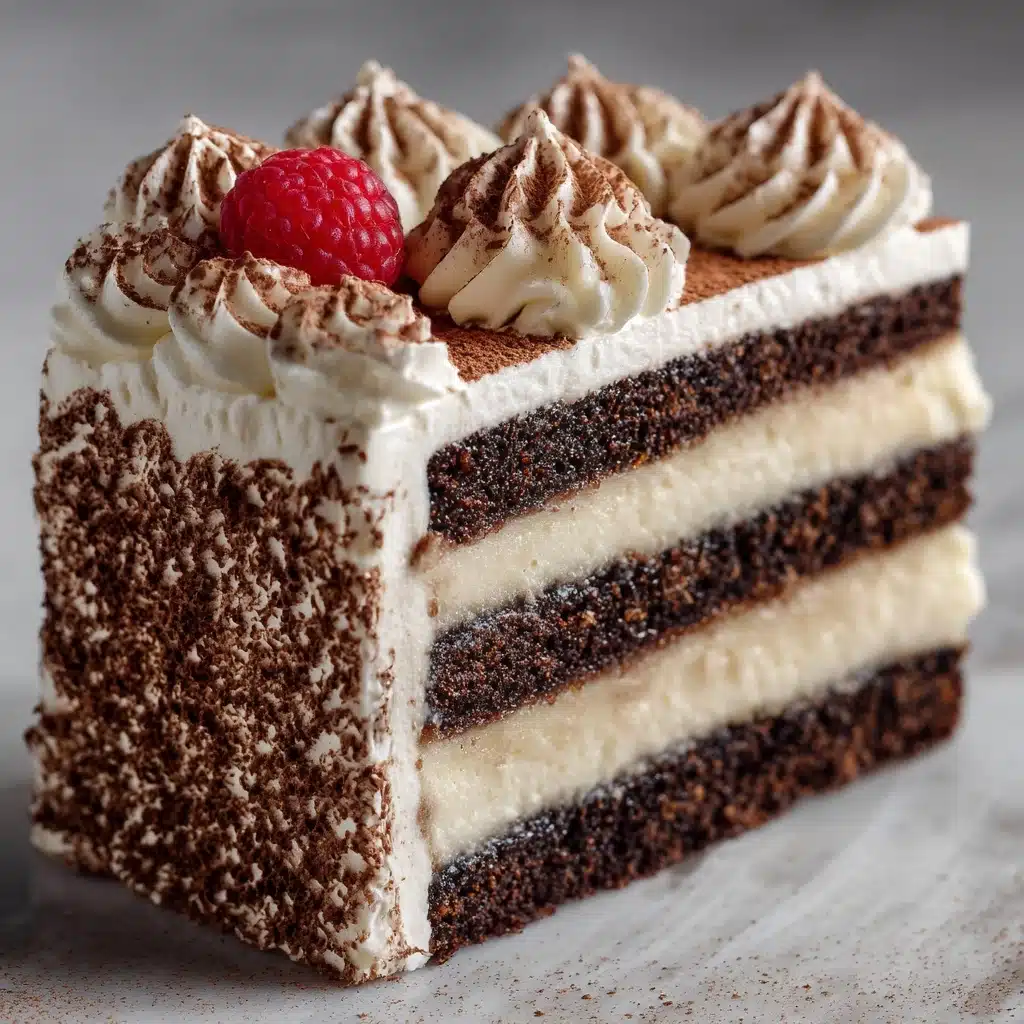
Now, spread about one-third of the whipped cream gently over the cookie layer, smoothing it out to the edges. Repeat with another layer of cookies, followed by more whipped cream, for a total of three cream layers and three cookie layers, always finishing with a generous smothering of cream on top to make it gorgeous.
Step 5: Chill and Set
Cover the whole dish tightly and let your Icebox Cake relax in the refrigerator for at least 6 hours, or overnight if possible. This is where the kitchen magic happens: the cream softens the cookies into melt-in-your-mouth cake layers, and all the flavors mingle beautifully while you go about your day.
Step 6: Garnish and Serve
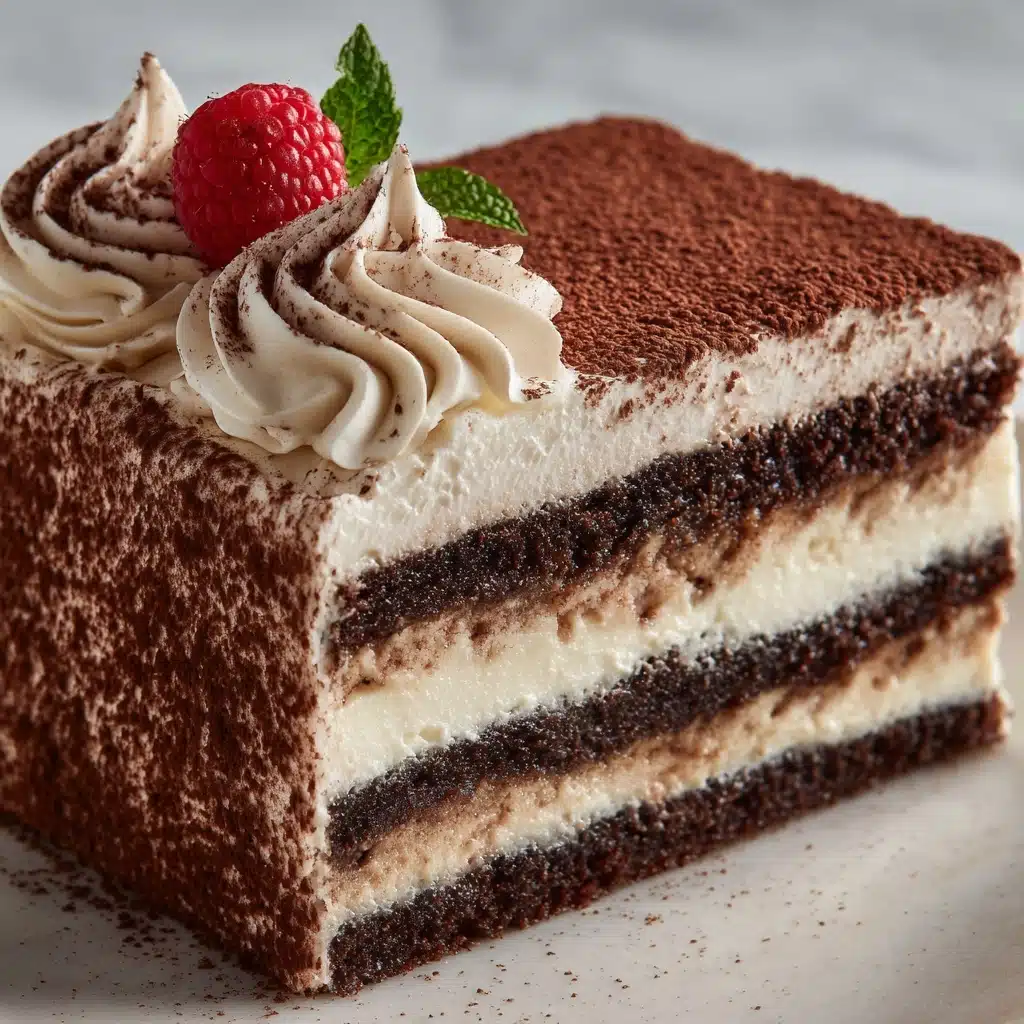
Just before serving, add a flurry of fresh berries or chocolate shavings over the top for a little drama and freshness. Then, slice up your Icebox Cake and watch everyone be amazed at how something so simple could be this delicious!
How to Serve Icebox Cake
Garnishes
The right garnish can make your Icebox Cake look as if it came from a fancy bakery. Try a tumble of fresh strawberries, raspberries, or blueberries for a vibrant look. If you’re feeling extra indulgent, a handful of dark chocolate shavings or curls adds that sophisticated touch and deepens the cake’s cocoa notes.
Side Dishes
This cake pairs beautifully with fresh fruit salads or a big bowl of lightly sweetened whipped cream (for those who just can’t get enough). For fancier affairs, serve small cups of espresso or coffee alongside—perfect for highlighting those rich flavors without overpowering the cake’s delicate creaminess.
Creative Ways to Present
Icebox Cake isn’t limited to a 9×13 pan. Try making individual parfaits in clear glasses for a party, or assemble in a loaf pan for a taller, sliceable cake. You can even use cookie cutters to create mini cake pieces, perfect for a birthday or baby shower dessert tray—your options are nearly endless!
Make Ahead and Storage
Storing Leftovers
Leftover Icebox Cake keeps beautifully in the fridge for up to 3 days, tightly covered. The layers remain wonderfully moist, and the flavors only meld further, making each bite even dreamier the next day.
Freezing
If you need to make it far in advance, Icebox Cake can be frozen. Simply cover it well with both plastic wrap and foil. Thaw in the refrigerator for several hours or overnight—just know that while the texture will be a little firmer, the flavors stay delightful.
Reheating
There’s no reheating necessary with this chilled beauty! In fact, it’s best served cold and creamy straight from the fridge. A cold slice on a warm day really can’t be beat.
FAQs
Can I use other types of cookies in my Icebox Cake?
Absolutely—experiment with different cookies like vanilla wafers, shortbread, or even chocolate chip cookies. Each type Dessert.
Can I make Icebox Cake ahead of time?
Yes! In fact, it tastes even better when made a day in advance. The extra chill time helps the cream soften the cookies to that perfect cake-like texture, so feel free to prep early.
What if I don’t have heavy whipping cream?
While real heavy cream creates the fluffiest and most stable whipped cream, you can use a pre-made whipped topping in a pinch. Just know the flavor and texture will be a touch lighter and sweeter.
Is it possible to make a dairy-free version?
Definitely! Swap in your favorite dairy-free whipped cream alternative and use cookies without any dairy ingredients. There are so many plant-based creams now that whip beautifully.
Why is my whipped cream too soft or runny?
This usually happens if the cream wasn’t beaten quite long enough or if the cream was too warm. Start with very cold cream and bowl, and beat until firm peaks form—patience pays off here!
Final Thoughts
I hope you’re as excited as I am to share this Icebox Cake with your friends and family. It’s the kind of recipe that never goes out of style—quick, comforting, and always a showstopper at the table. Once you taste it, don’t be surprised if this cool, creamy cake becomes your new go-to dessert for any celebration or casual weekend gathering!
Print
Icebox Cake Recipe
- Total Time: 6 hours 20 minutes (includes chilling)
- Yield: 10 servings 1x
- Diet: Non-Vegetarian
Description
Indulge in a delightful no-bake dessert with this easy Icebox Cake recipe. Layers of chocolate wafer cookies or graham crackers sandwiched between sweet whipped cream create a luscious treat perfect for any occasion.
Ingredients
For the Whipped Cream:
- 3 cups heavy whipping cream
- 1/3 cup powdered sugar
- 2 teaspoons vanilla extract
For Assembly:
- 1 box (14 ounces) chocolate wafer cookies or graham crackers
- Fresh berries or chocolate shavings for garnish (optional)
Instructions
- Prepare the Whipped Cream: In a large mixing bowl, beat the heavy whipping cream with powdered sugar and vanilla extract until stiff peaks form.
- Assemble the Cake: Spread a thin layer of whipped cream on the bottom of a 9×13-inch dish. Place a single layer of cookies or graham crackers over the cream. Spread whipped cream over the cookie layer, repeating the process two more times. Finish with a thick layer of whipped cream on top.
- Chill and Serve: Cover and refrigerate for at least 6 hours. Garnish with berries or chocolate shavings before slicing and serving chilled.
Notes
- You can substitute graham crackers for chocolate wafers or use flavored whipped cream for variety.
- For a smaller portion, assemble the cake in a loaf pan.
- Prep Time: 20 minutes
- Cook Time: 0 minutes
- Category: Dessert
- Method: No-Bake
- Cuisine: American
Nutrition
- Serving Size: 1 slice
- Calories: 350
- Sugar: 15 g
- Sodium: 150 mg
- Fat: 25 g
- Saturated Fat: 15 g
- Unsaturated Fat: 8 g
- Trans Fat: 0 g
- Carbohydrates: 26 g
- Fiber: 1 g
- Protein: 3 g
- Cholesterol: 80 mg