Korean Garlic Cheese Bread Recipe
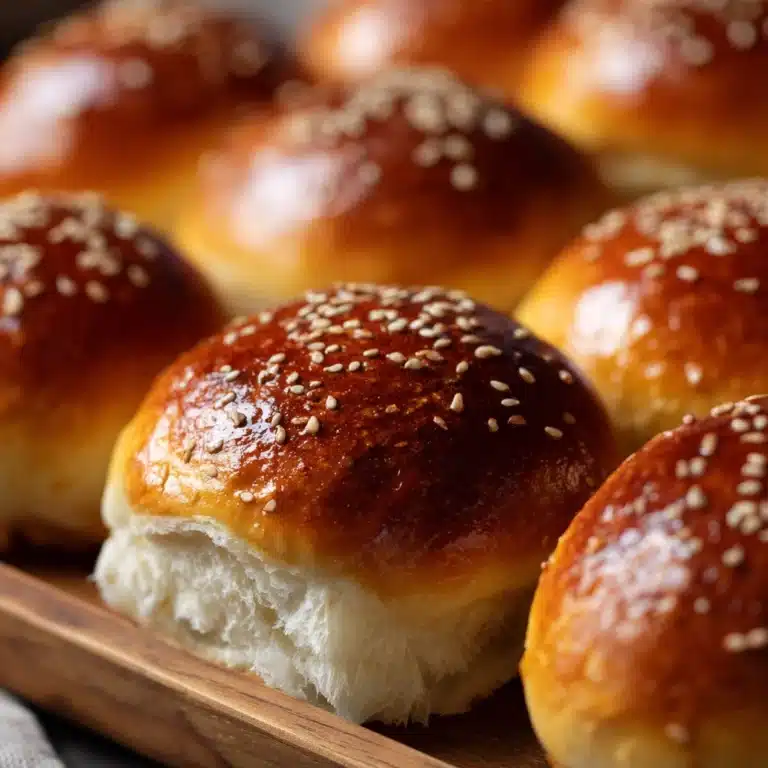
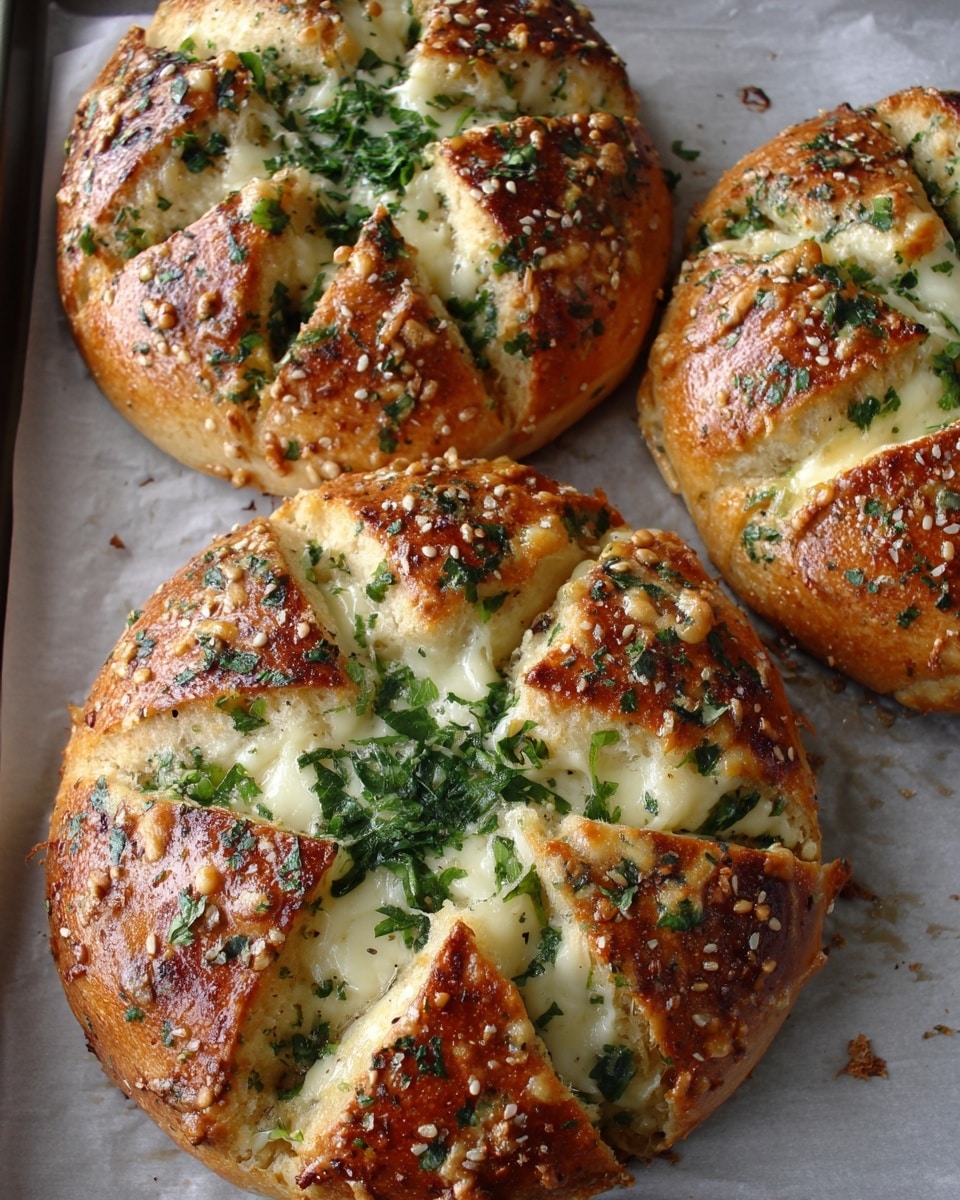
If you have a craving for something irresistibly gooey, buttery, and bursting with garlic flavor, then you’re in for a treat with this Korean Garlic Cheese Bread Recipe. This addictive Korean street food star combines fluffy bread rolls with a luscious cream cheese filling and a sweet-savory garlic butter glaze, creating a perfect harmony of textures and flavors in every bite. Whether you’re making it for a cozy night in or to impress friends at your next gathering, this recipe is sure to become one of your favorites.
Ingredients You’ll Need
The beauty of this Korean Garlic Cheese Bread Recipe is in its simplicity. Each ingredient plays a crucial role in crafting the perfect balance of richness, sweetness, and that signature garlicky punch that makes this bread unforgettable.
- 6 small round bread rolls: Brioche or dinner rolls work best for their soft, slightly sweet crumb and sturdy shape.
- 8 ounces cream cheese, softened: Creates the smooth, creamy filling that’s key to this recipe.
- 2 tablespoons powdered sugar: Adds subtle sweetness to the cream cheese mixture.
- 2 tablespoons heavy cream or milk: Makes the filling light and pipeable.
- ½ cup unsalted butter, melted: Forms the rich base of the garlic butter coating.
- 4 cloves garlic, minced: Packs the punch of bold flavor everyone loves here.
- 2 tablespoons honey or sugar: Gives a hint of caramelized sweetness that balances the garlic.
- 1 tablespoon milk: Helps thin the garlic butter for easy soaking into the bread.
- 1 tablespoon mayonnaise: Adds creaminess and helps the garlic butter stick beautifully.
- 1 large egg: Binds the garlic butter ingredients together for a shiny, golden finish.
- 1 tablespoon chopped parsley (optional): A fresh note that brightens the rich flavors.
How to Make Korean Garlic Cheese Bread Recipe
Step 1: Prepare the Cream Cheese Filling
Start by combining the softened cream cheese with powdered sugar and heavy cream or milk in a bowl. Beat until smooth and creamy, with a consistency that’s perfect for piping into the bread. This luscious filling is what makes the bread decadently rich and delightfully sweet at the same time.
Step 2: Cut the Bread Rolls
Carefully slice each bread roll into 6 or 8 wedges, like a flower, making sure not to cut all the way through the bottom. This technique keeps the roll intact while allowing plenty of space to nestle in the cream cheese and soak up the garlic butter.
Step 3: Make the Garlic Butter Coating
Whisk together the melted butter, minced garlic, honey or sugar, milk, mayonnaise, egg, and parsley until completely combined. This mixture infuses every cut with irresistible flavor and moisture, turning the bread golden and slightly crisp on the outside while remaining soft inside.
Step 4: Assemble the Bread
Using a piping bag or a zip-top bag with the tip cut off, generously fill the cream cheese mixture into the center and between each wedge of the cut bread. Then, dip or spoon the garlic butter mixture all over each stuffed roll, ensuring it seeps down into the cuts to flavor every bite.
Step 5: Bake to Perfection
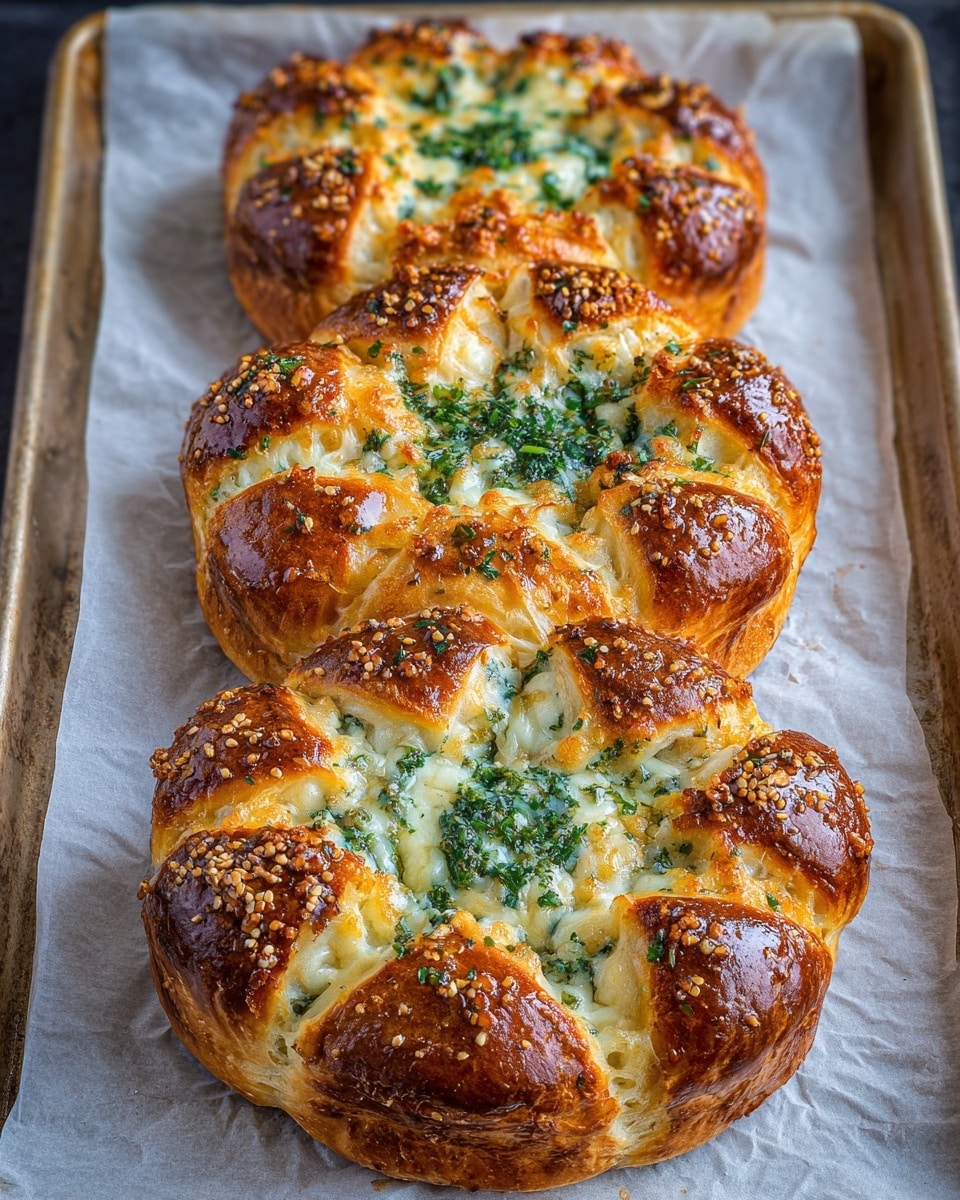
Place the rolls on a parchment-lined baking sheet and bake in a preheated 350°F oven for 12 to 15 minutes. When they come out golden and slightly crisp on the outside but still soft and gooey inside, your Korean Garlic Cheese Bread is ready to wow.
How to Serve Korean Garlic Cheese Bread Recipe
Garnishes
While the bread is stunning on its own, a sprinkle of freshly chopped parsley or a light dusting of powdered sugar adds a beautiful finish that elevates presentation and taste. If you want to take it a step further, sprinkling shredded mozzarella on top before baking can add an extra layer of melty, cheesy goodness.
Side Dishes
Korean Garlic Cheese Bread pairs wonderfully with light, refreshing sides like a crisp green salad dressed with a tangy vinaigrette or a simple cucumber kimchi. These contrasts help balance the richness and highlight the bread’s complex flavors.
Creative Ways to Present
Serve the bread warm on a rustic wooden board surrounded by small bowls of dipping sauces like spicy gochujang mayo or a garlic-parmesan aioli. You can also slice the rolls further after baking for easy sharing at parties or brunches. It’s a guaranteed crowd-pleaser no matter how you present it.
Make Ahead and Storage
Storing Leftovers
If you find yourself with leftovers (which is rare!), store the bread in an airtight container at room temperature for up to one day. To maintain its crispiness, avoid refrigerating as moisture can make the crust soggy.
Freezing
You can freeze the cream cheese filling ahead of time in a sealed container for up to one month. To freeze the assembled bread, wrap it tightly and freeze for 1 to 2 weeks. When ready, thaw completely before baking.
Reheating
Reheat leftover bread at 350°F for about 5 to 7 minutes to bring back its fresh-from-the-oven texture. Avoid microwaving, as it can make the bread chewy and lose its delightful crispiness.
FAQs
Can I use a different type of bread for this recipe?
Yes! While brioche or dinner rolls work best for their soft crumb and sturdiness, you can experiment with other dense, soft breads. Just make sure they can hold the filling without falling apart.
Is the garlic butter mixture very spicy?
No, it’s pleasantly garlicky but not spicy. The honey or sugar balances out the garlic’s sharpness, creating a mellow, sweet-savory glaze.
Can I make this recipe vegan?
To make a vegan version, substitute dairy ingredients with plant-based alternatives like vegan cream cheese and non-dairy milk, and use a plant-based butter substitute. Keep in mind, the egg adds richness and helps bind the coating, so you can try an egg replacer or skip it if you don’t mind a slightly different texture.
What is the best time to serve Korean Garlic Cheese Bread?
This bread is perfect as a snack, appetizer, or even a sweet breakfast treat. It’s best enjoyed warm right after baking for optimal flavor and gooey texture.
Can I add other cheeses in the filling?
Absolutely! Mixing in shredded mozzarella or gouda with the cream cheese creates a richer, cheesier filling. Just be sure to maintain a creamy consistency so the filling stays easy to pipe into the bread wedges.
Final Thoughts
Making Korean Garlic Cheese Bread Recipe at home is like bringing a little piece of Korea’s vibrant street food scene right to your kitchen. It’s a delightful blend of textures and flavors that feels indulgent yet approachable. With just a handful of simple ingredients and straightforward steps, you can whip up this bread anytime you want to impress with something truly special. Trust me, once you try it, Korean Garlic Cheese Bread will be a recipe you keep coming back to over and over again!
Print
Korean Garlic Cheese Bread Recipe
- Total Time: 35 minutes
- Yield: 6 servings 1x
- Diet: Vegetarian
Description
Korean Garlic Cheese Bread is a delightful fusion appetizer featuring soft, sweet bread rolls stuffed with a creamy, sweetened cream cheese filling and coated generously with a garlic butter sauce. This popular Korean street food-inspired snack is baked to golden perfection, offering a crispy outside and a rich, cheesy inside, perfect for serving warm as a savory-sweet treat.
Ingredients
For the Bread:
- 6 small round bread rolls (brioche or dinner rolls work best)
For the Cream Cheese Filling:
- 8 ounces cream cheese, softened
- 2 tablespoons powdered sugar
- 2 tablespoons heavy cream or milk
For the Garlic Butter Coating:
- ½ cup unsalted butter, melted
- 4 cloves garlic, minced
- 2 tablespoons honey or sugar
- 1 tablespoon milk
- 1 tablespoon mayonnaise
- 1 large egg
- 1 tablespoon chopped parsley (optional)
Instructions
- Preheat the Oven and Prepare Baking Sheet: Preheat your oven to 350°F (175°C) and line a baking sheet with parchment paper to prevent sticking and facilitate easy cleanup.
- Make the Cream Cheese Filling: In a bowl, beat together the softened cream cheese, powdered sugar, and heavy cream or milk until smooth and pipeable. Transfer this mixture into a piping bag or a resealable plastic bag with a corner snipped off, and set aside.
- Score the Bread Rolls: Take each bread roll and cut into 6 or 8 wedges like a flower, slicing deeply but not cutting all the way through the bottom to keep the roll intact.
- Prepare Garlic Butter Mixture: In a separate bowl, whisk together melted butter, minced garlic, honey (or sugar), milk, mayonnaise, egg, and chopped parsley (if using) until fully combined to create a rich, flavorful sauce.
- Stuff the Rolls and Apply Garlic Butter: Pipe the cream cheese mixture generously into the center and between the cuts of each roll. Then, dip or spoon the garlic butter mixture over each stuffed roll, coating them completely and allowing the garlic butter to soak slightly into the cuts.
- Bake the Rolls: Place the prepared rolls on the lined baking sheet. Bake in the preheated oven for 12 to 15 minutes or until the rolls are golden brown and slightly crisp on the outside.
- Serve Warm: Remove from oven and serve immediately for the best flavor and texture, enjoying the contrast of the crispy exterior and creamy cheesy interior.
Notes
- Best enjoyed fresh from the oven for optimal texture and flavor.
- You can prep the cream cheese filling ahead of time and refrigerate until ready to use.
- For extra cheesy flavor, sprinkle shredded mozzarella on top of the rolls before baking.
- If you prefer a less sweet version, reduce the honey or sugar in the garlic butter mixture.
- Prep Time: 20 minutes
- Cook Time: 15 minutes
- Category: Appetizer
- Method: Baking
- Cuisine: Korean
